Home base master bathroom Reveal
Virginia Beach, Virginia
This master bathroom was such a long time coming. This project is one of those projects that took way longer than we originally anticipated and seemed to drag on and on. But, after long awaited finishing touches, the reveal is finally here!
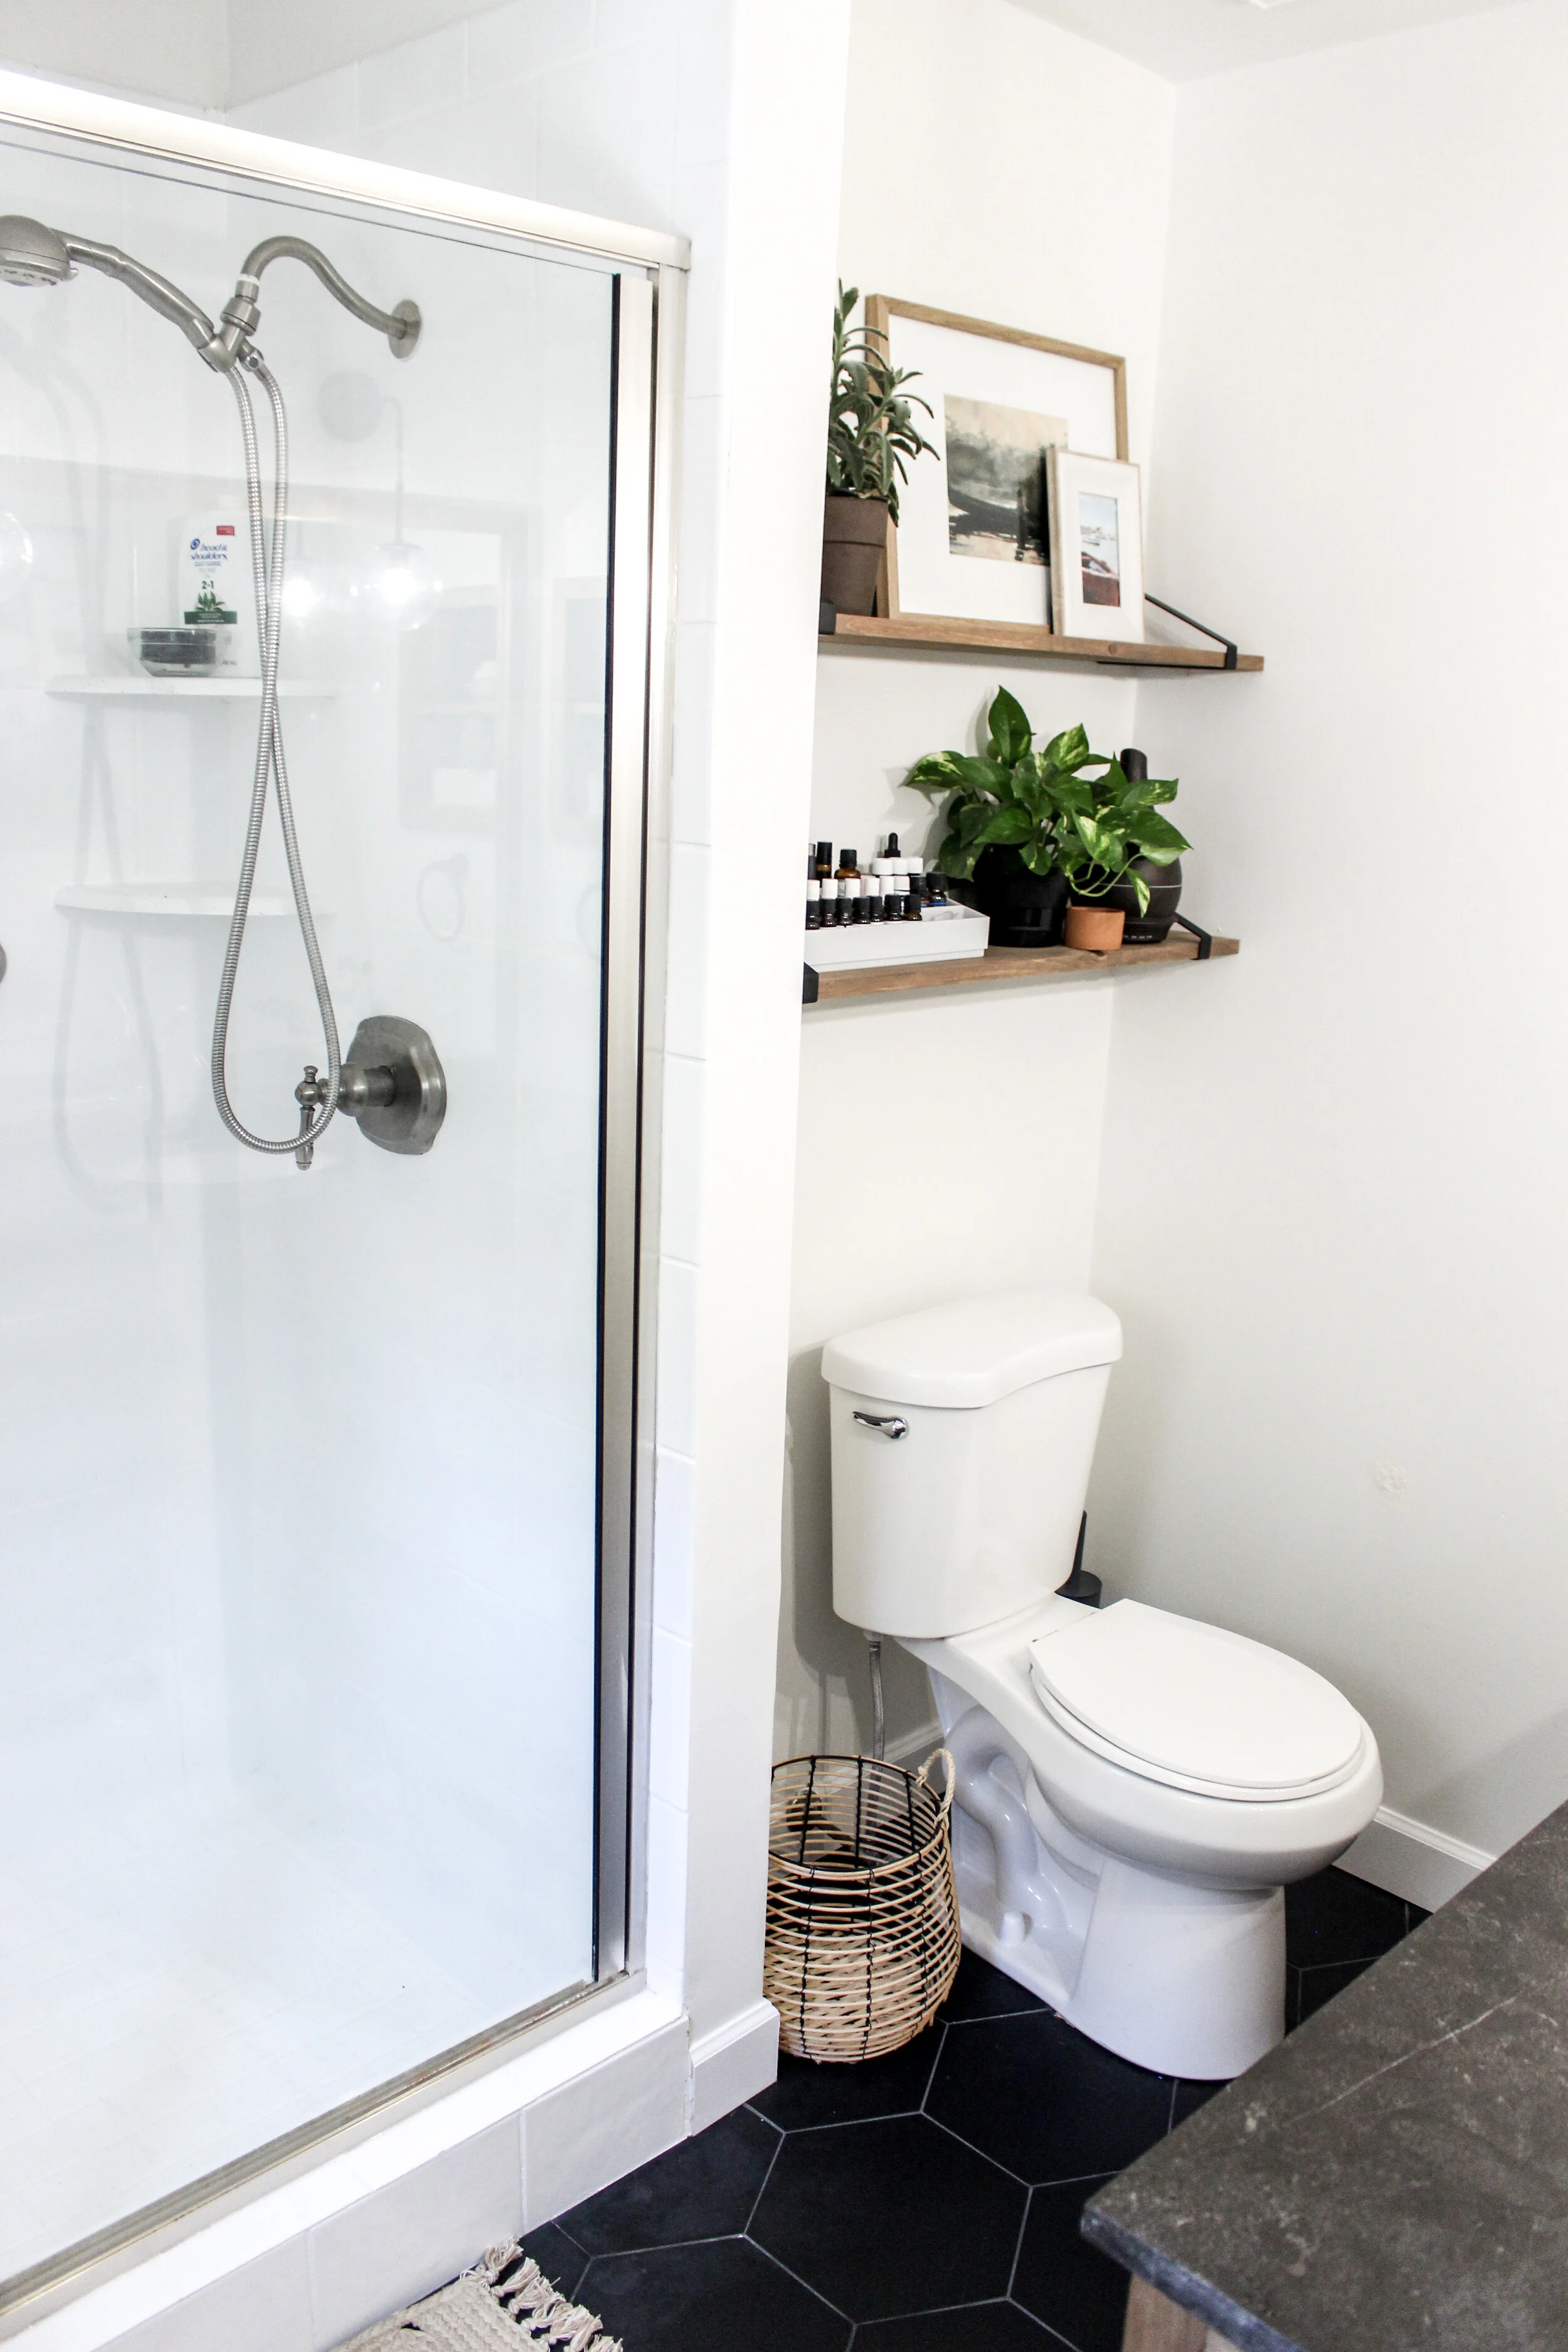
I can’t stop looking at the before and after of this space. The 12 x 12 tiles were so incredibly out dated and the brown color was so cringe-y. The same goes for the shower. Similar brown tiles scaled the walls on the old shower walls and the grout was extremely worn down. The final old bathroom feature that shall not be missed is the fun, bold turquoise color that complimented the brown so tragically. It was time for this room to see a glow up for sure.
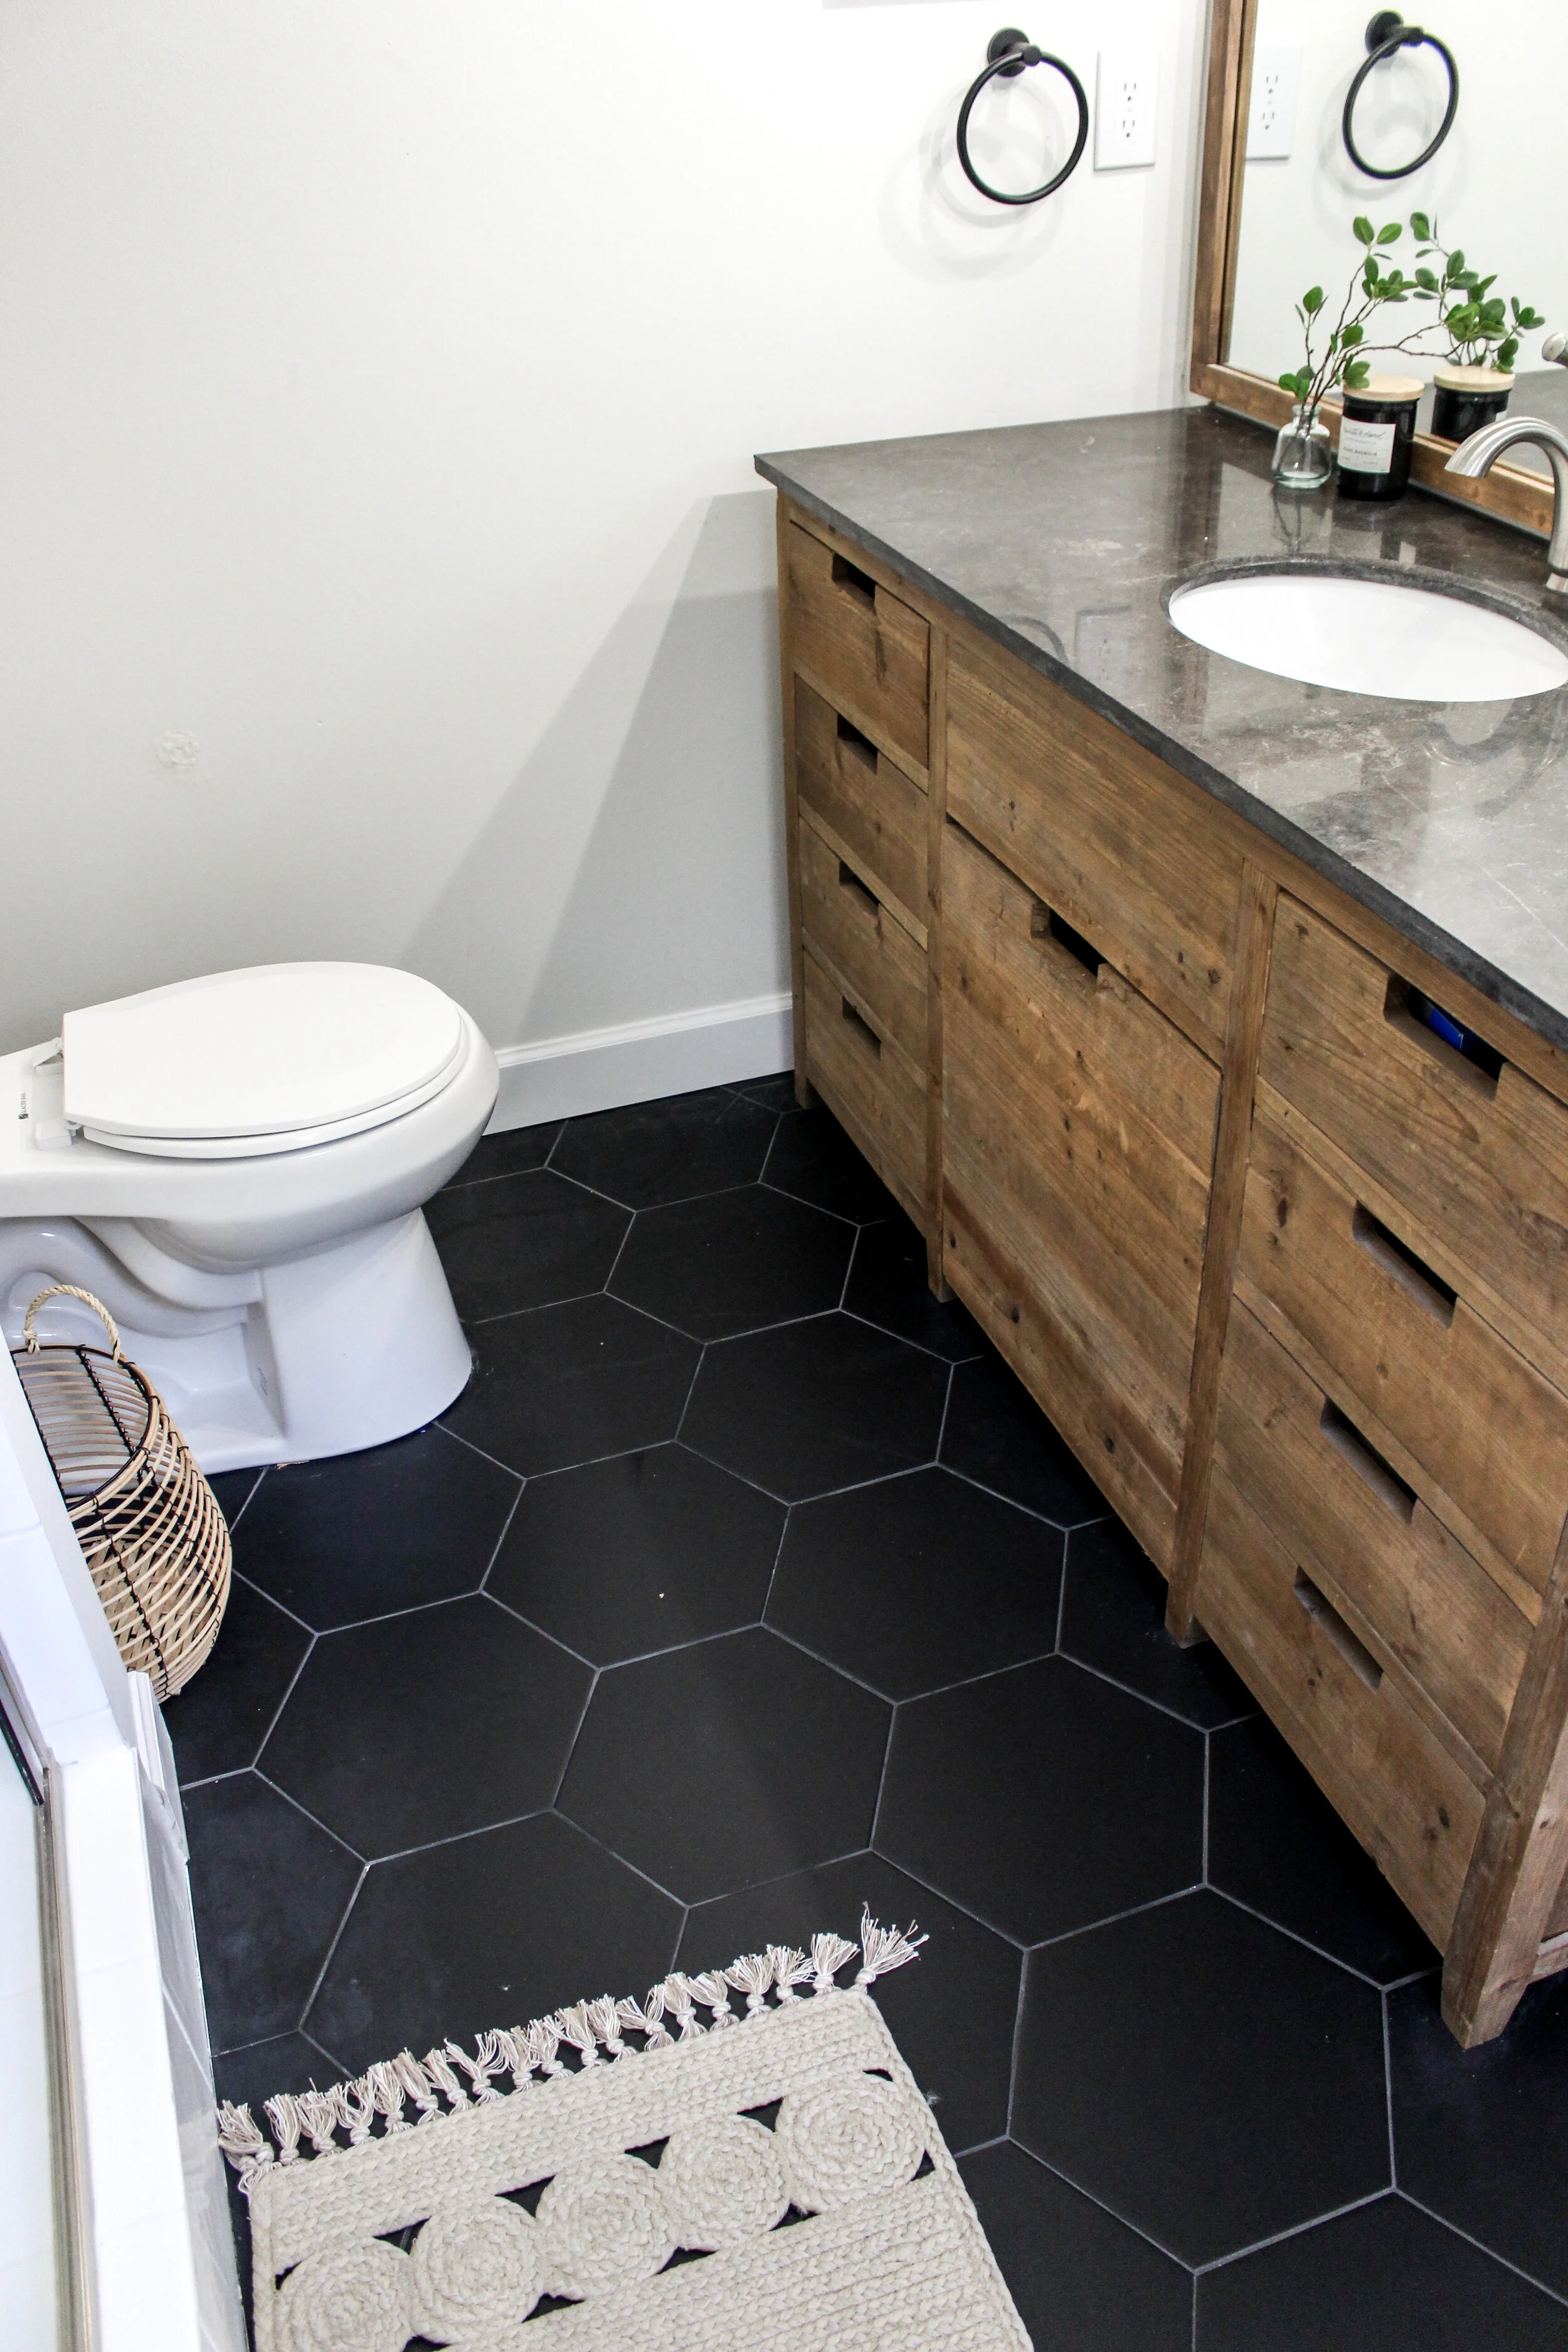
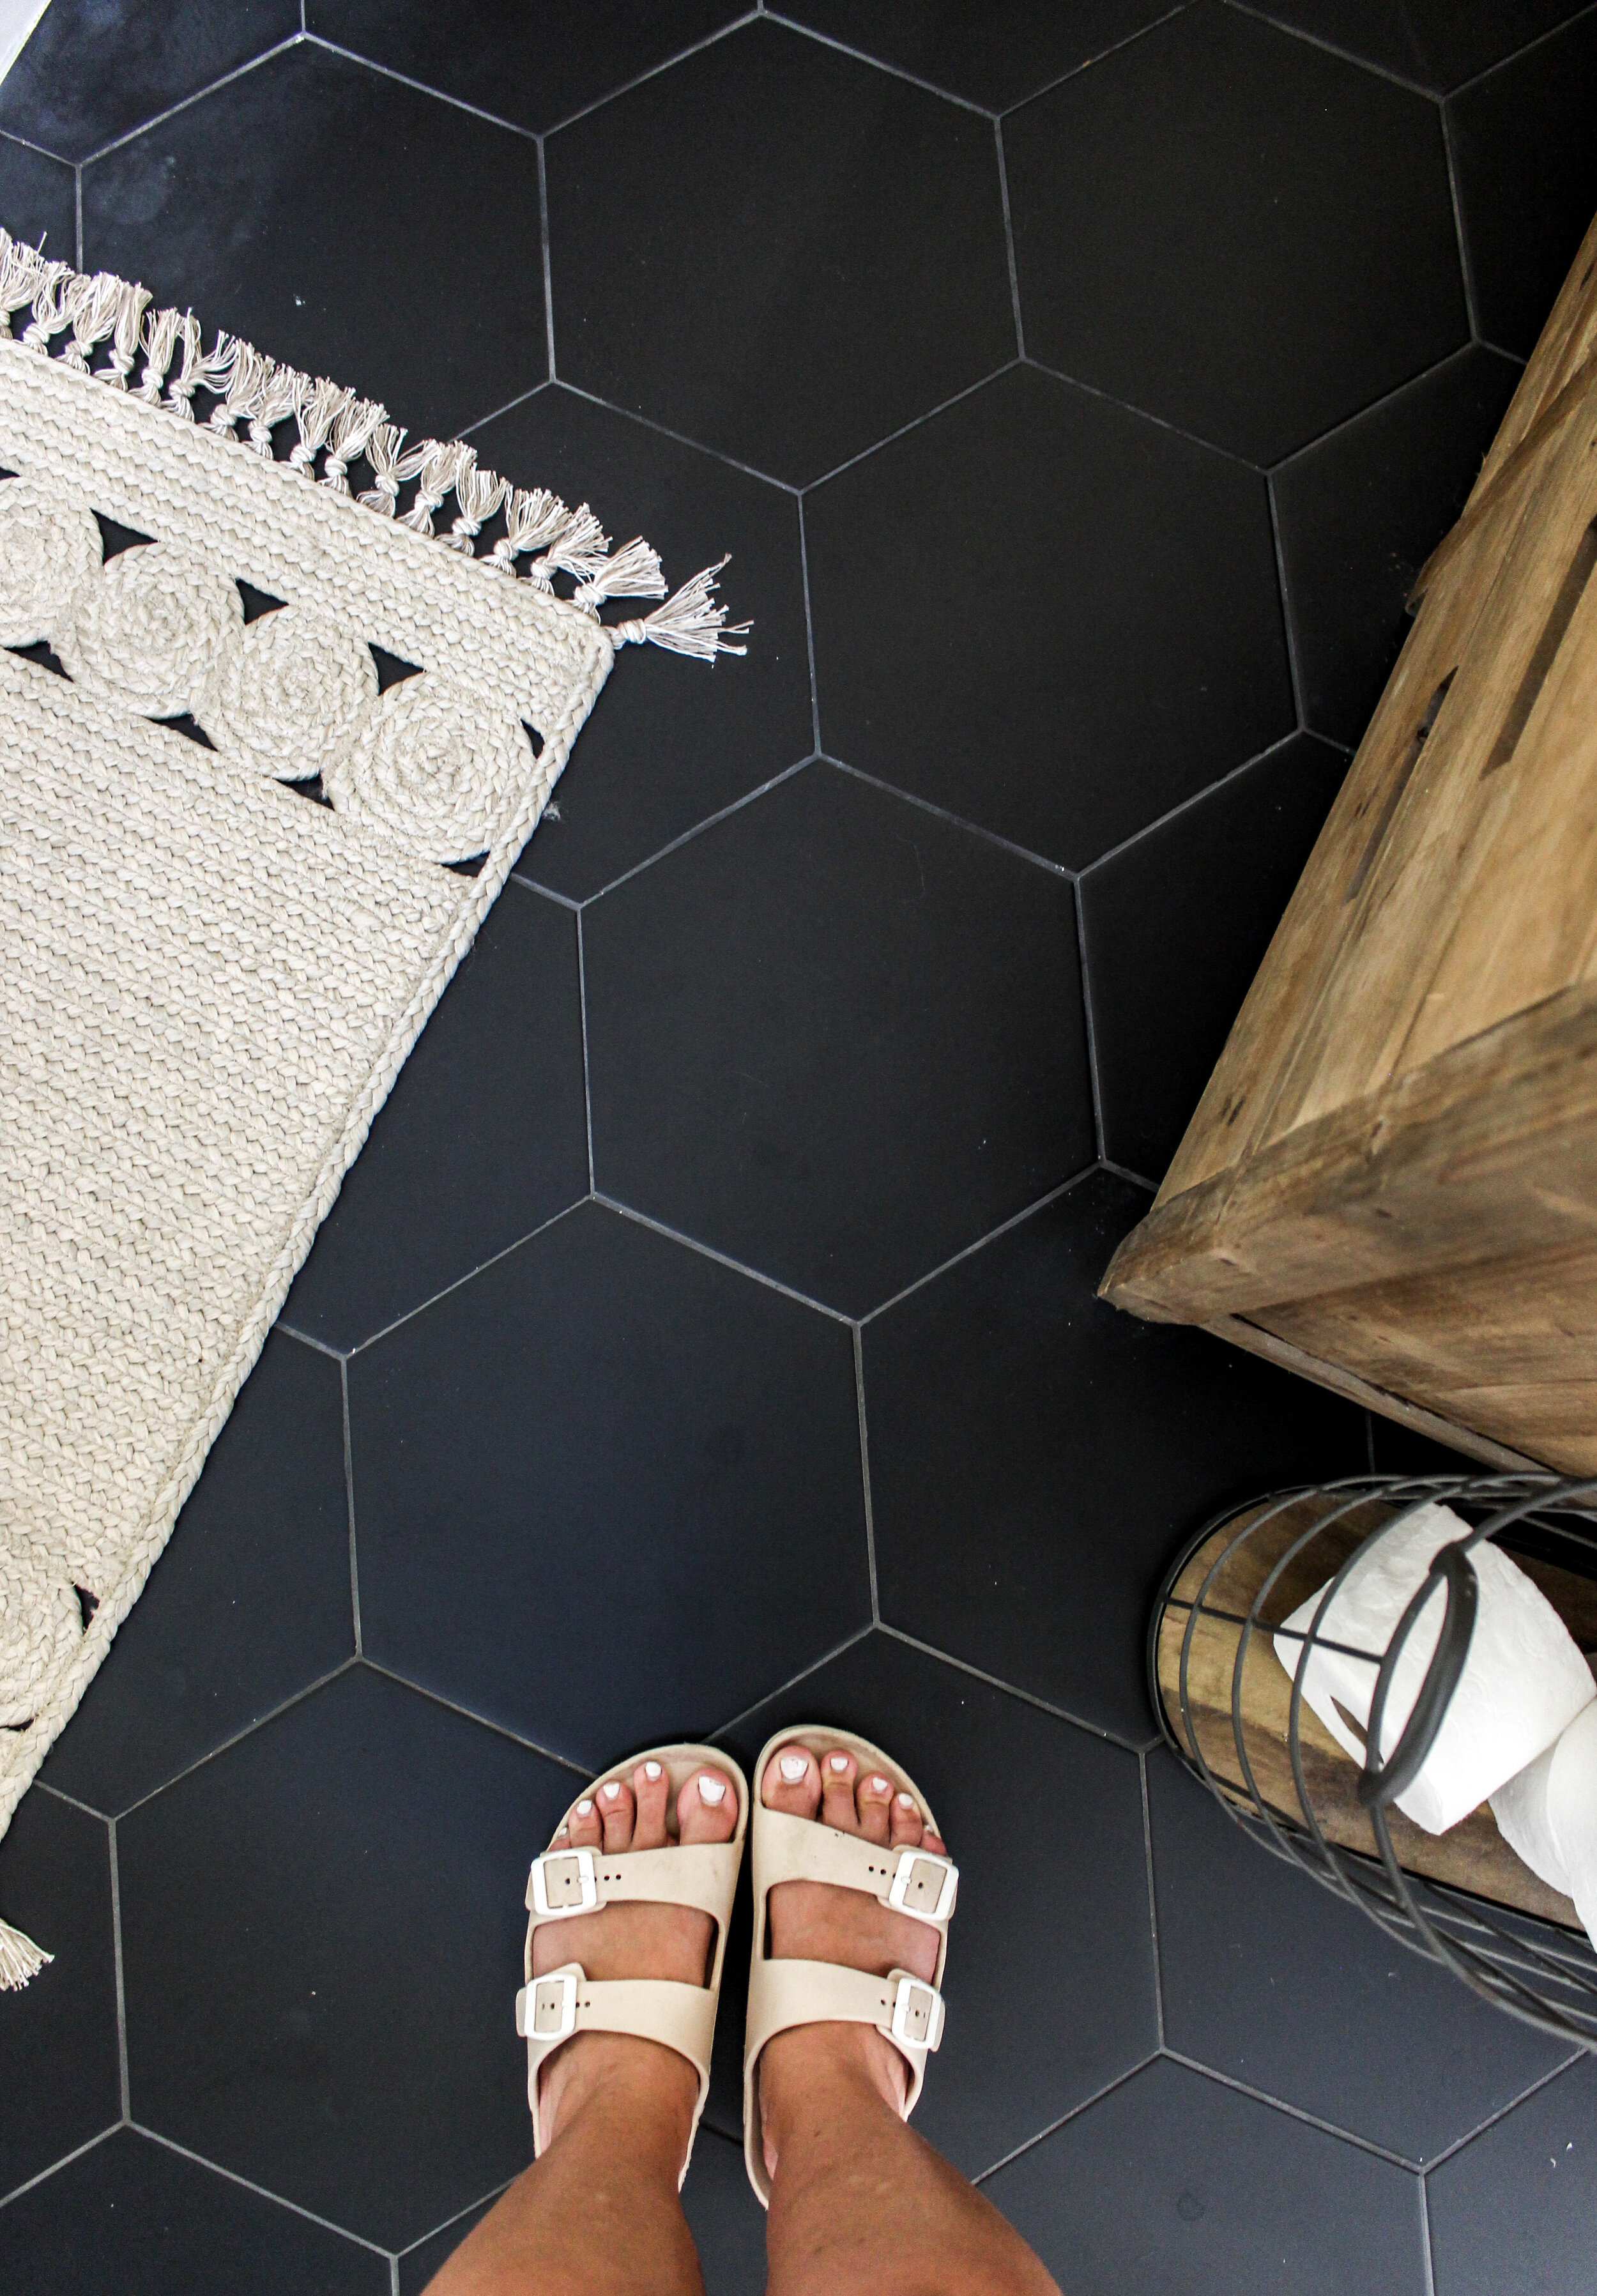
I have been loving the hex tile trend in design right now and wanted to add it in this bathroom to the floor. I love a dramatic contrast so black was an easy decision. Here’s the link from Floor & Decor for the black tiles.
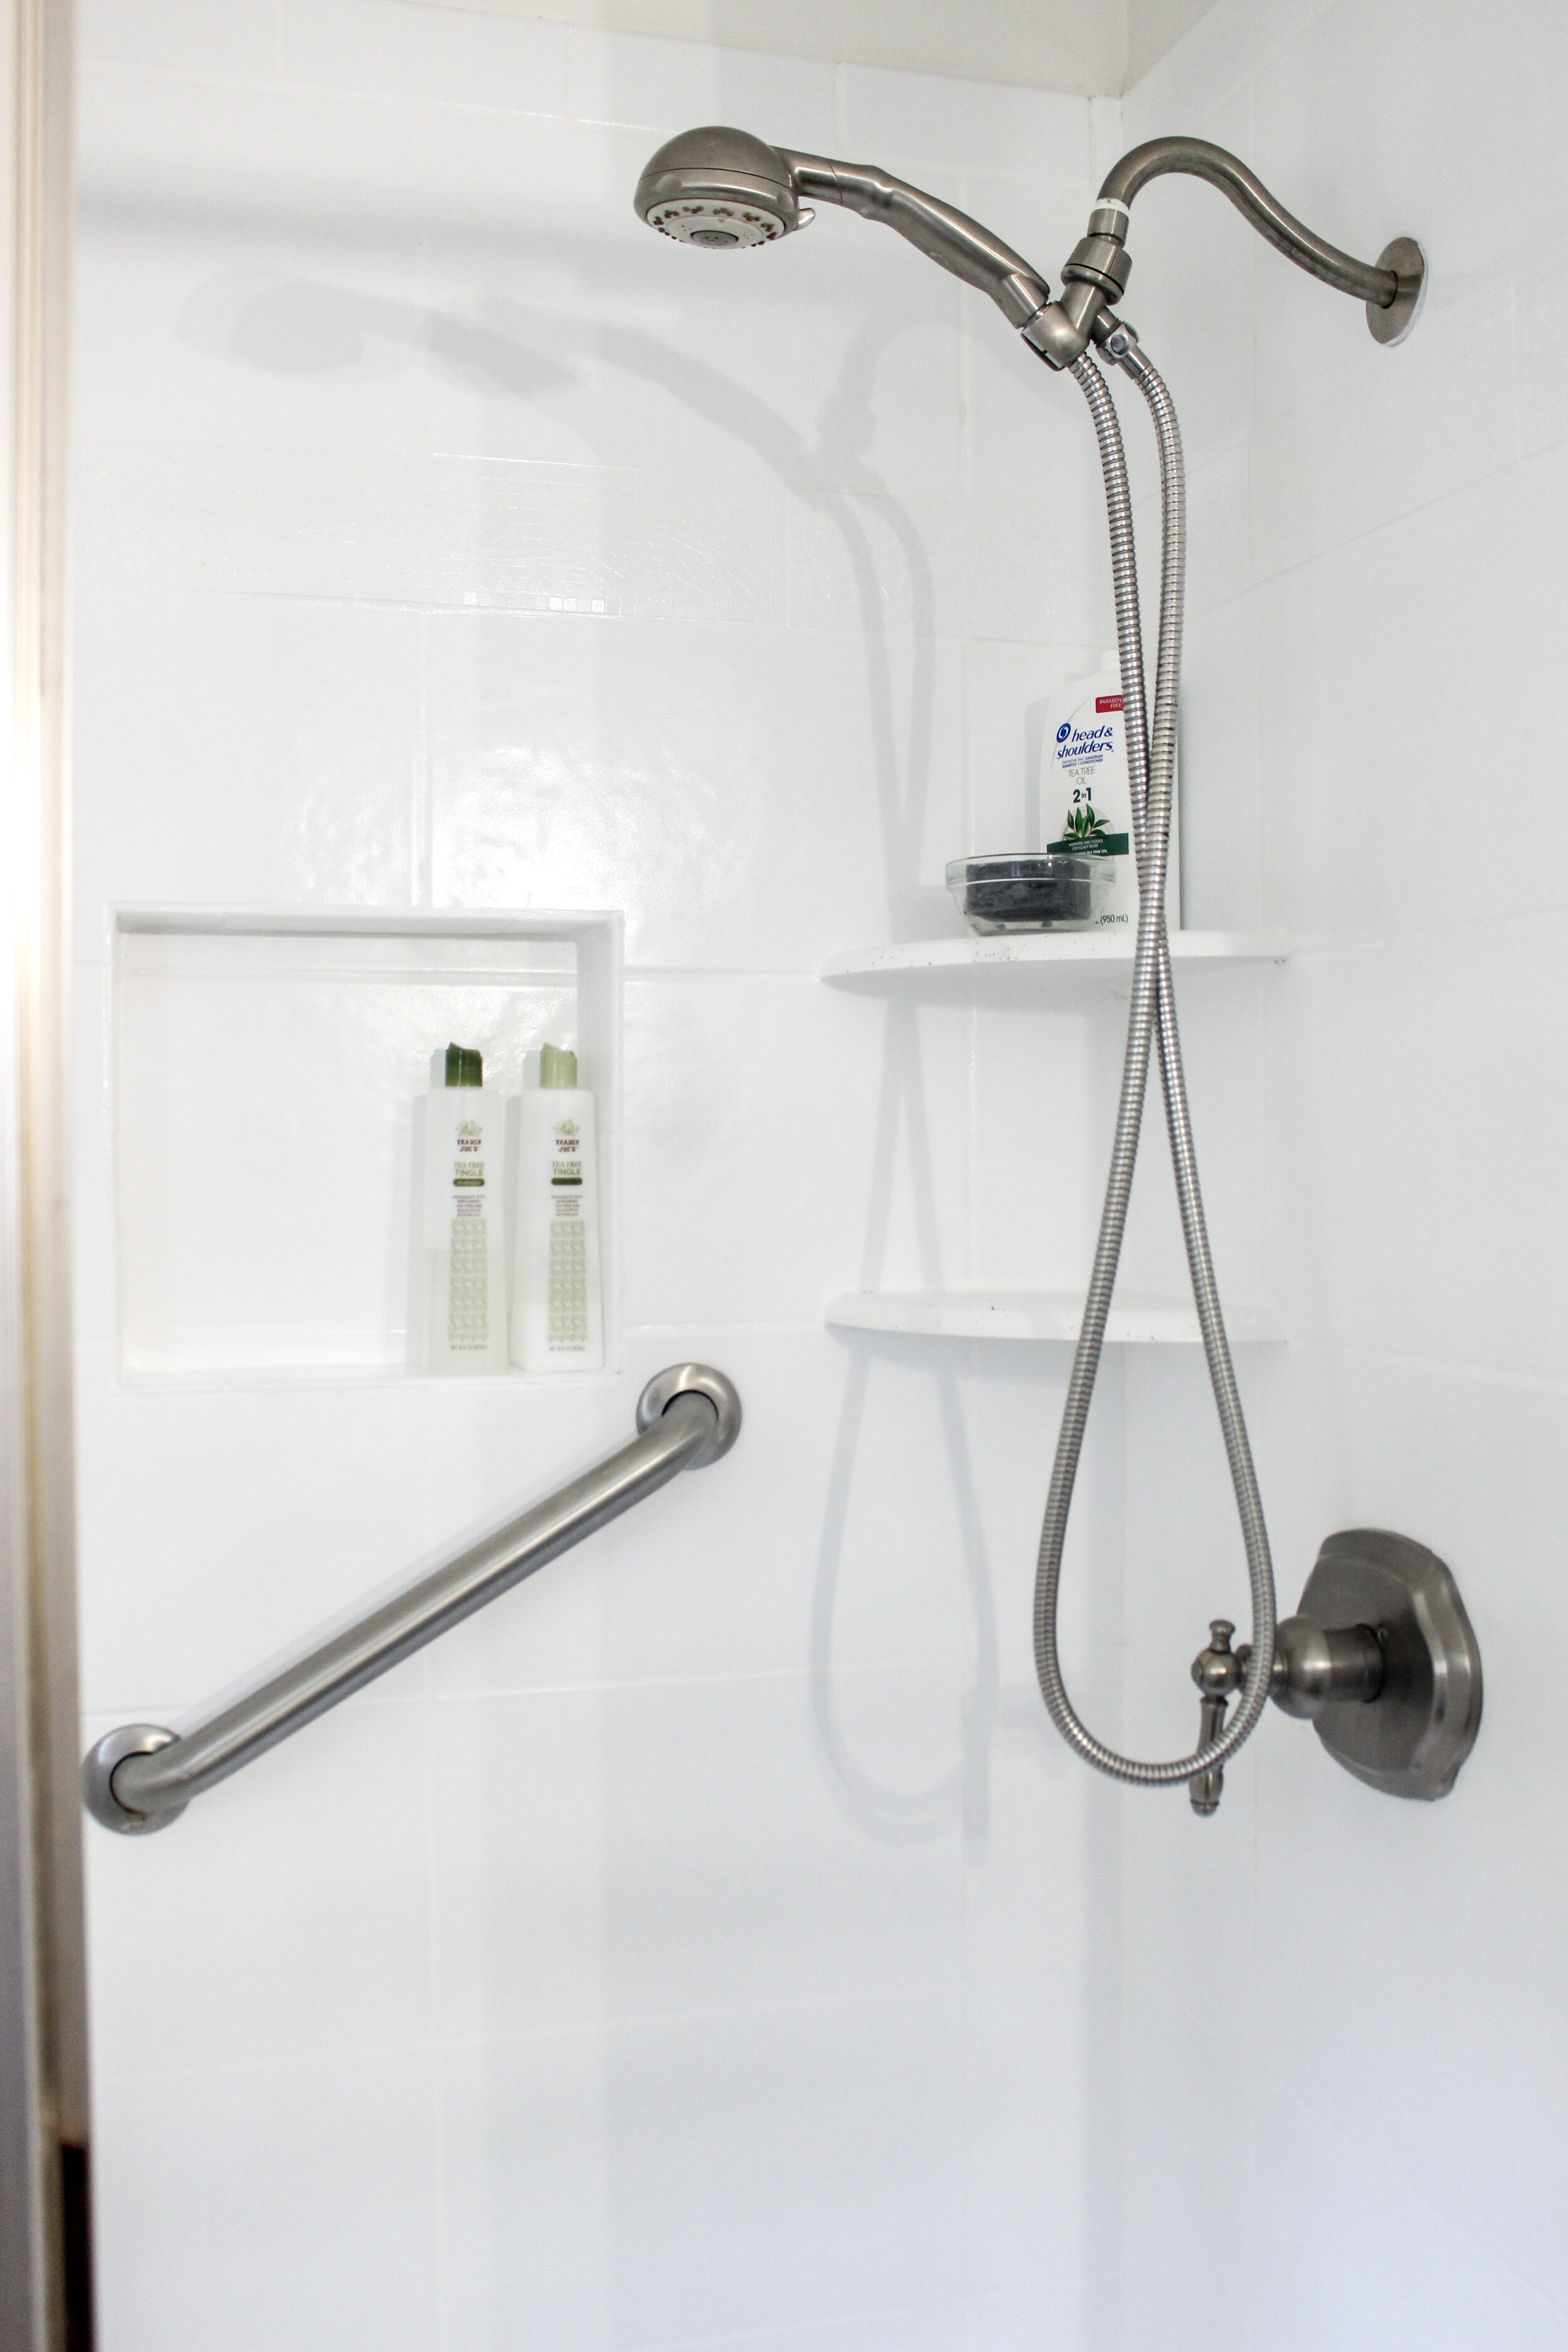
We decided right before the plunge into this project that to save some money and time (and because this isn’t our forever home) we would reglazing the shower. Here’s a blog post I wrote a little ago on how we reglaze tubs and showers in our flip houses. I’m loving the turn out and it holds firm over time so far!
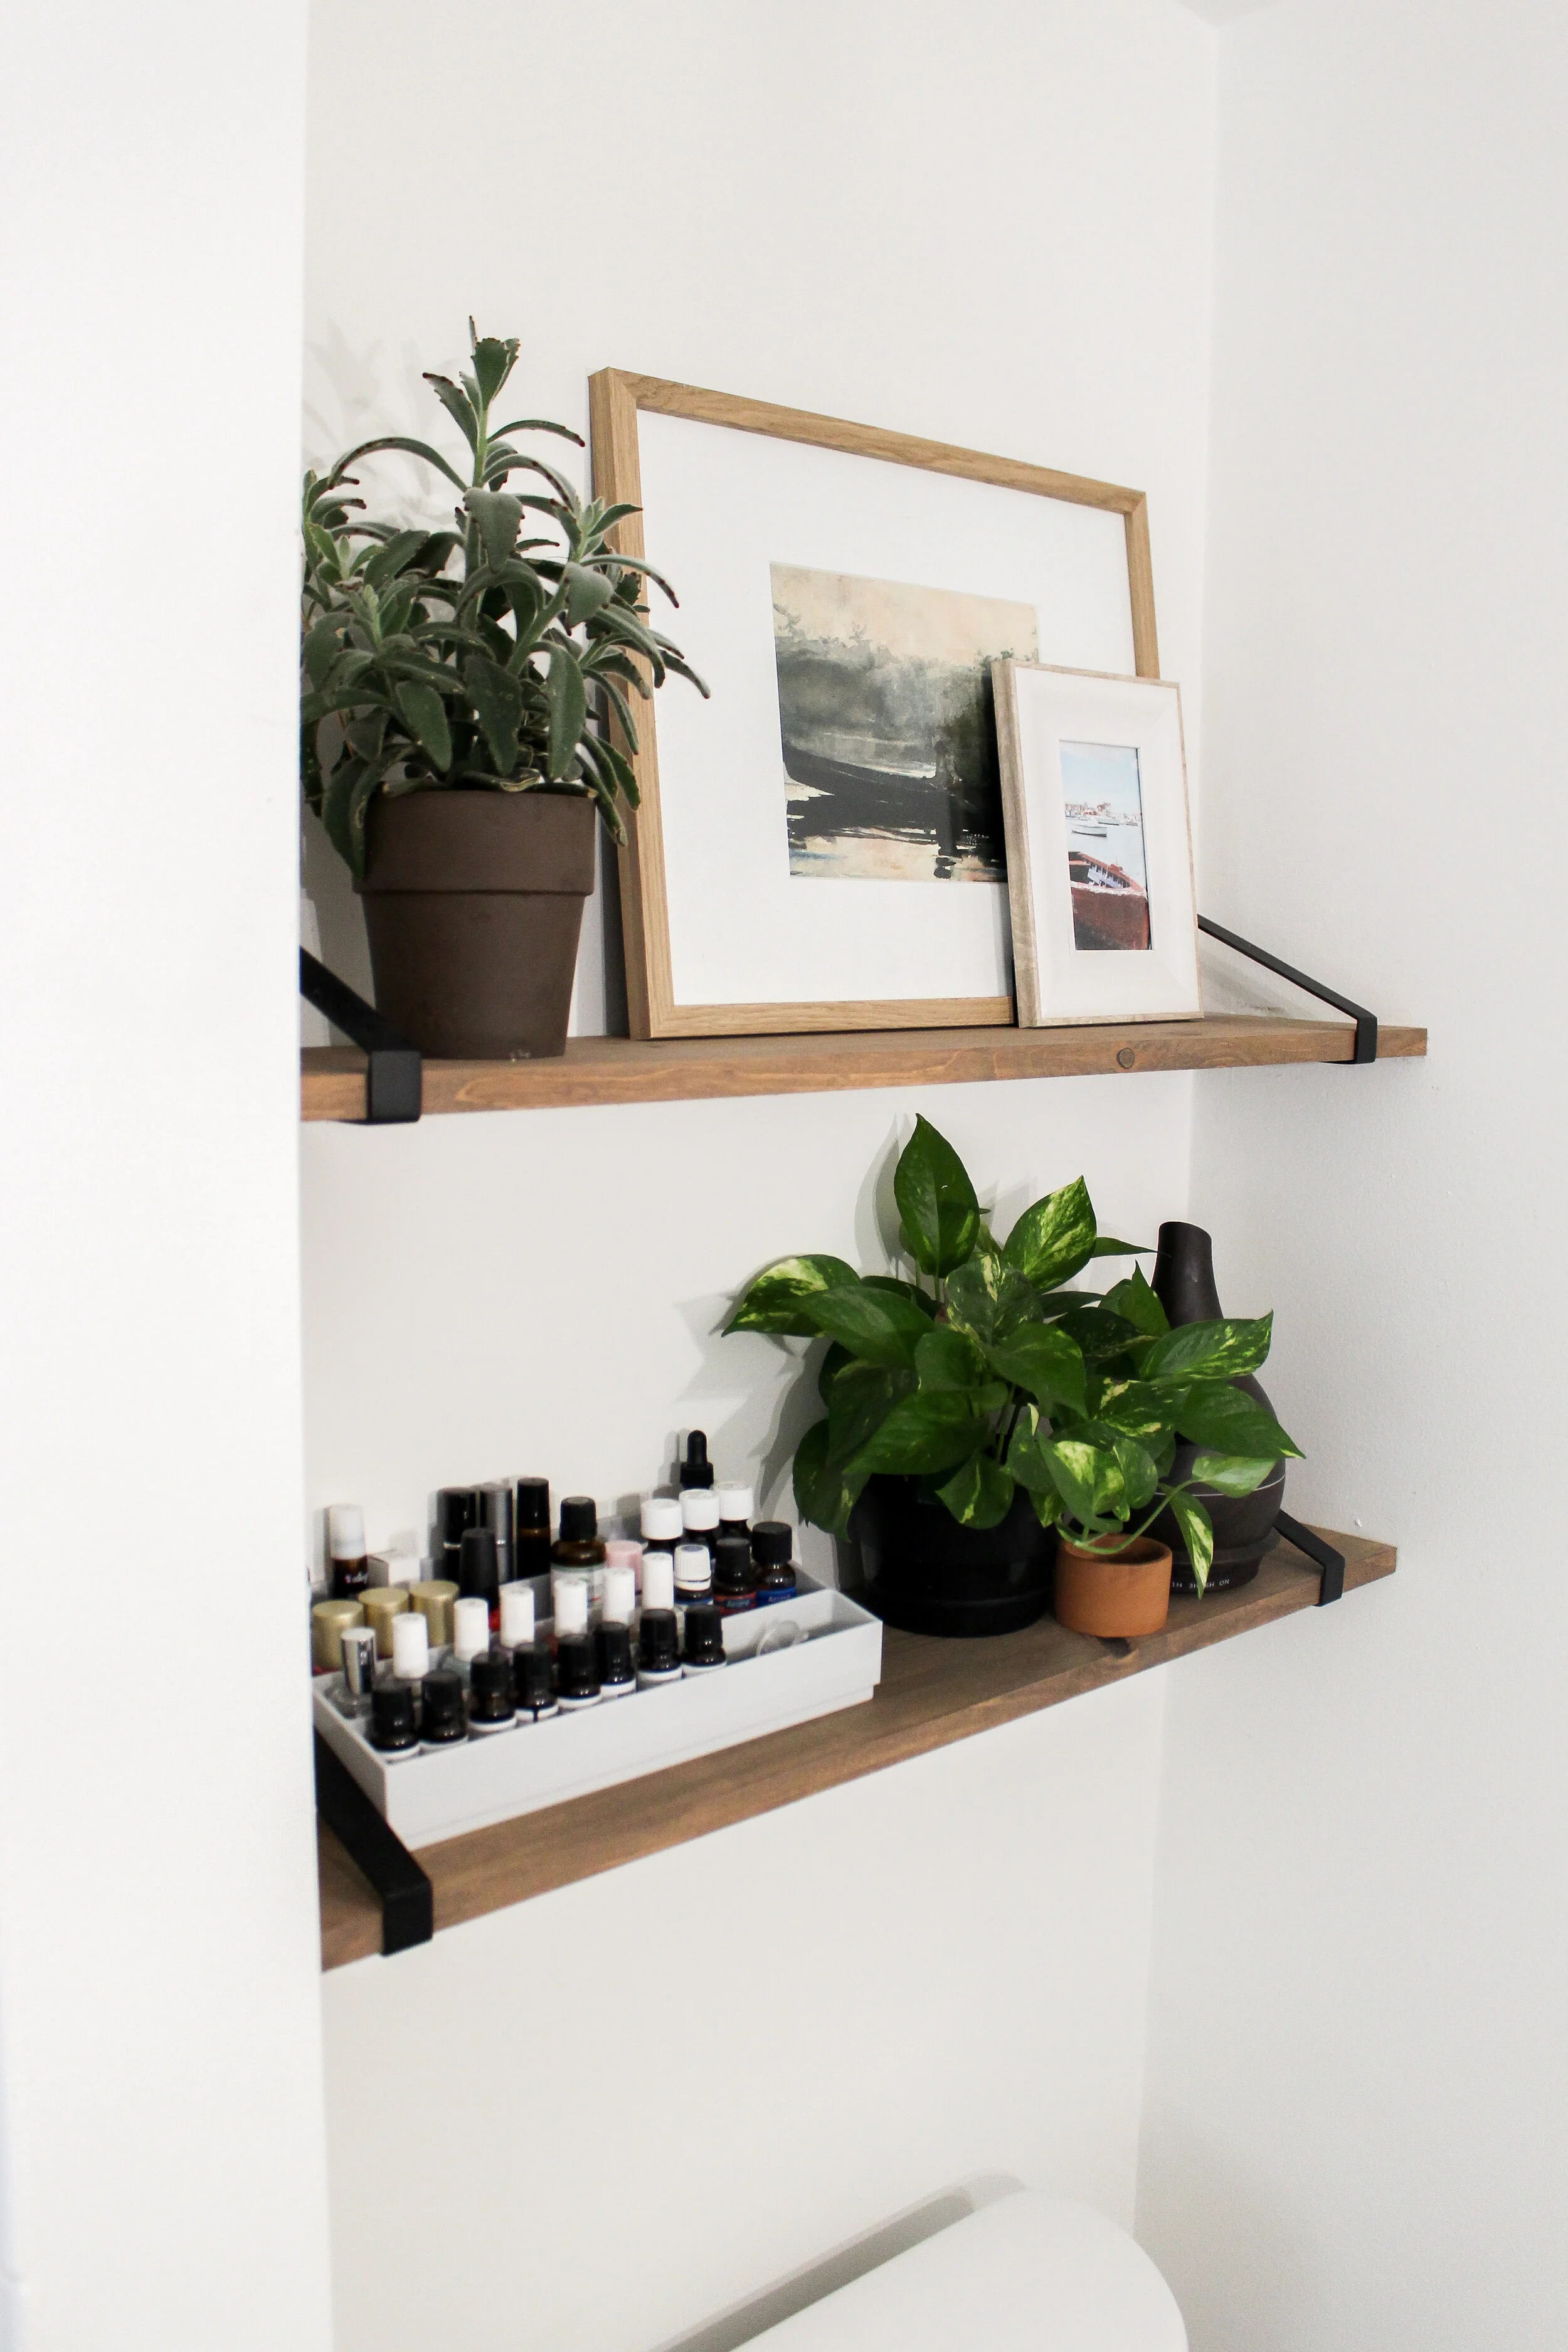
I fell in live with these brackets from West Elm for our shelves that were going to go above the toilet in this room. The price point is good and I knew Sean and I could whip up these shelves in no time flat using some wood that we’d stain to match the vanity and these black brackets.
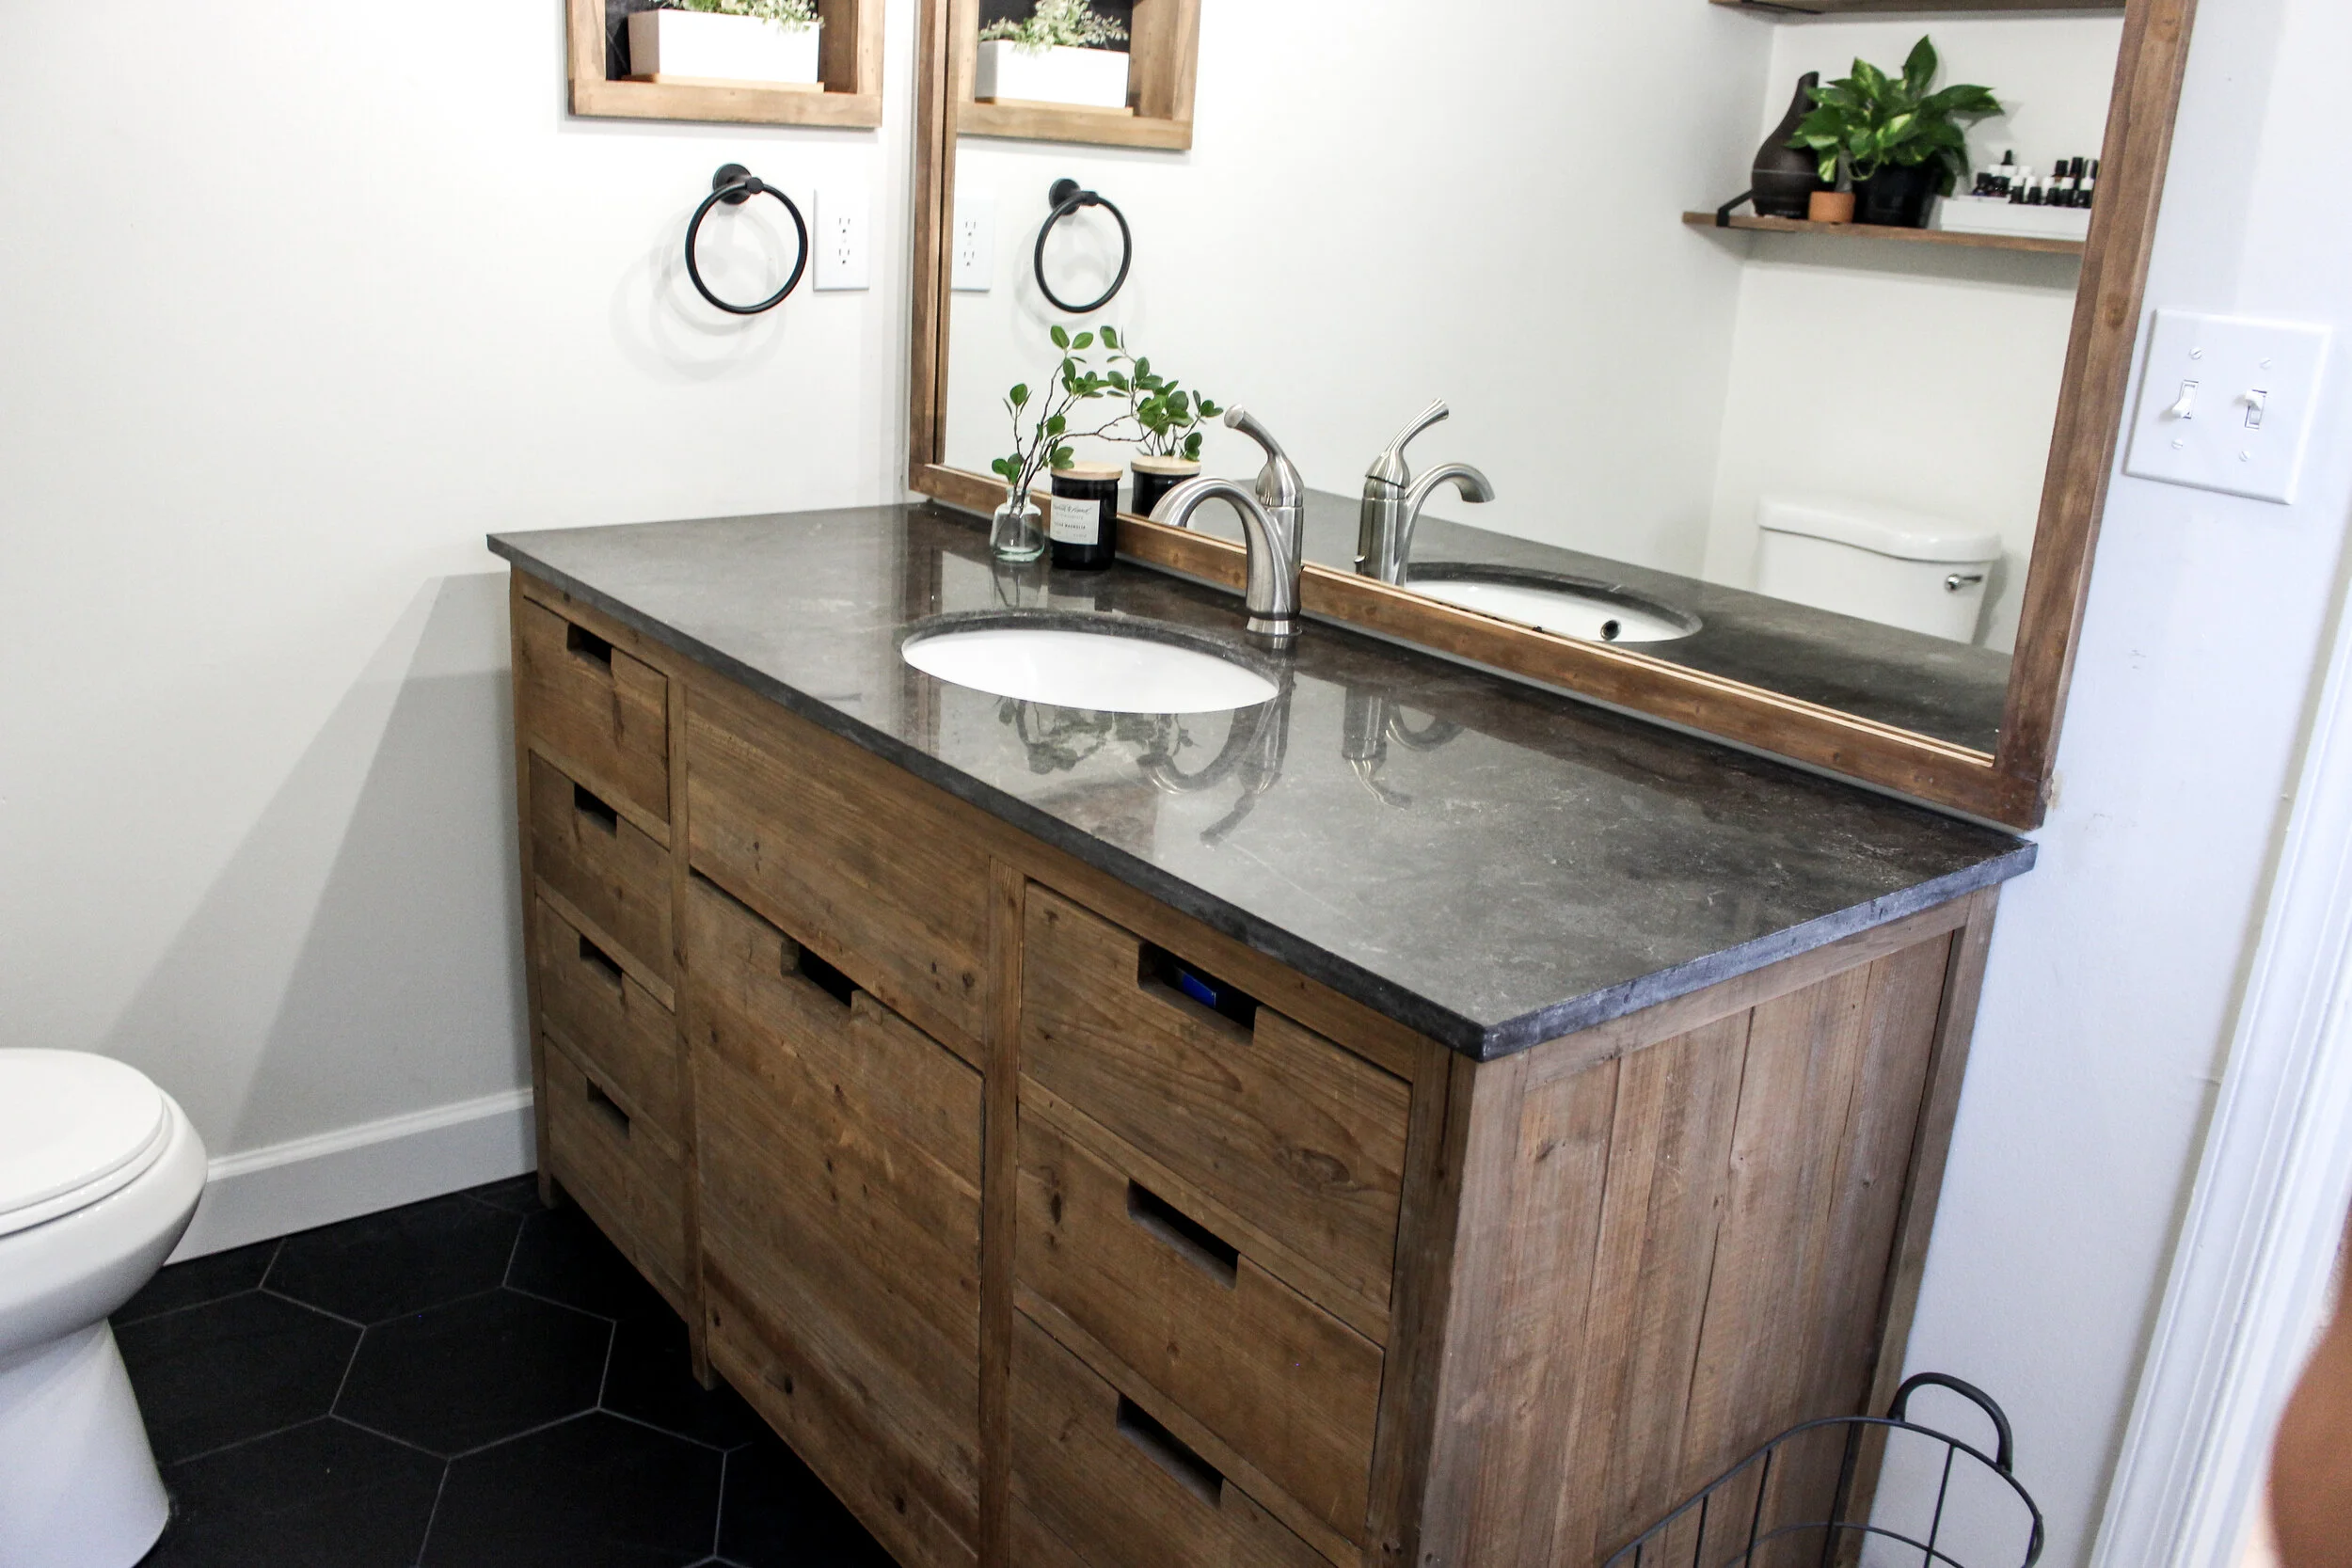
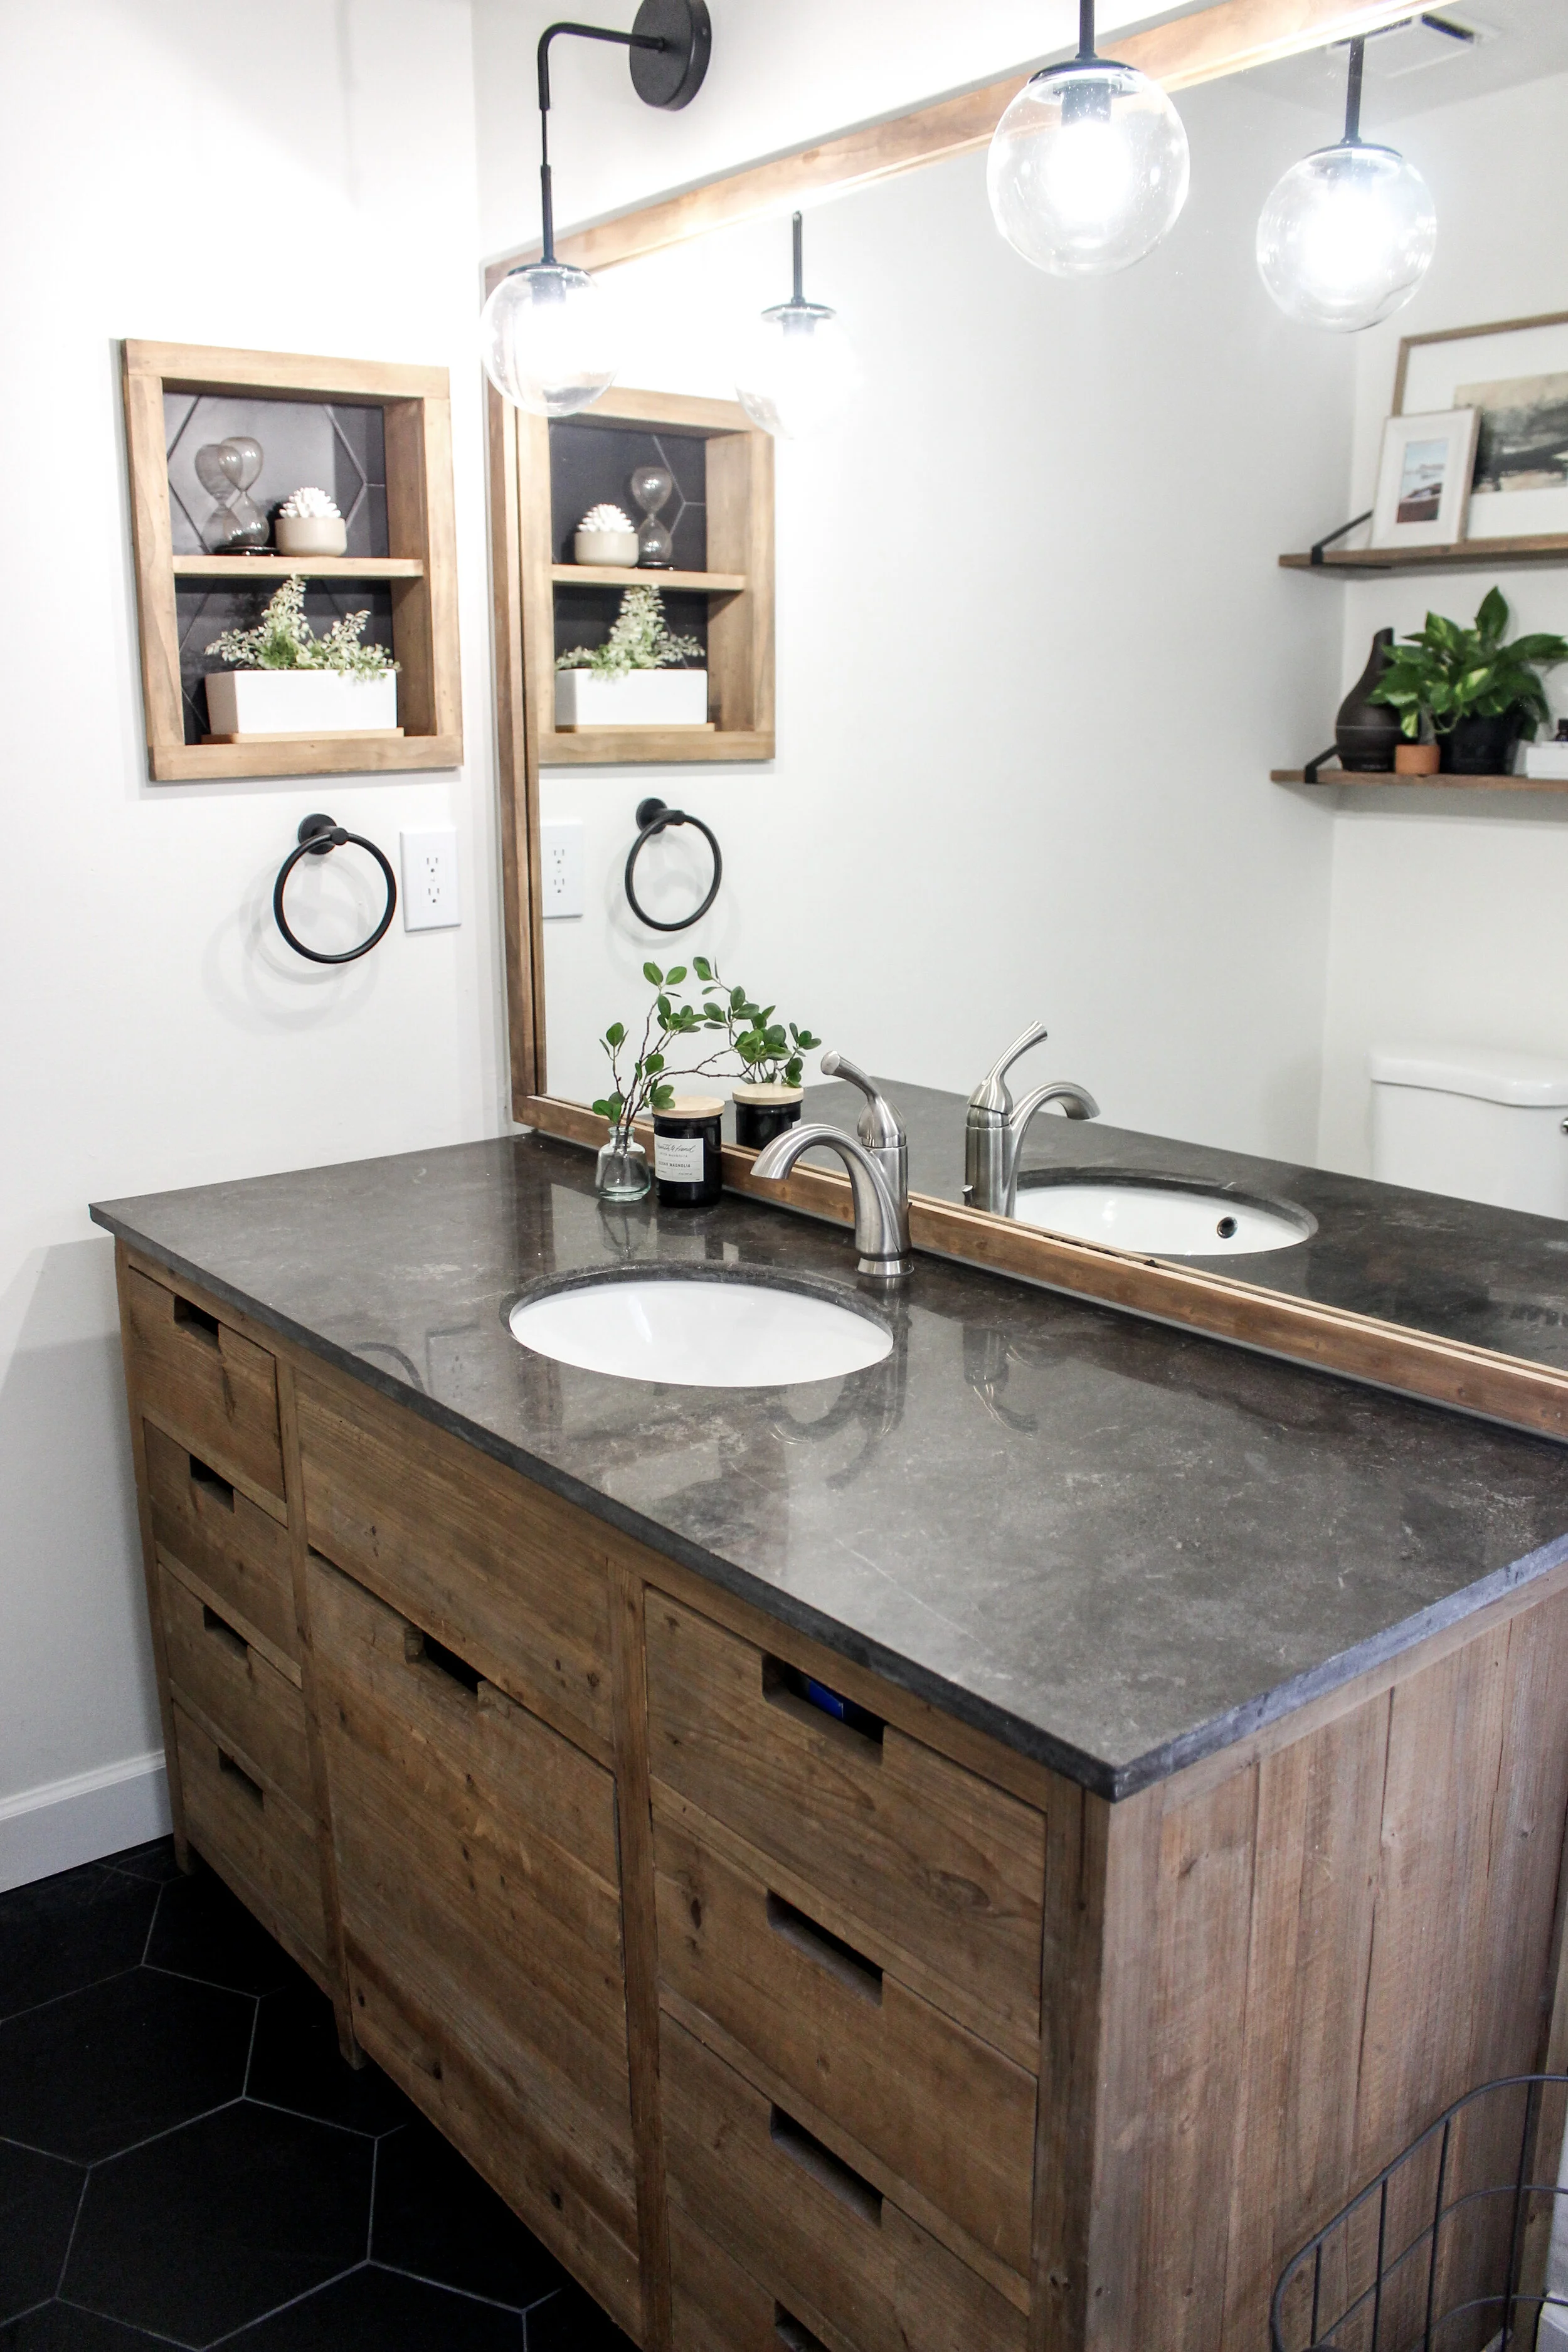
I have gotten lots of questions for our new master vanity since showing it on Instagram a while ago and, unfortunately for some, it comes from a local place called Home Emporium. It’s this fun warehouse type home decor store that sells discounted furniture, cabinets, and other home improvement supplies at really great prices. We snagged this real wood vanity for under a grand and we are very happy with it. I love the natural wood grooves and imperfections. I have even scored a tiny splinter that I wasn’t even made about because the grooves are so raw!
The mirror is the original large mirror that was here when we moved in and Sean thought it would be easy enough to edge it out and stain it to match the vanity. I want to mention that the stain I used is a custom mixture of walnut and weathered grey stain. I honestly couldn’t give you the ratio of each because it was trial and error until I got it right to match the vanity. The same stain was applied to the shelves above the toilet and the built in medicine cabinet.
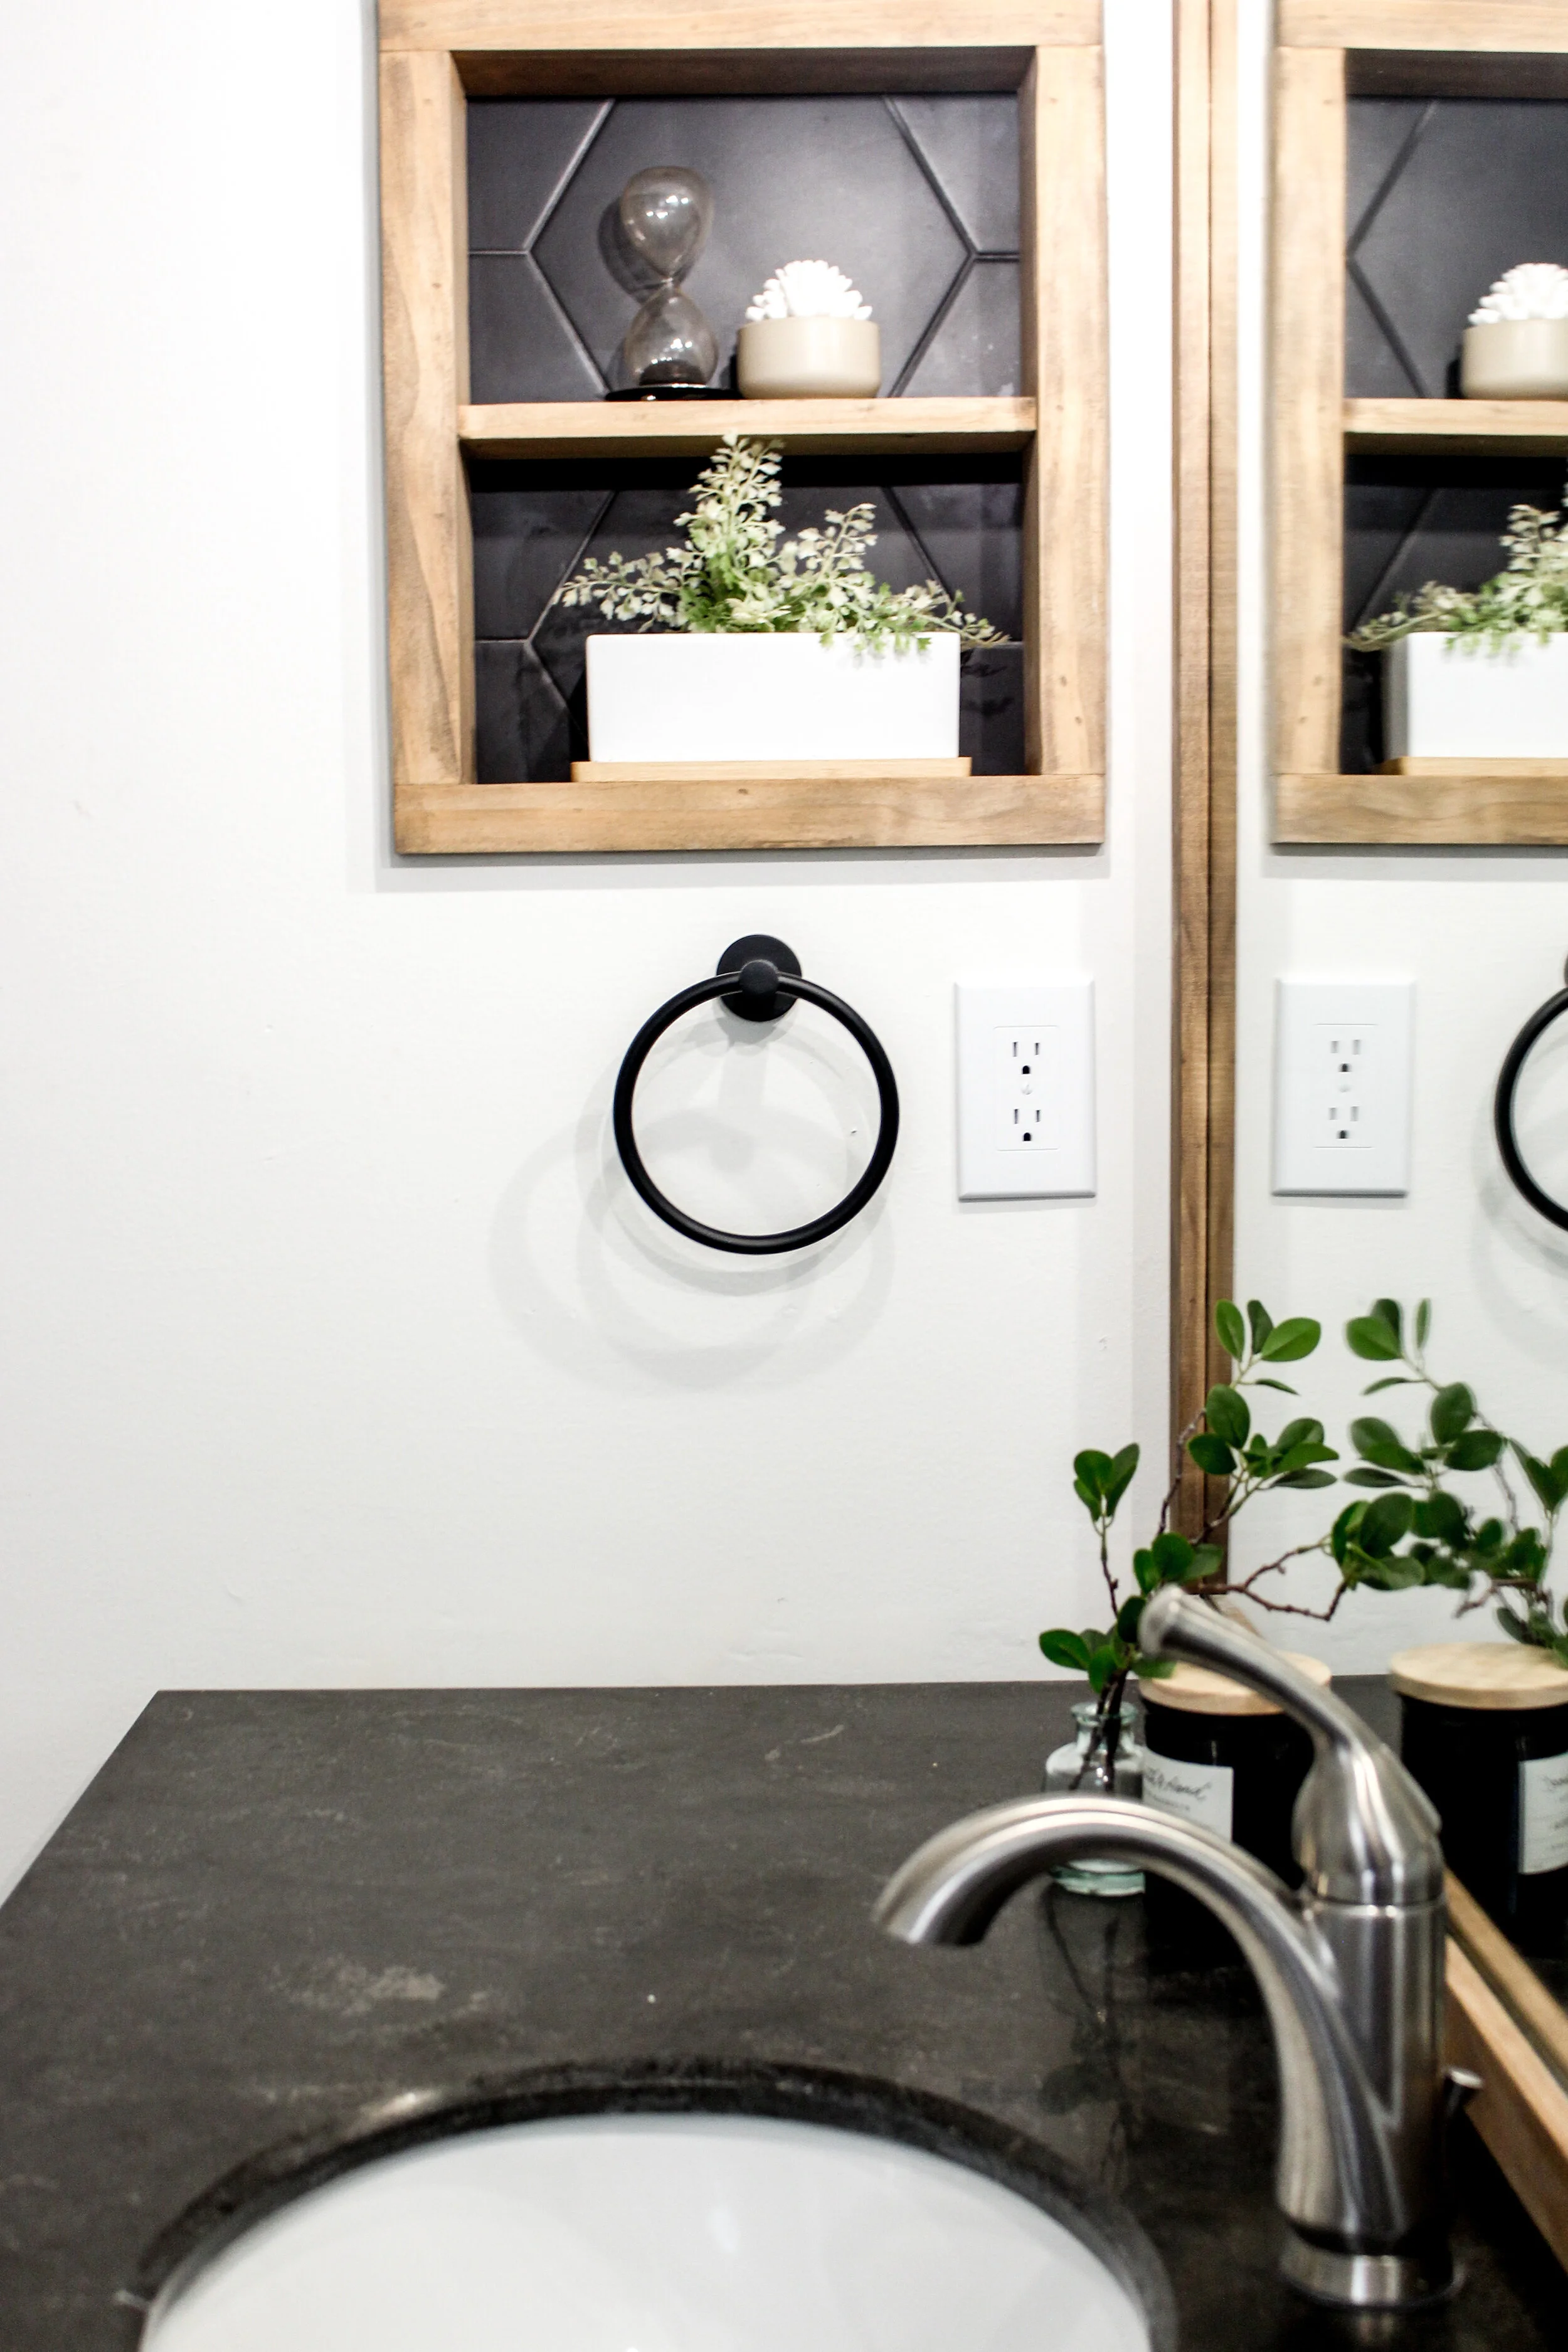
This medicine cabinet before and after is so fun! I am currently working on a step by step DIY for how we ripped out this old cabinet and added the new shelf built in. Stay tuned.
We used the same black hex tiles from the floor to be the background for the box. The wood was installed by Sean and finished with the stain to match the vanity.
Overall, this space came out exactly as I pictured it would. It’s such an amazing feeling when you close your eyes, envision a space, and then see it come to life! As promised, stay tuned for the DIY Tutorial on how to demo your medicine cabinet and add built in shelves. Happy Fall Y’all!
Ann | DESIGN


