
Refinishing A Laminate Vanity
About 4 years ago back in 2016, I began a personal blog and side business called “The Humble Duck.” I started flipping furniture as a way to save money on things we needed for our own home ranging from dressers and side tables to dining room sets and wardrobes. I absolutely loved my hobby that grew to be a financial bonus for our family. I had a goal for about a year to make $300 profit every month from selling my painted furniture on Etsy, craigslist, and through my website. I can say proudly that I was achieving this goal for several months until we moved to New York to start a new chapter in our lives. I am so happy that I can use my furniture flipping experiences in projects that S + A is working on now such as vanity refinishing. I am planning to write a more in depth blog on how The Humble Duck business helped me grow within our new house flipping business in the near future. For now, how about a step by step on flipping a laminate bathroom vanity?

Before
Step 1 : Prepping to Paint - Sanding and Stripping
I began prepping Ren’s vanity by removing all the hardware, drawers, and knobs making sure to put all the hardware into a sturdy plastic bag to save for later. Once I removed the drawers, I originally planned to sand down the laminate as best as I could. The laminate needs to be very ruffed up in order for the primer and paint to adhere to the surface. I used a piece of gritty sandpaper (the lower the number the better) on the slides of the base of the vanity. After I felt that the base was roughed up enough, I moved onto the drawers.

I planned to sand down the drawer faces the same way I sanded the base but I was WAY more pleased with what happened next. As I was saddening, I realized that the laminate was chipping off in some places. Especially at the sides of the cabinet doors. Yeah, I got scared thinking about stripping the laminate off but decided that if I started and the laminate barely came off, I could always sand it down to get it as even as possible with the wood. I also read that paint stripper helps to remove laminate off of cabinet doors if you plan to go this route. To my surprise, the laminate peeled right off almost slipping off like butter. Honestly, my two year old could have done it and probably would have if the vanity was located in our house. I easily stripped all the laminate off of the cabinet door faces and was ecstatic to see fresh wood underneath.
Step 2 : Priming - Solid Tip
Before bringing the drawers home, I applied my first coat of Kilz Water-Based Primer to the base of the vanity. It adhered well since I hand-sanded the vanity primer to priming. I brought home the vanity drawers and planned to prime and paint them in my dad’s shed. My dad gave me the greatest tip as he walked by and saw me prepping the doors. He told me to use Kilz Spray Can instead of hand brushing the primer. This tip not only saved time but also allowed the cabinet doors to have a flawless finish since I planned to spray them with paint when they were dry. I applied two coats of spray primer to the front and back of the drawers allowing for ample dry time.

Step 3 : Painting - Spraying Vs Hand Brushing
My dad came in clutch for the second time here. I was originally planning to hand brush the paint onto the vanity because of my furniture painting background. I have painted many, many pieces by hand and I felt confident doing the same with the vanity doors. My dad, obsessed with vintage car restoration, convinced me that spraying the paint would leave the same finish on the doors that he acquires from spraying his antique trucks. Boy, was I happy I listened. He set me up in his spraying shed with his handheld paint sprayer. After 3 coats on the front and back of each drawer leaving many hours between coats, the drawers were finished.

Now if you remember my blog about The Himpler Project (Billy & Ren) I briefly mentioned that originally I sprayed the first drawer a color blue that I HATED for this piece. I wanted to show you the aqua blue color below so that you can see the difference in color from how the vanity turned out once we painted it Naval by Sherwin Williams. I was SO much happier to see a true naval blue in the finished product.
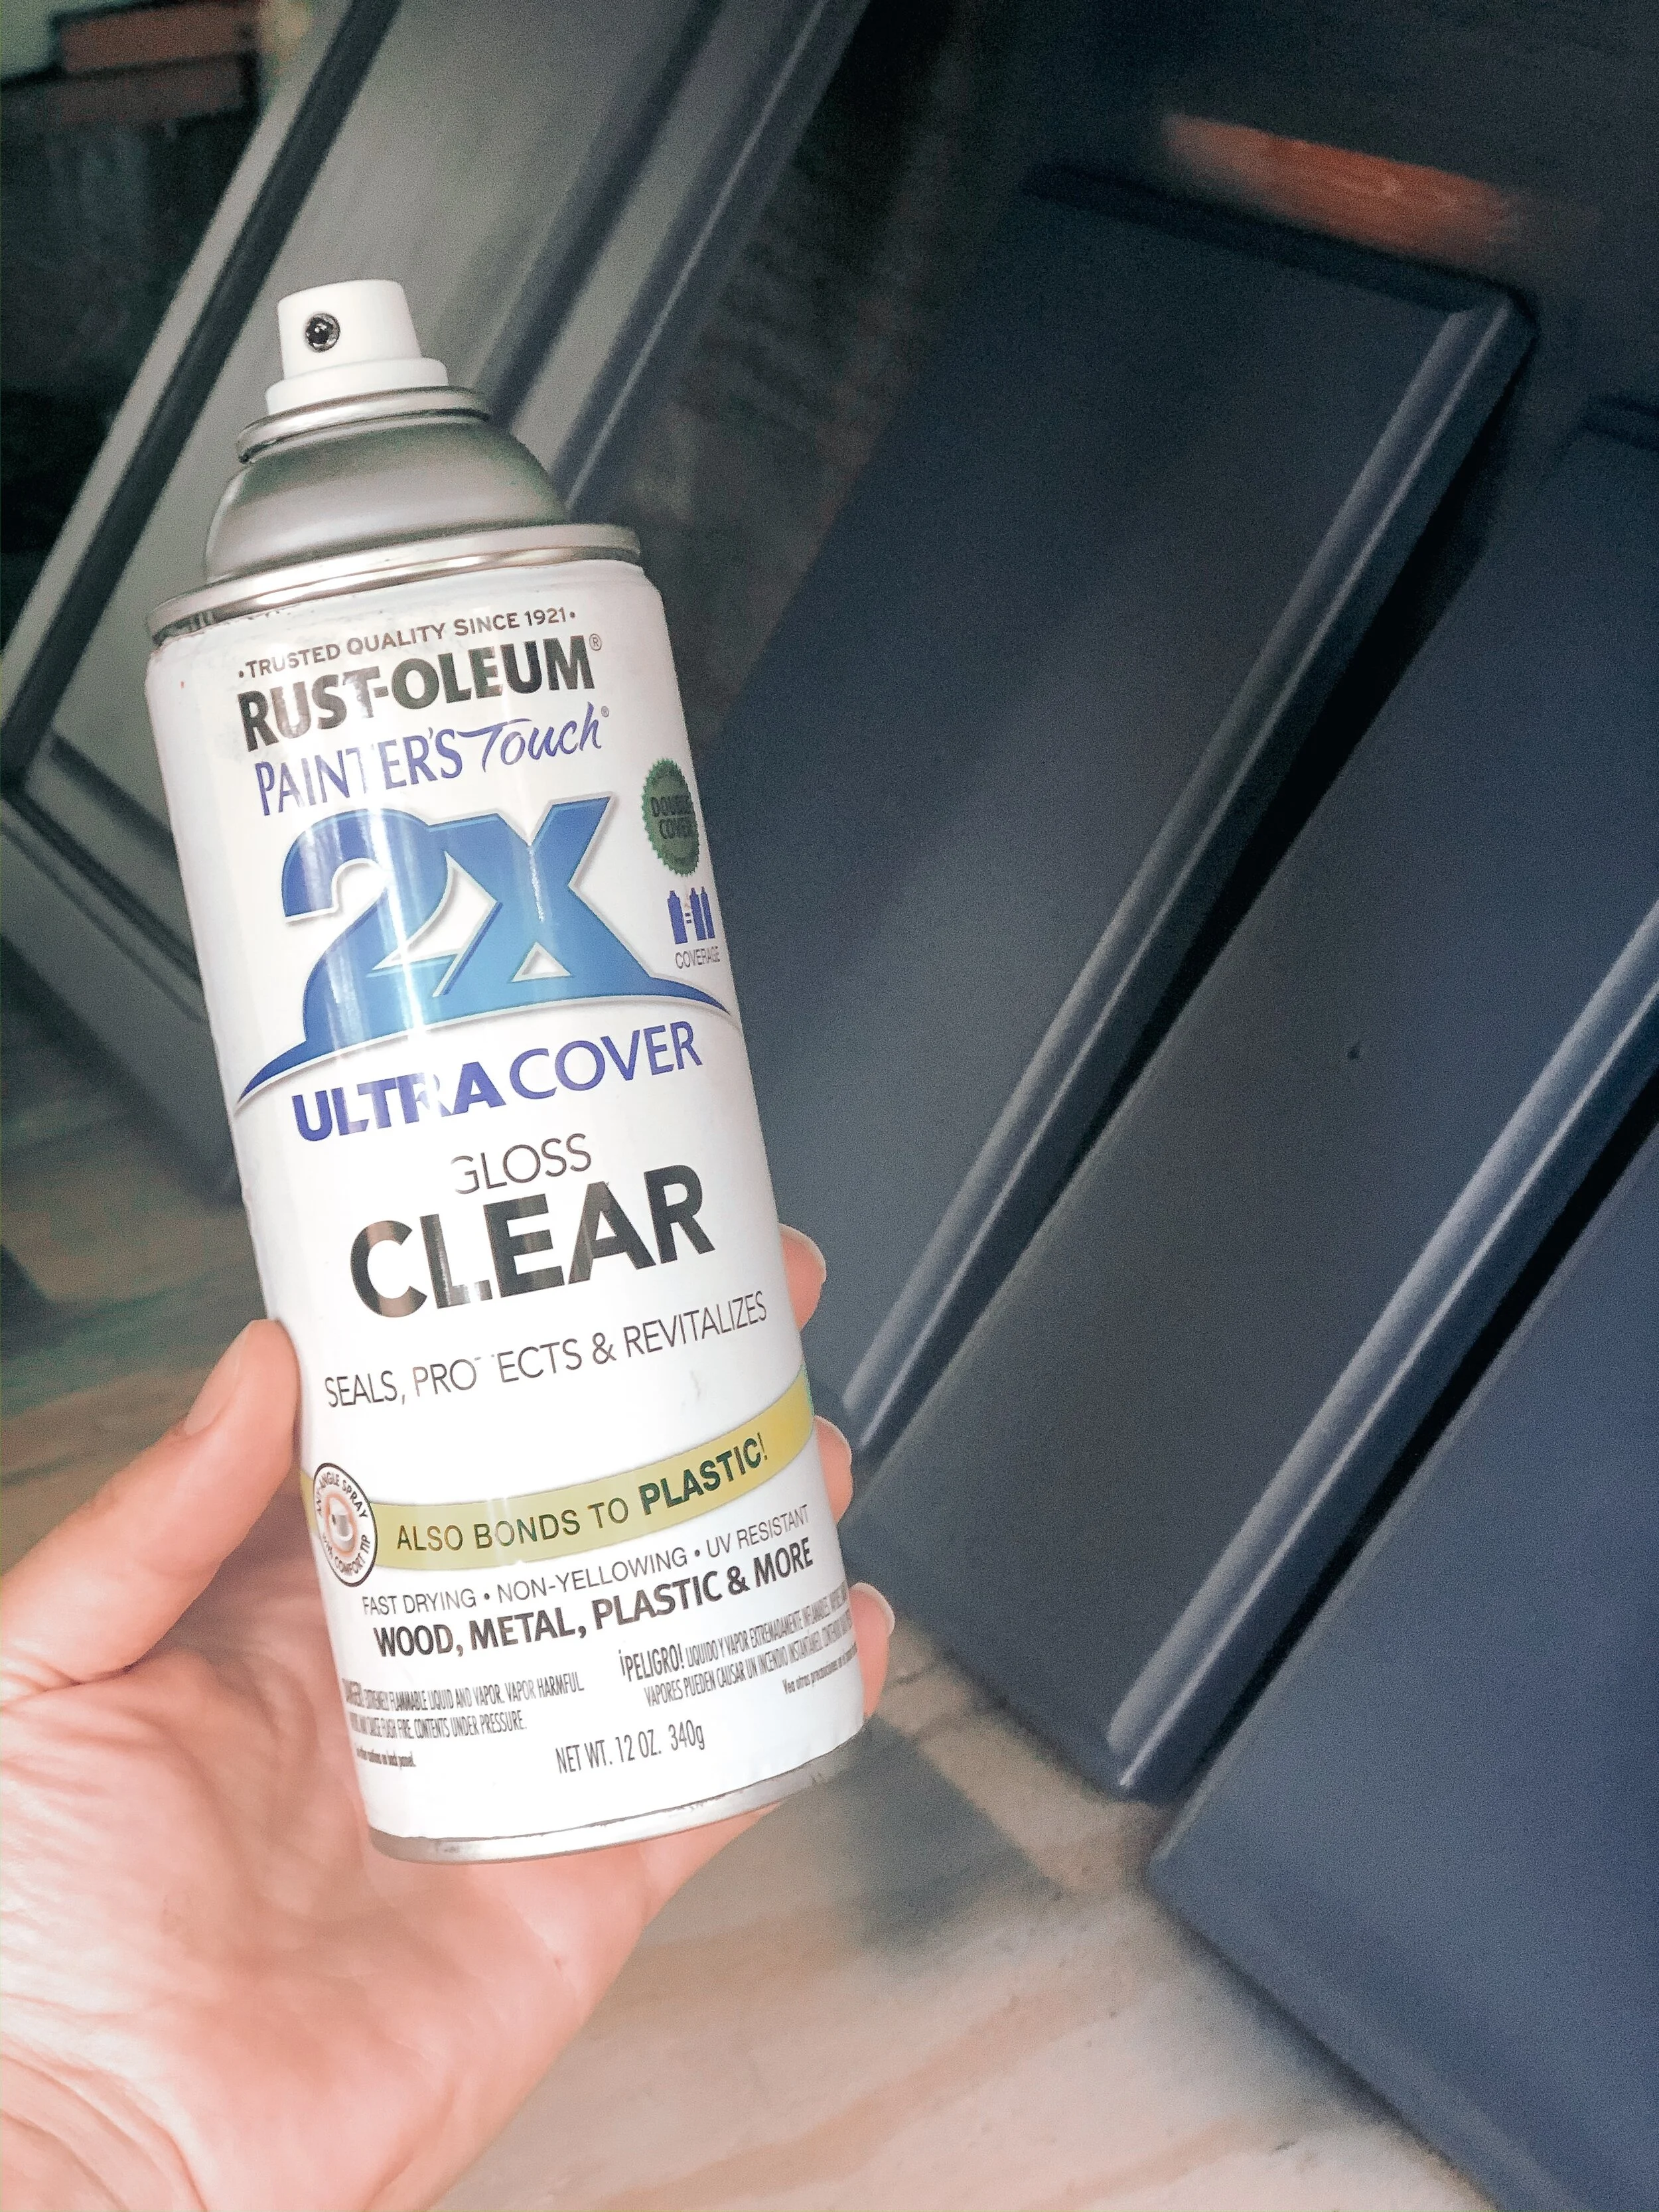
Step 4 : Sealing - Lacquer or Clear Sealant
Since the theme was spraying, I finished off the drawers with a Lacquer Spray for furniture. My dad used a similar one for his cars but mine was made for furniture sealing. I started with a Clear sealant like the one in the photo below. This one works just fine to finish off a painted piece and waterproof the outside. When I ran out of the Clear Sealant, I easily switched to a furniture lacquer and both went on the drawers the same giving the piece a smooth and sealed look.
I finished the base of the vanity with the same spray and reattached the doors once complete dry. Be sure to read the directions on the finish product that you are using and do NOT try to attach the doors too early. I learned that even after ample dry time, these drawers can STILL stick together if they are stacked (yes they were stacked over night and did need touching up in the morning).
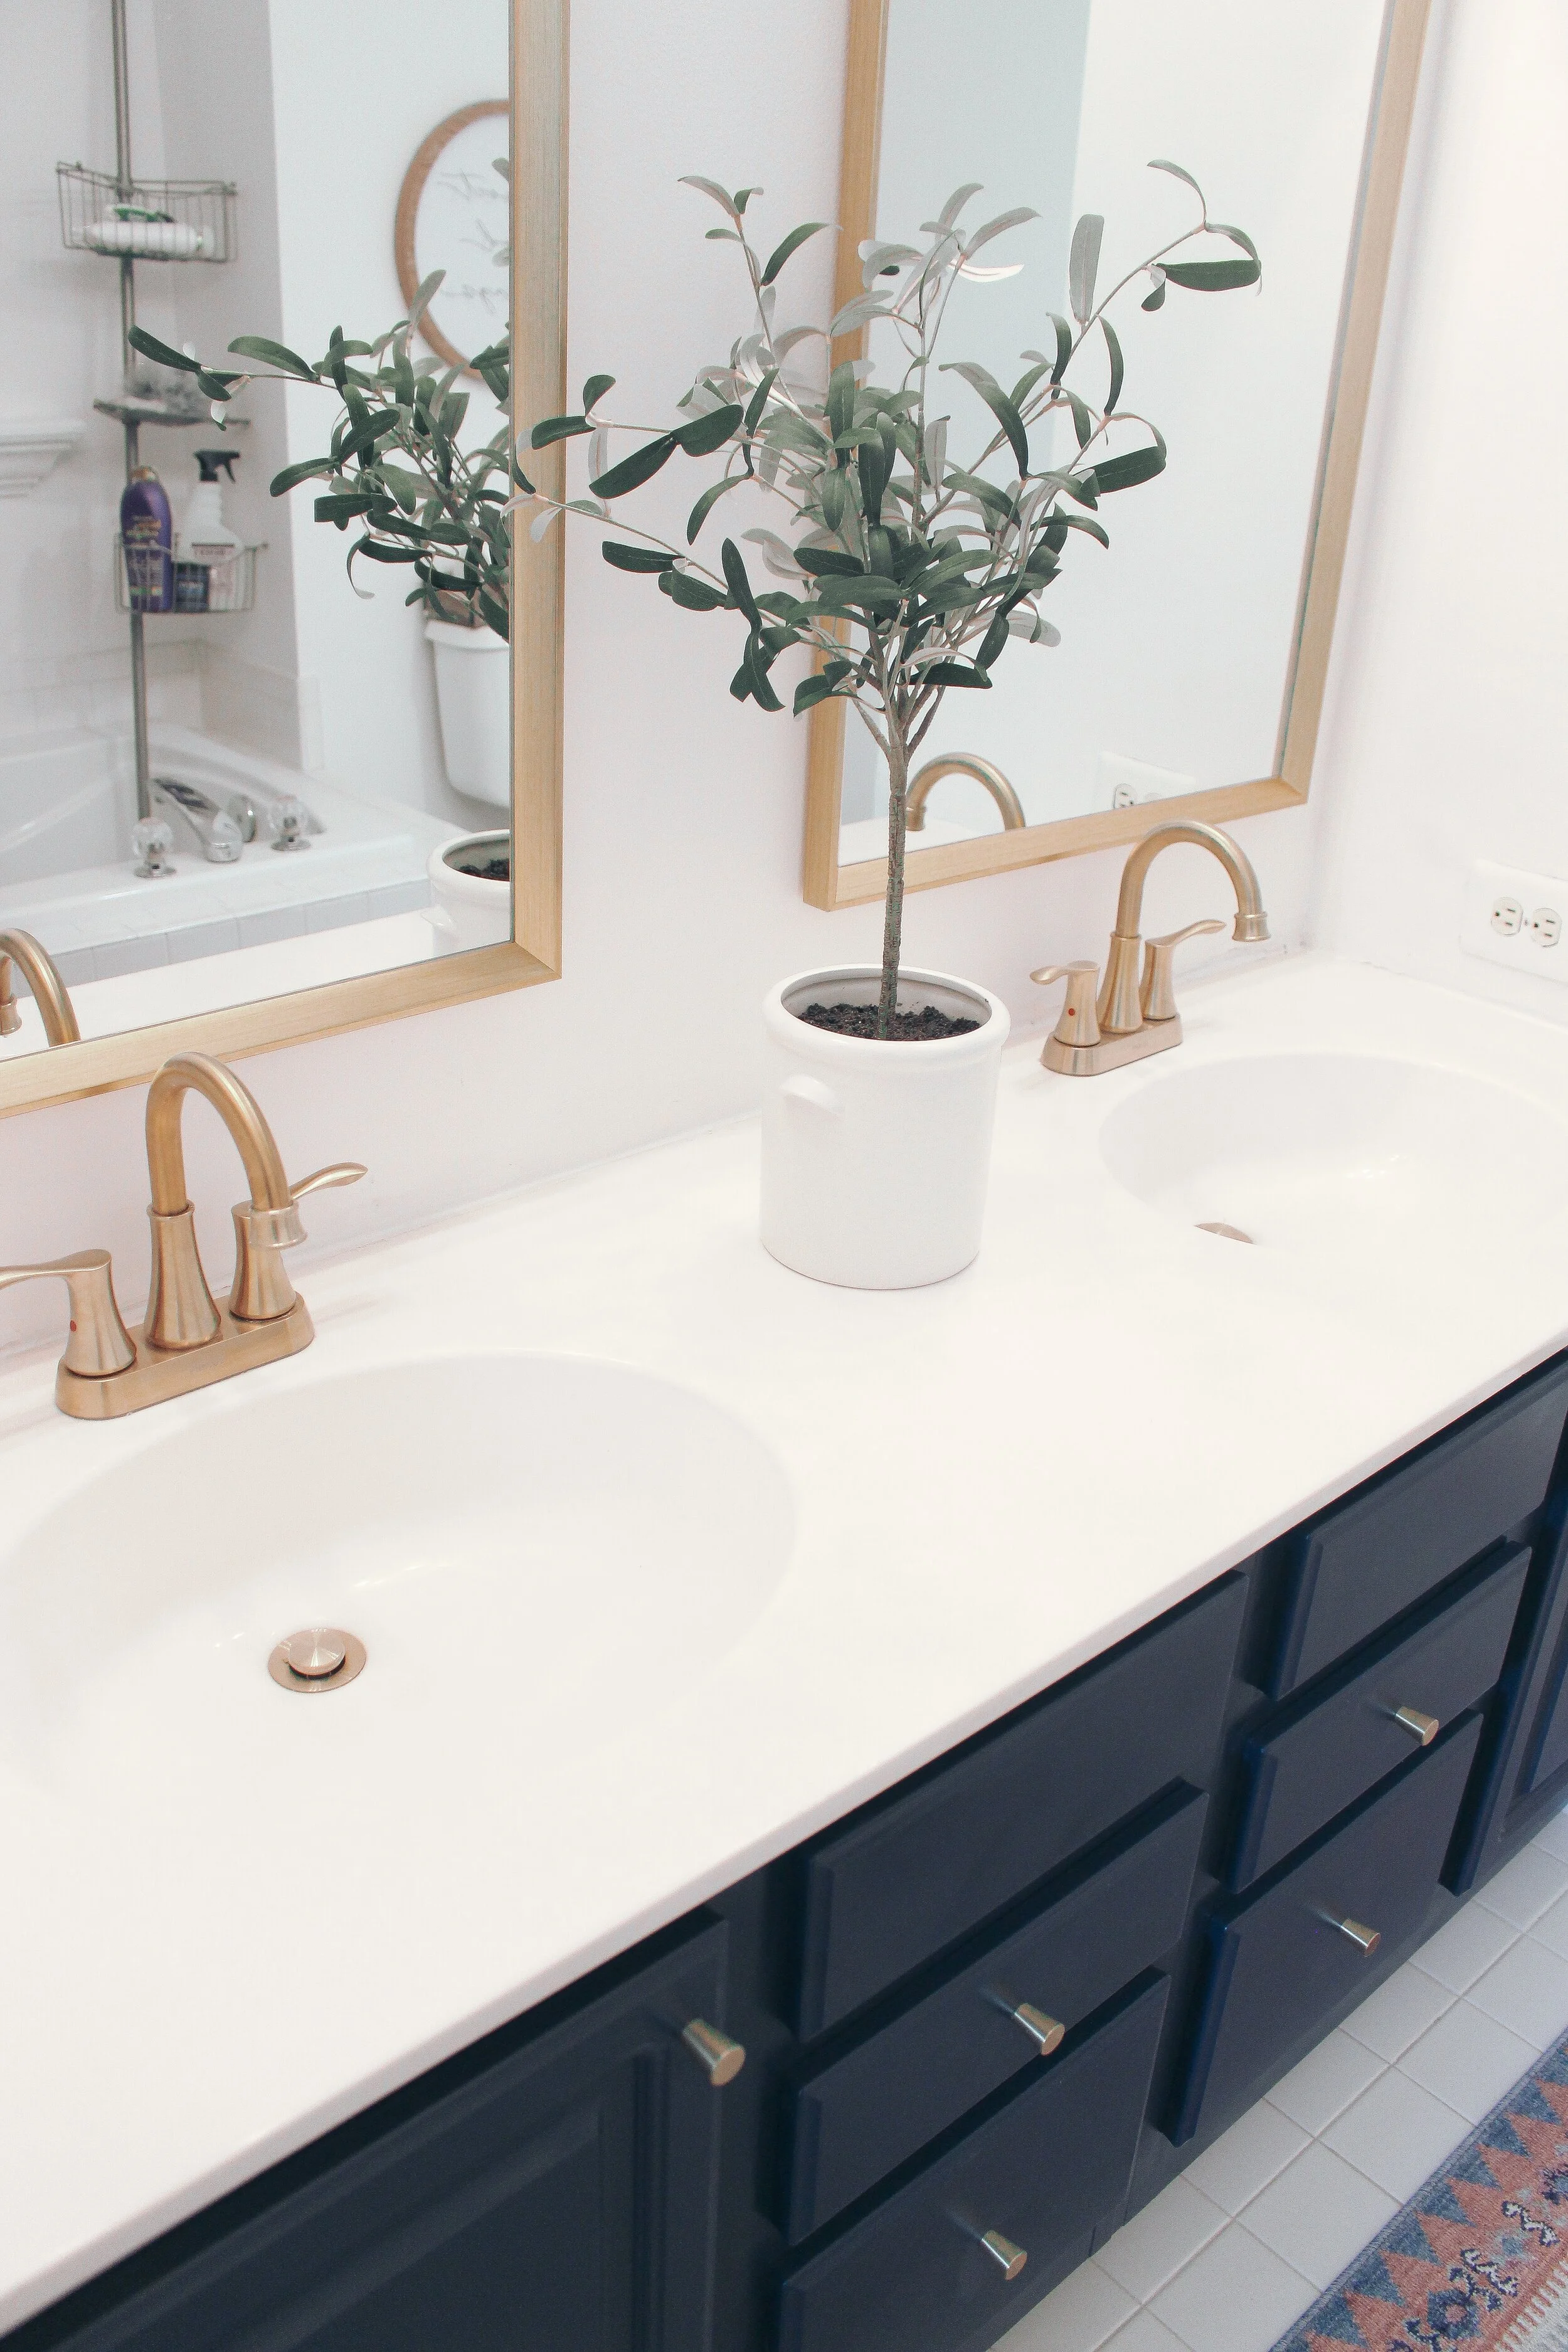
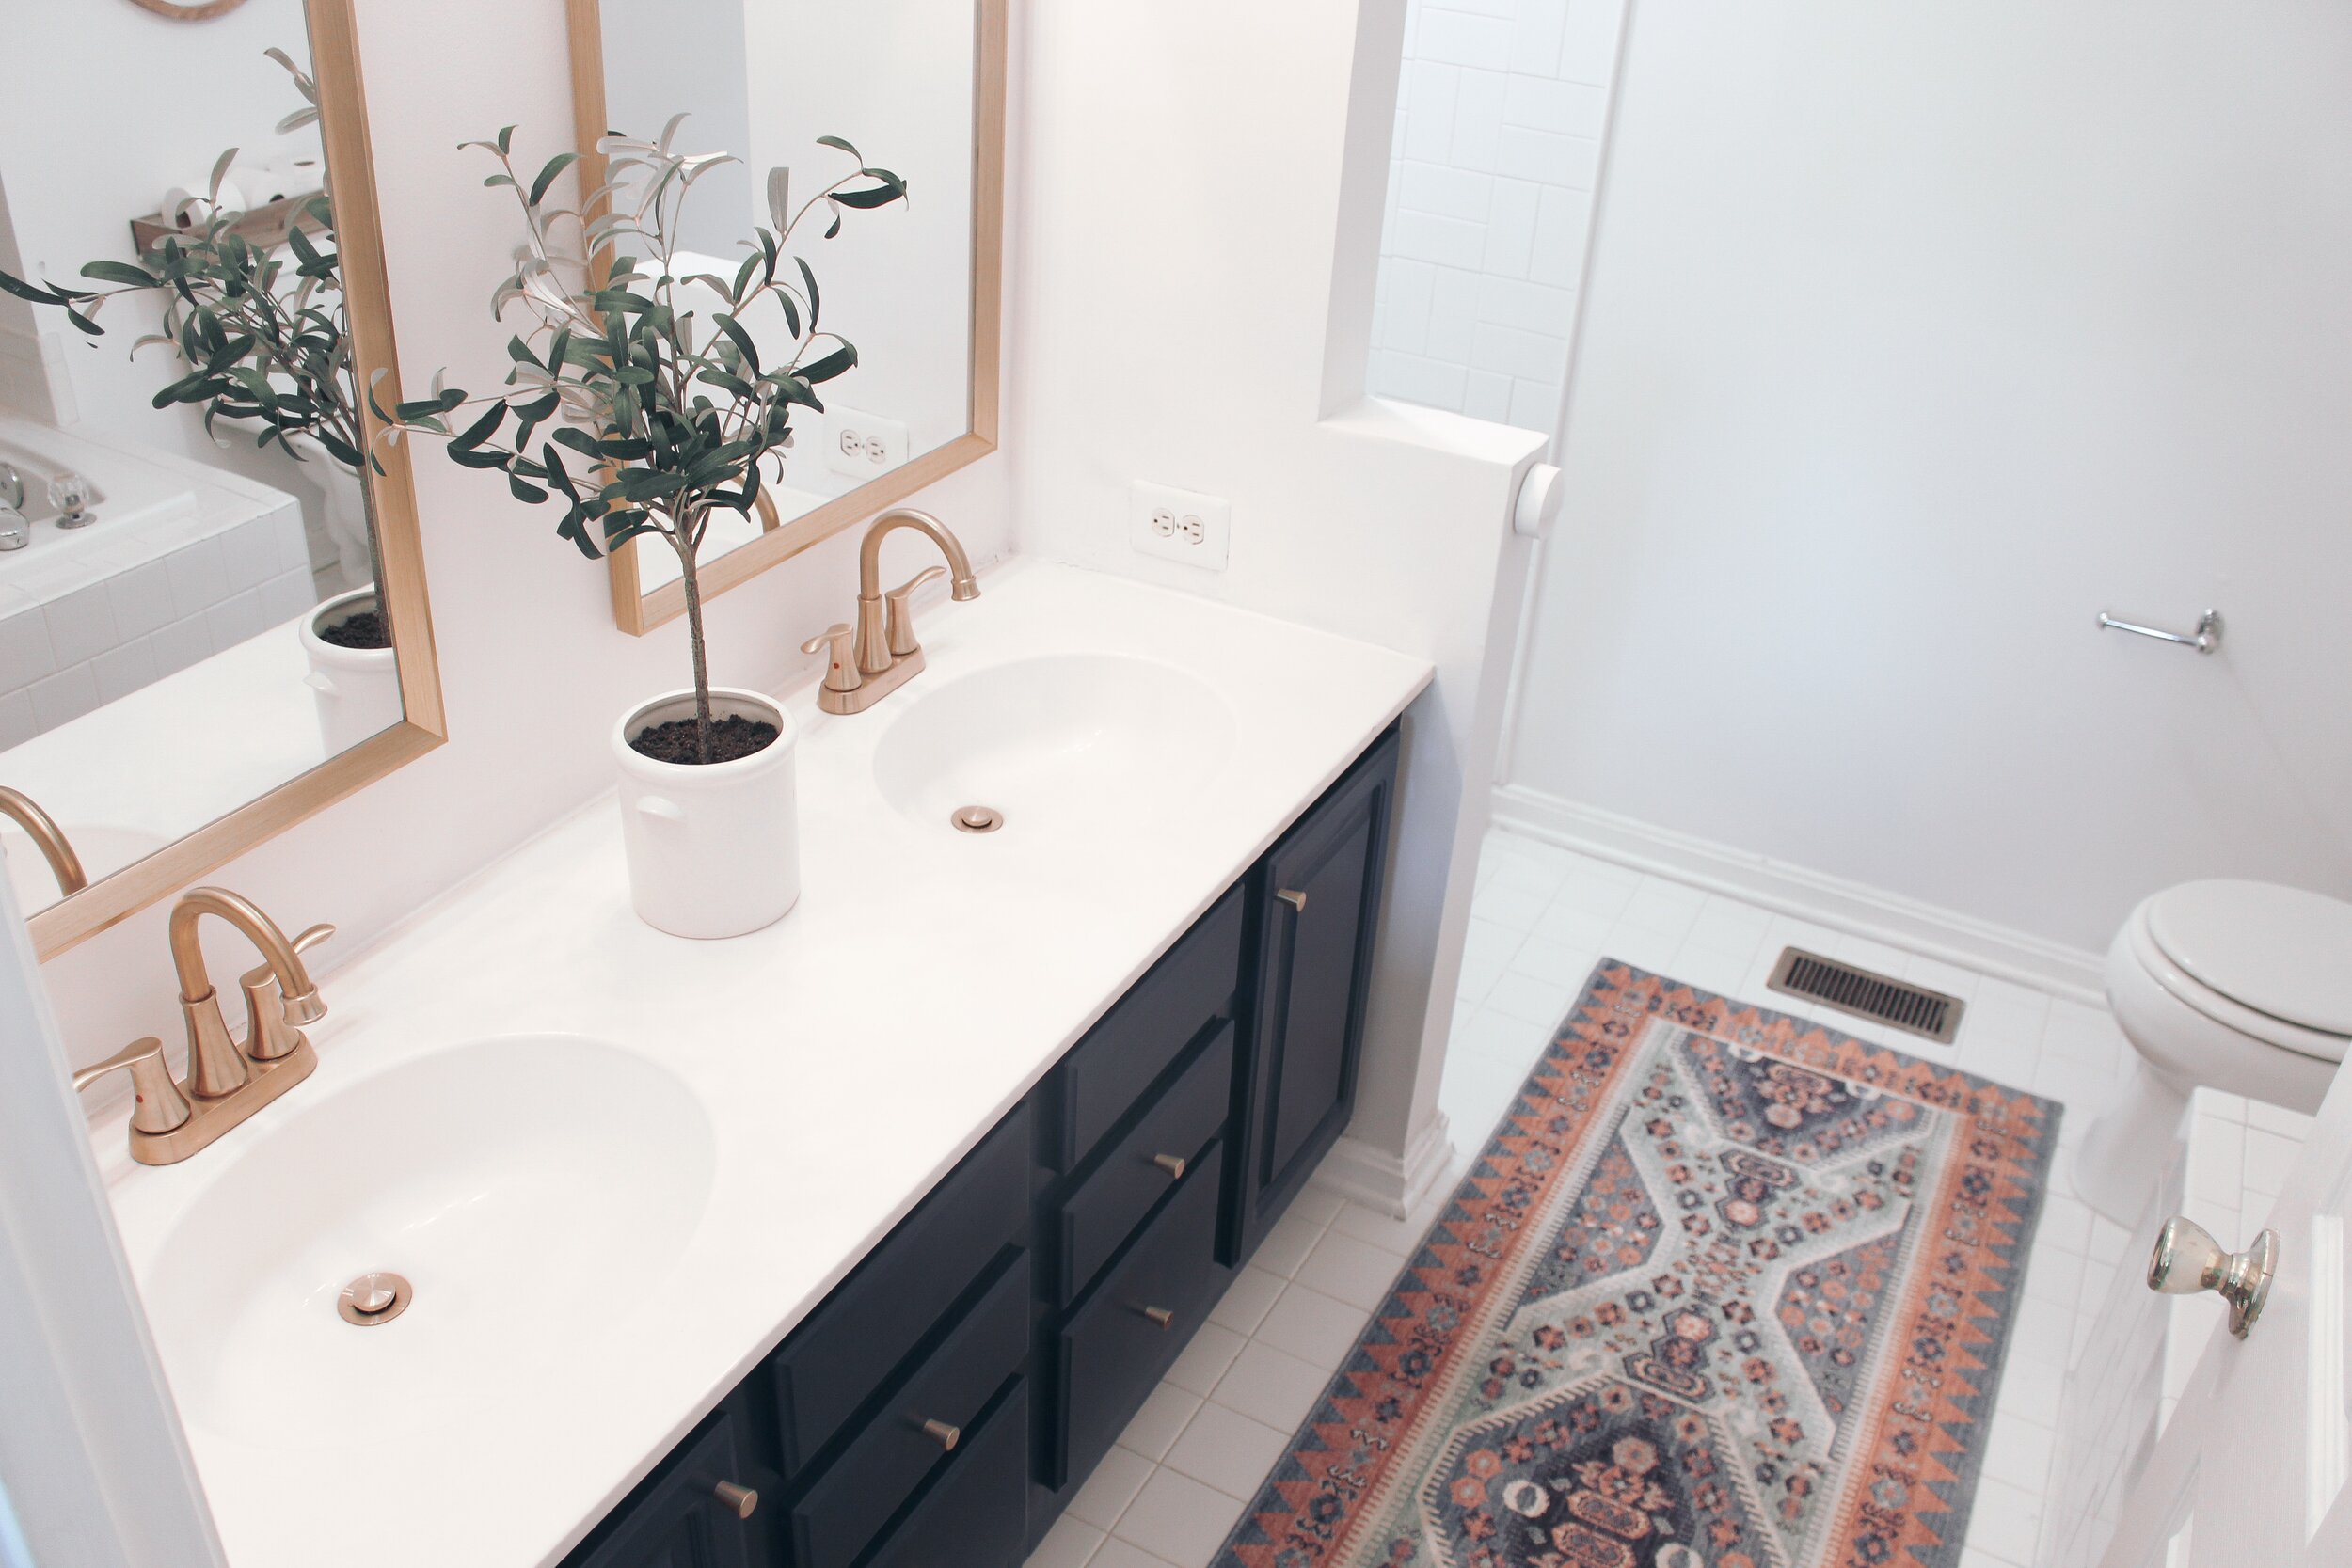
Step 5 : The Finishing Touches
Ren and I were both extremely happy with how the vanity turned out! It was exactly how I imagined it would look with the little finishing touches that made all the difference. Since Ren wanted gold accents, I chose cute gold knobs from amazon that matched the faucets and mirrors perfectly. Adding new knobs is absolutely a non negotiable when flipping a vanity. It’s special touches like knobs can bring a whole new personality and character to a bathroom or kitchen remodel.
You can read about The Himpler Project here and hopefully enjoy some pretty shower before and afters as well :)
Here is a movie I made showing most of the vanity flipping process to hopefully encourage you to paint that vanity of yours! If I can do it, so can you!