$3 Mid Century Modern Dresser Makeover
Virginia Beach, Virginia
If you’ve been around for long enough, you would recognize this art form of my that I adore called “furniture flipping.” I started a little furniture painting business on the side about five years ago where I would give vintage and wooden furniture makeovers and sell them on social media and selling platforms like Offer Up. The business and website was call Humbleduck. I have since fell to house flipping instead :) Every once in a while though, I love to flex this muscle again!
I picked up this little beauty about a year ago here in Virginia Beach thinking I would start the business back up of flipping and selling furniture. Well, time, moving, kids, flipping houses, and life got in the way and we kept this $100 dollar mid century modern find worth way more than that.
It was collecting dust in the corner bedroom and once the crib and everything else filled the room, there wasn’t enough space for the dresser anymore. We moved it to the living room where it was constantly asking me for a facelift. I couldn’t ignore it’s longing cries for too long. It was time to fire up the paint brush. I was inspired after seeing this dresser from Shea McGee and loved the neutral yet “not white” color choice in her piece. It’s clearly made with a light wood material but I thought, I could recreate the look with paint. Besides, you can do anything with paint.
It was time to gather my materials:
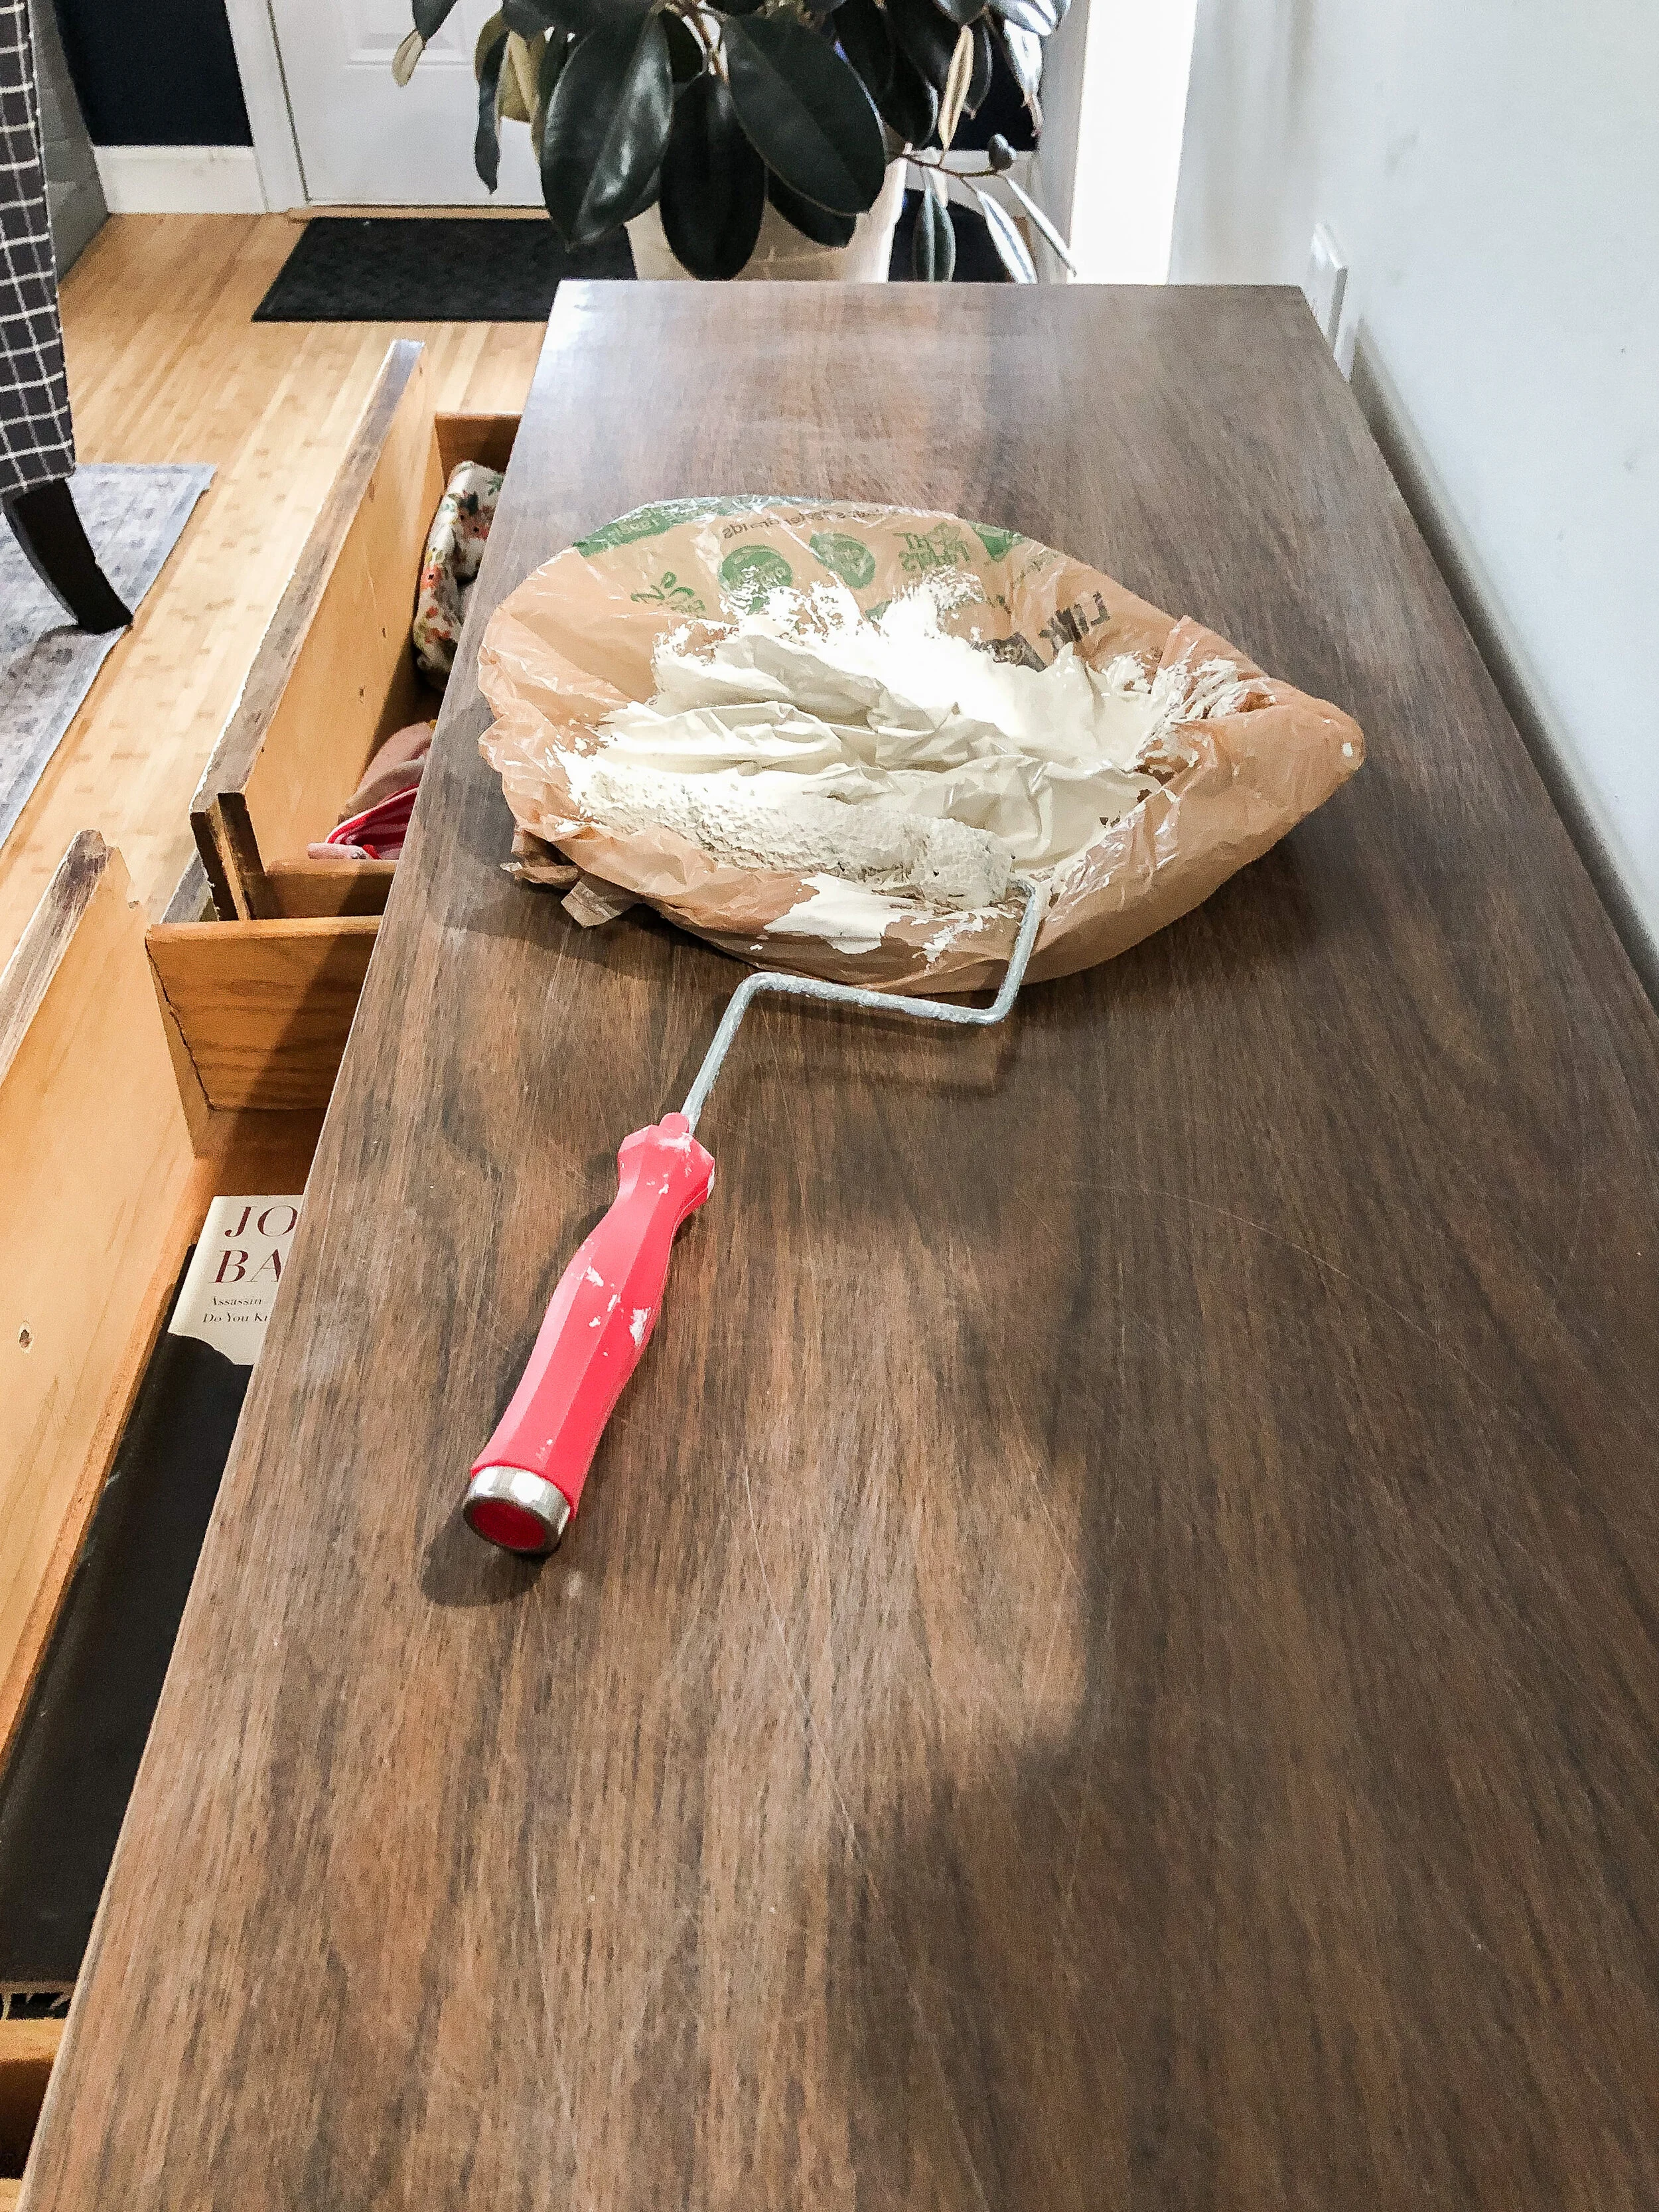
Cabinet Roller
Nap - here is the link for the naps I use and the size. I like the cabinet rollers because of the control you have using them
Paint - I used Natural Linen by Sherwin Williams
Sander (hand or electric palm sander) - medium grid ( used 400)
Polyurethane or top coat of choice - here’s what I use. It’s water based and odor free.
Regular paint brush for poly/top coat application
I tried a few samples of similar colors and landed on Natural Linen. I loved that it wasn’t wait, because, I wanted something different, yet it was still neutral so it will fit almost anywhere. My living room is also a deep navy so I wanted to lighten the space.
I also made sure I was very careful around the clothes inside the dresser. This was my lazy, I mean, quick way to not have to disassemble the whole dresser. Typically, I’d take the drawers out and use painters’ tape but this is my piece to keep and I thought I would be careful enough!
First, I sanded down the whole piece. This is the most important step especially if you are using a traditional paint and not a chalk or milk paint (which I also love). Chalk and milk paint bond so well to wood that they boast there is no need for primer which in my experience is pretty much accurate. I sanded down this piece with a 400 grid piece of sand paper and boy did it get the dresser real gritty and ready to be painted.
Next, after seeing how gritty it was, I thought that the paint would adhere well without primer so I chose to skip the priming step. This is probably where I should mention that I took a gamble and ordered $3 worth of Natural Linen samples and that’s all I ended up needing. The dresser is layered with two coats of paint. That is it! $3 dollar makeover! The Polyurethane top coat was something I already had.
I used a cabinet roller and naps for the paint and a regular paint brush ( all which I had) to apply the top coat of Clear Satin Polyurethane. Tip: apply the poly in one direction. I would not be slap-dash about it. I am usually applying it in one back and forth motion.
I took these pictures before I finished the, what Sean calls, “Cow’s Feet.” Because I’m currently 30 weeks pregnant, I couldn’t lift the dresser to get the drop cloth underneath at the time, but rest assured. I’m currently enjoying the view of my “Cow’s-Feet-free” dresser.
I popped the original knobs back on after about two hours of dry time and voila! Again, $3 is all I spent on this makeover! I’m so thrilled with the results. The water based poly is easy to apply and gives it a durability that even my kids can’t destroy.
It’s crazy how my daughter’s hand made it into both the before and after pictures. The things she can accomplish…
Let me know if you ever have any questions and be sure to follow along on IG for live updates on family making, house beautifying, and all things crazy Team Wayne.
Ann | DESIGN


