Project Home Base: D + A’s Closet Reveal and Tutorial
Virginia Beach, Virginia
I’m exhausted writing this blog post thinking about how much work was put into this silly yet adorable closet makeover for D + A’s shared bedroom. It comes with a weird twist of events as well. A little back story… Sean and I were in the middle of working on the The Fisherman Project (which was under contract in a short period of time after we listed!!) and were ready to take on the small half bathroom in the back of the house. We originally wanted herringbone wall paper like this below from Sunny Circle Studio.
Unfortunately, during this time, I had come down with a bad case of the pregnancy brain and ordered the absolute wrong kind of wall paper...twice. I ordered two different rolls from two different places and they either weren’t the right size or just weren’t the right quality.
So I came up with a brilliantly exhausting idea to hand paint the same herringbone print onto the wall using, first, a frog tape-type strategy where you tape the wall into the herringbone pattern. Then, you paint over the tape and, once dry, you peel the tape off slowly to revel the finish product.
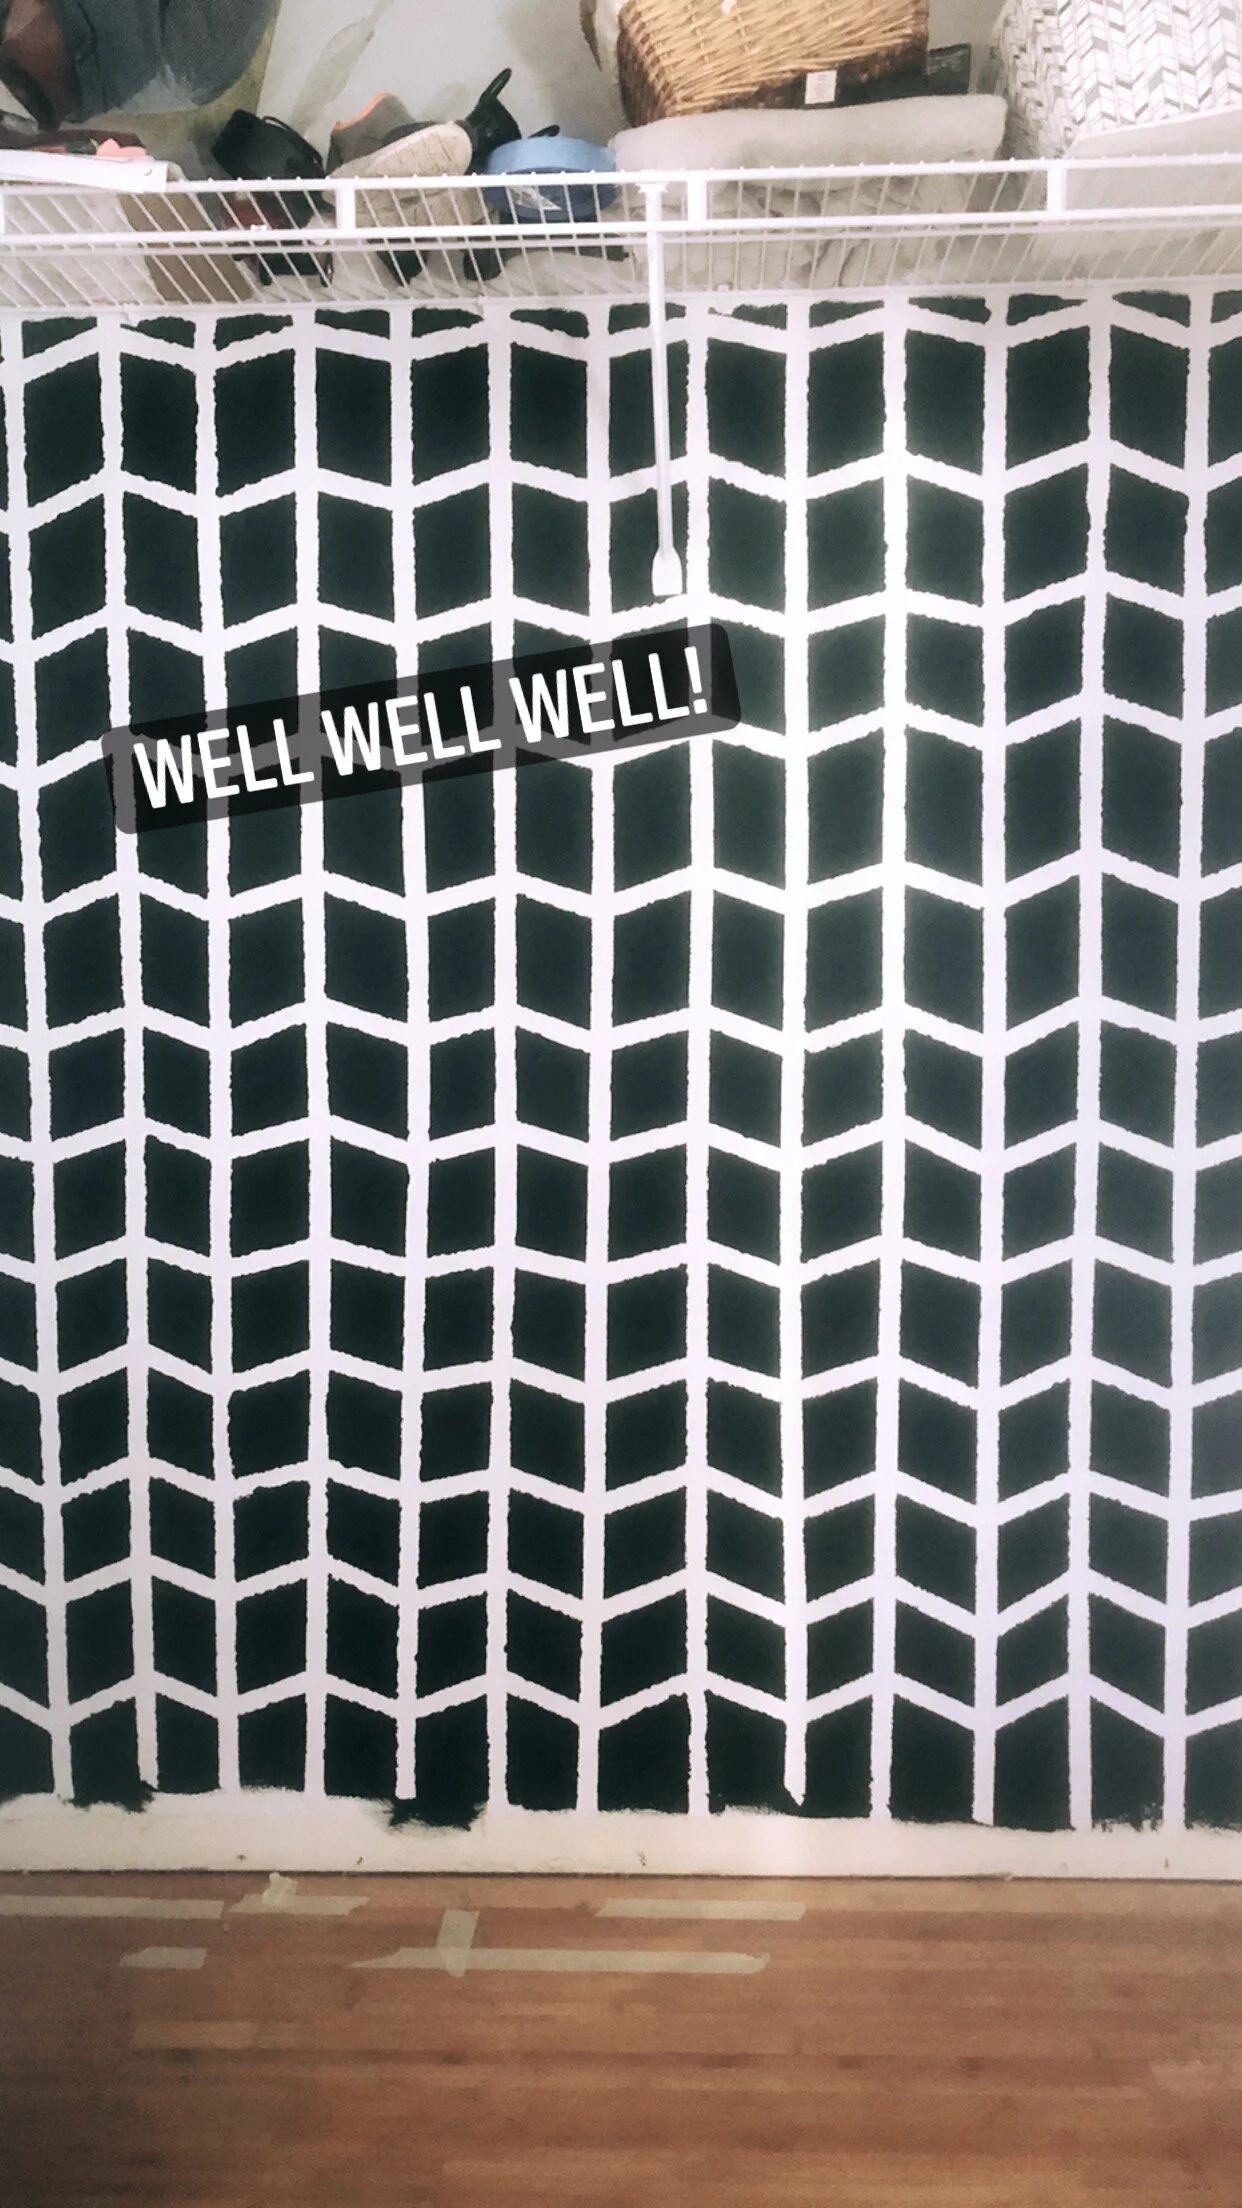
Here was my first attempt at this tape-and-peel strategy. I had SO many mixed emotions. First, I used an emerald green color. It was so dramatic and dark and just didn’t fit the space the way I liked. Second, the tape was not flush to the wall because these walls in my house are textured! I don’t know why I didn’t think of that before I tried this method. The bleeding through was so bad that I had to go over the entire wall by hand to fix the messy lines.
Then, it hit me. I’m already doing this by hand AND I hate this color… why not paint the entire wall white and start over. This next time, I will hand paint the herringbone lines THINNER and a less bold color. So I painted the wall white and began the walk of shame “start over” process.
What You’ll Need:
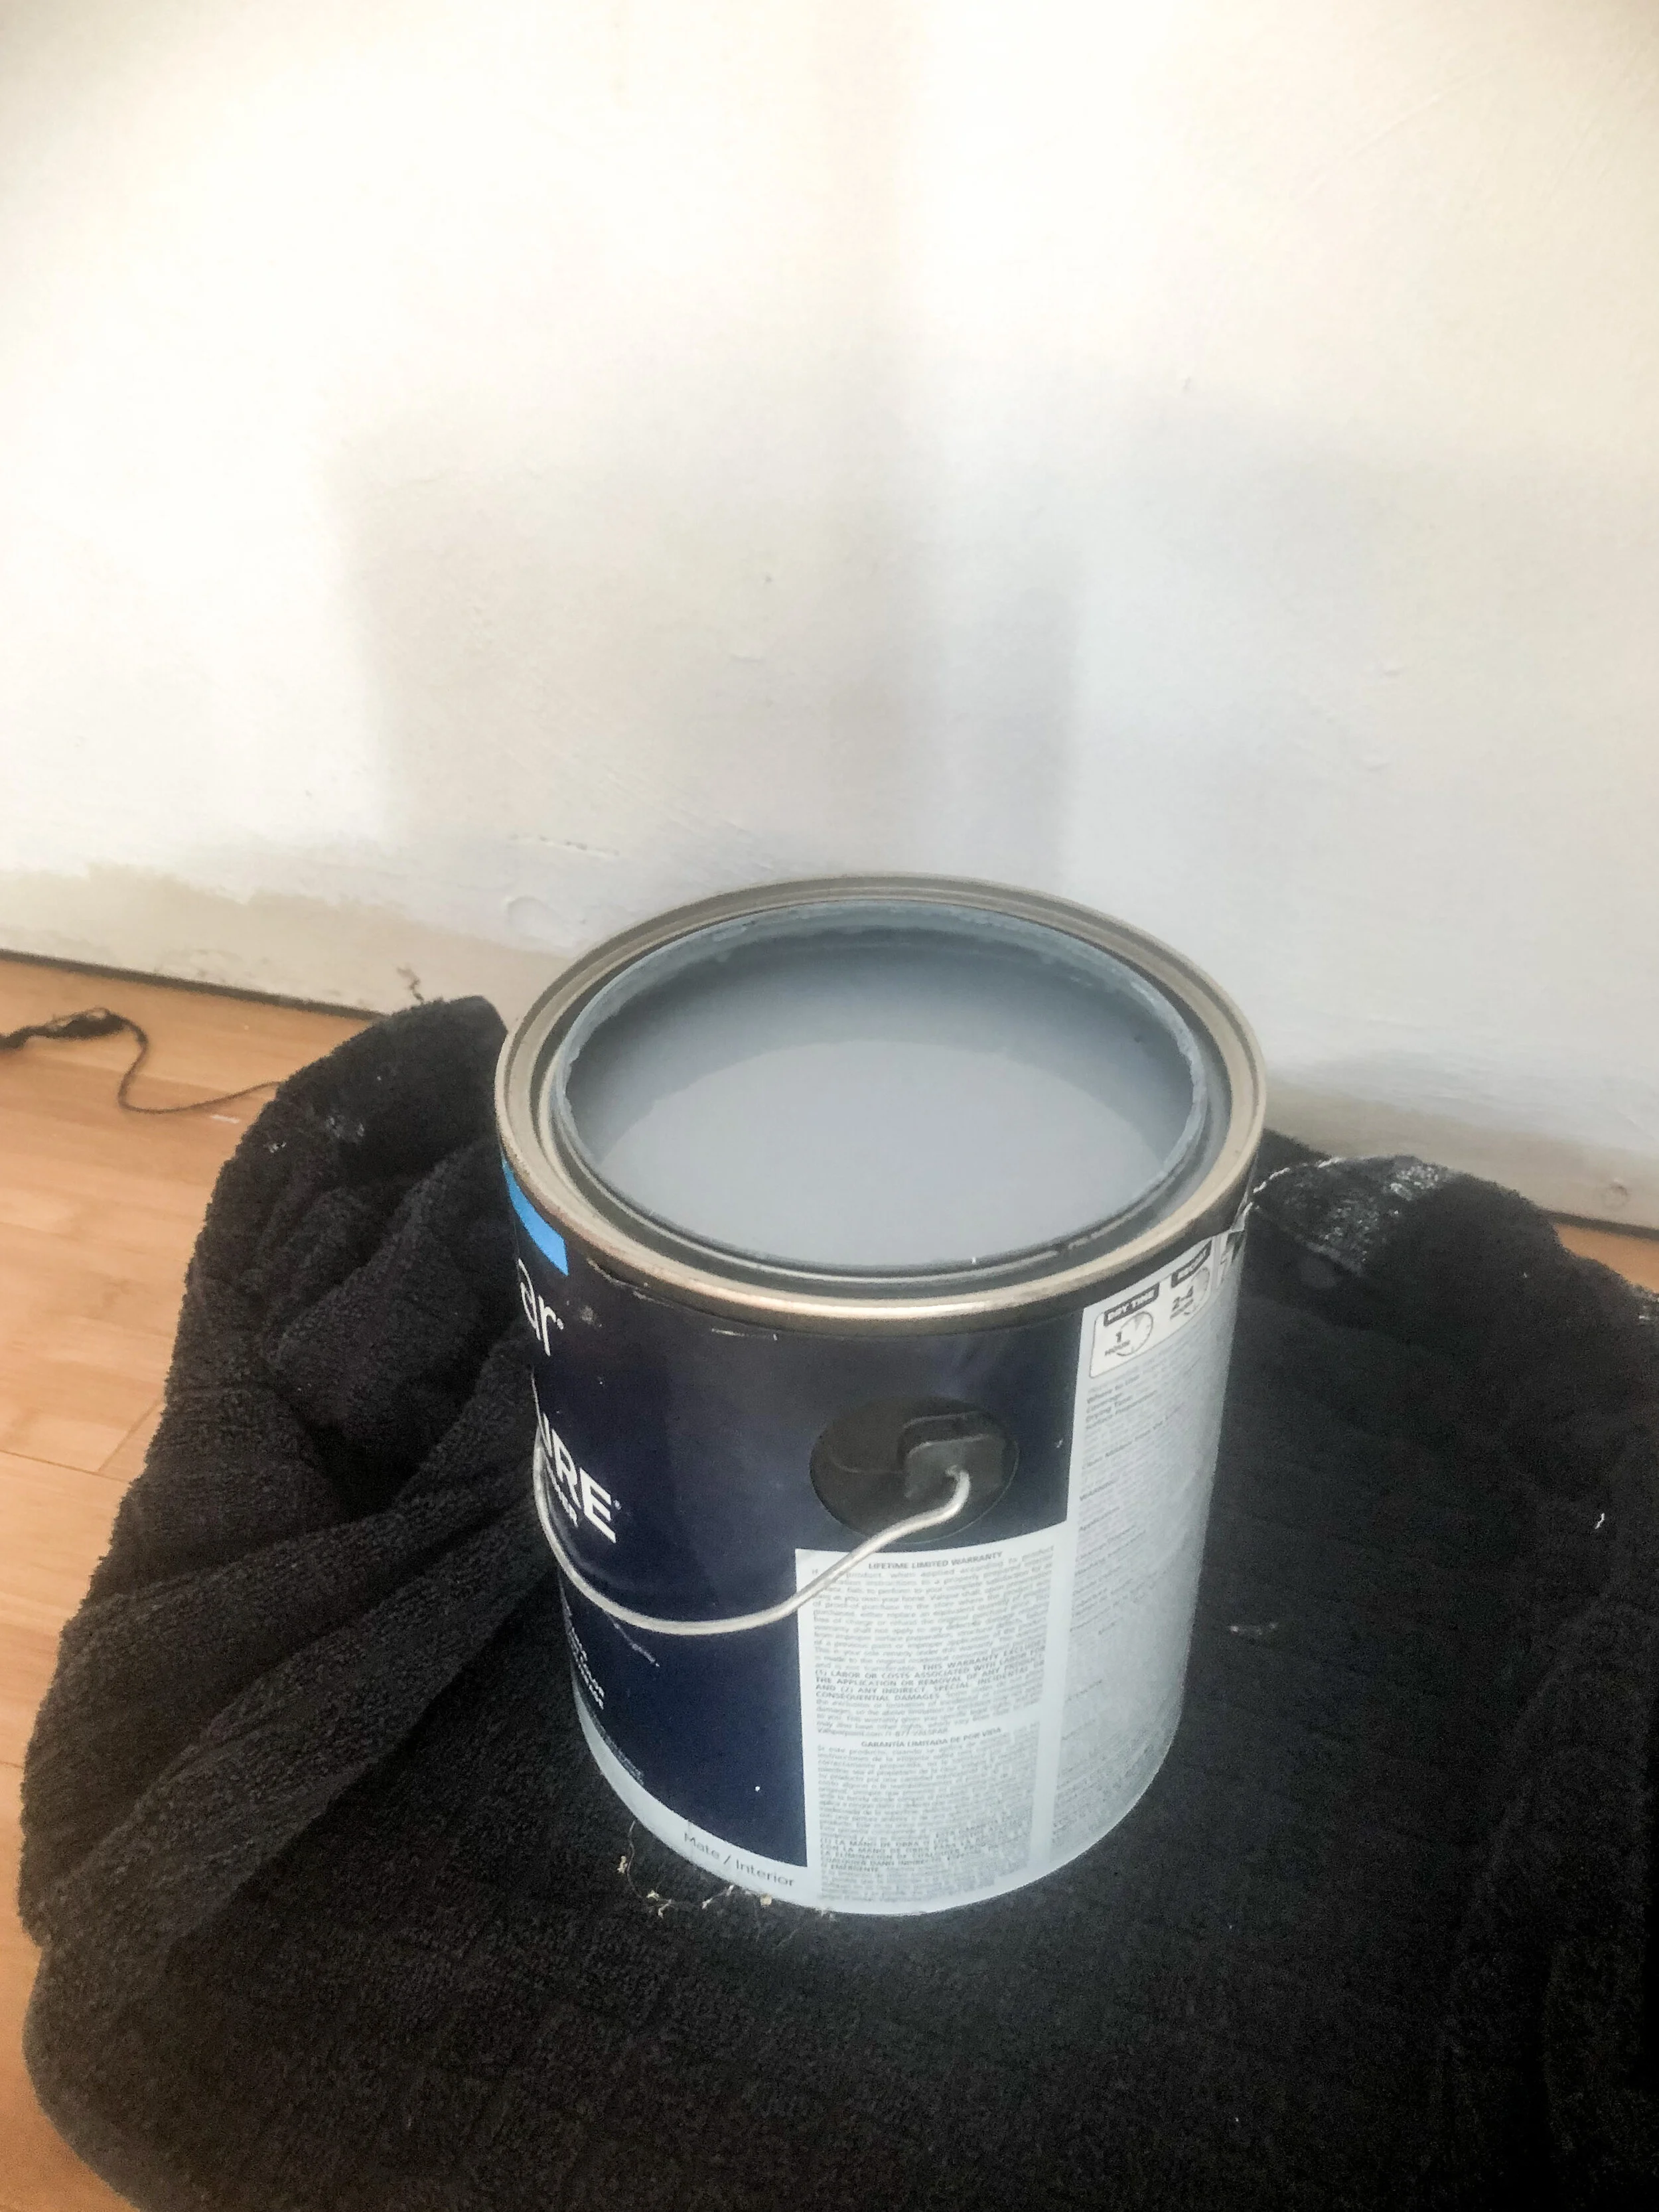
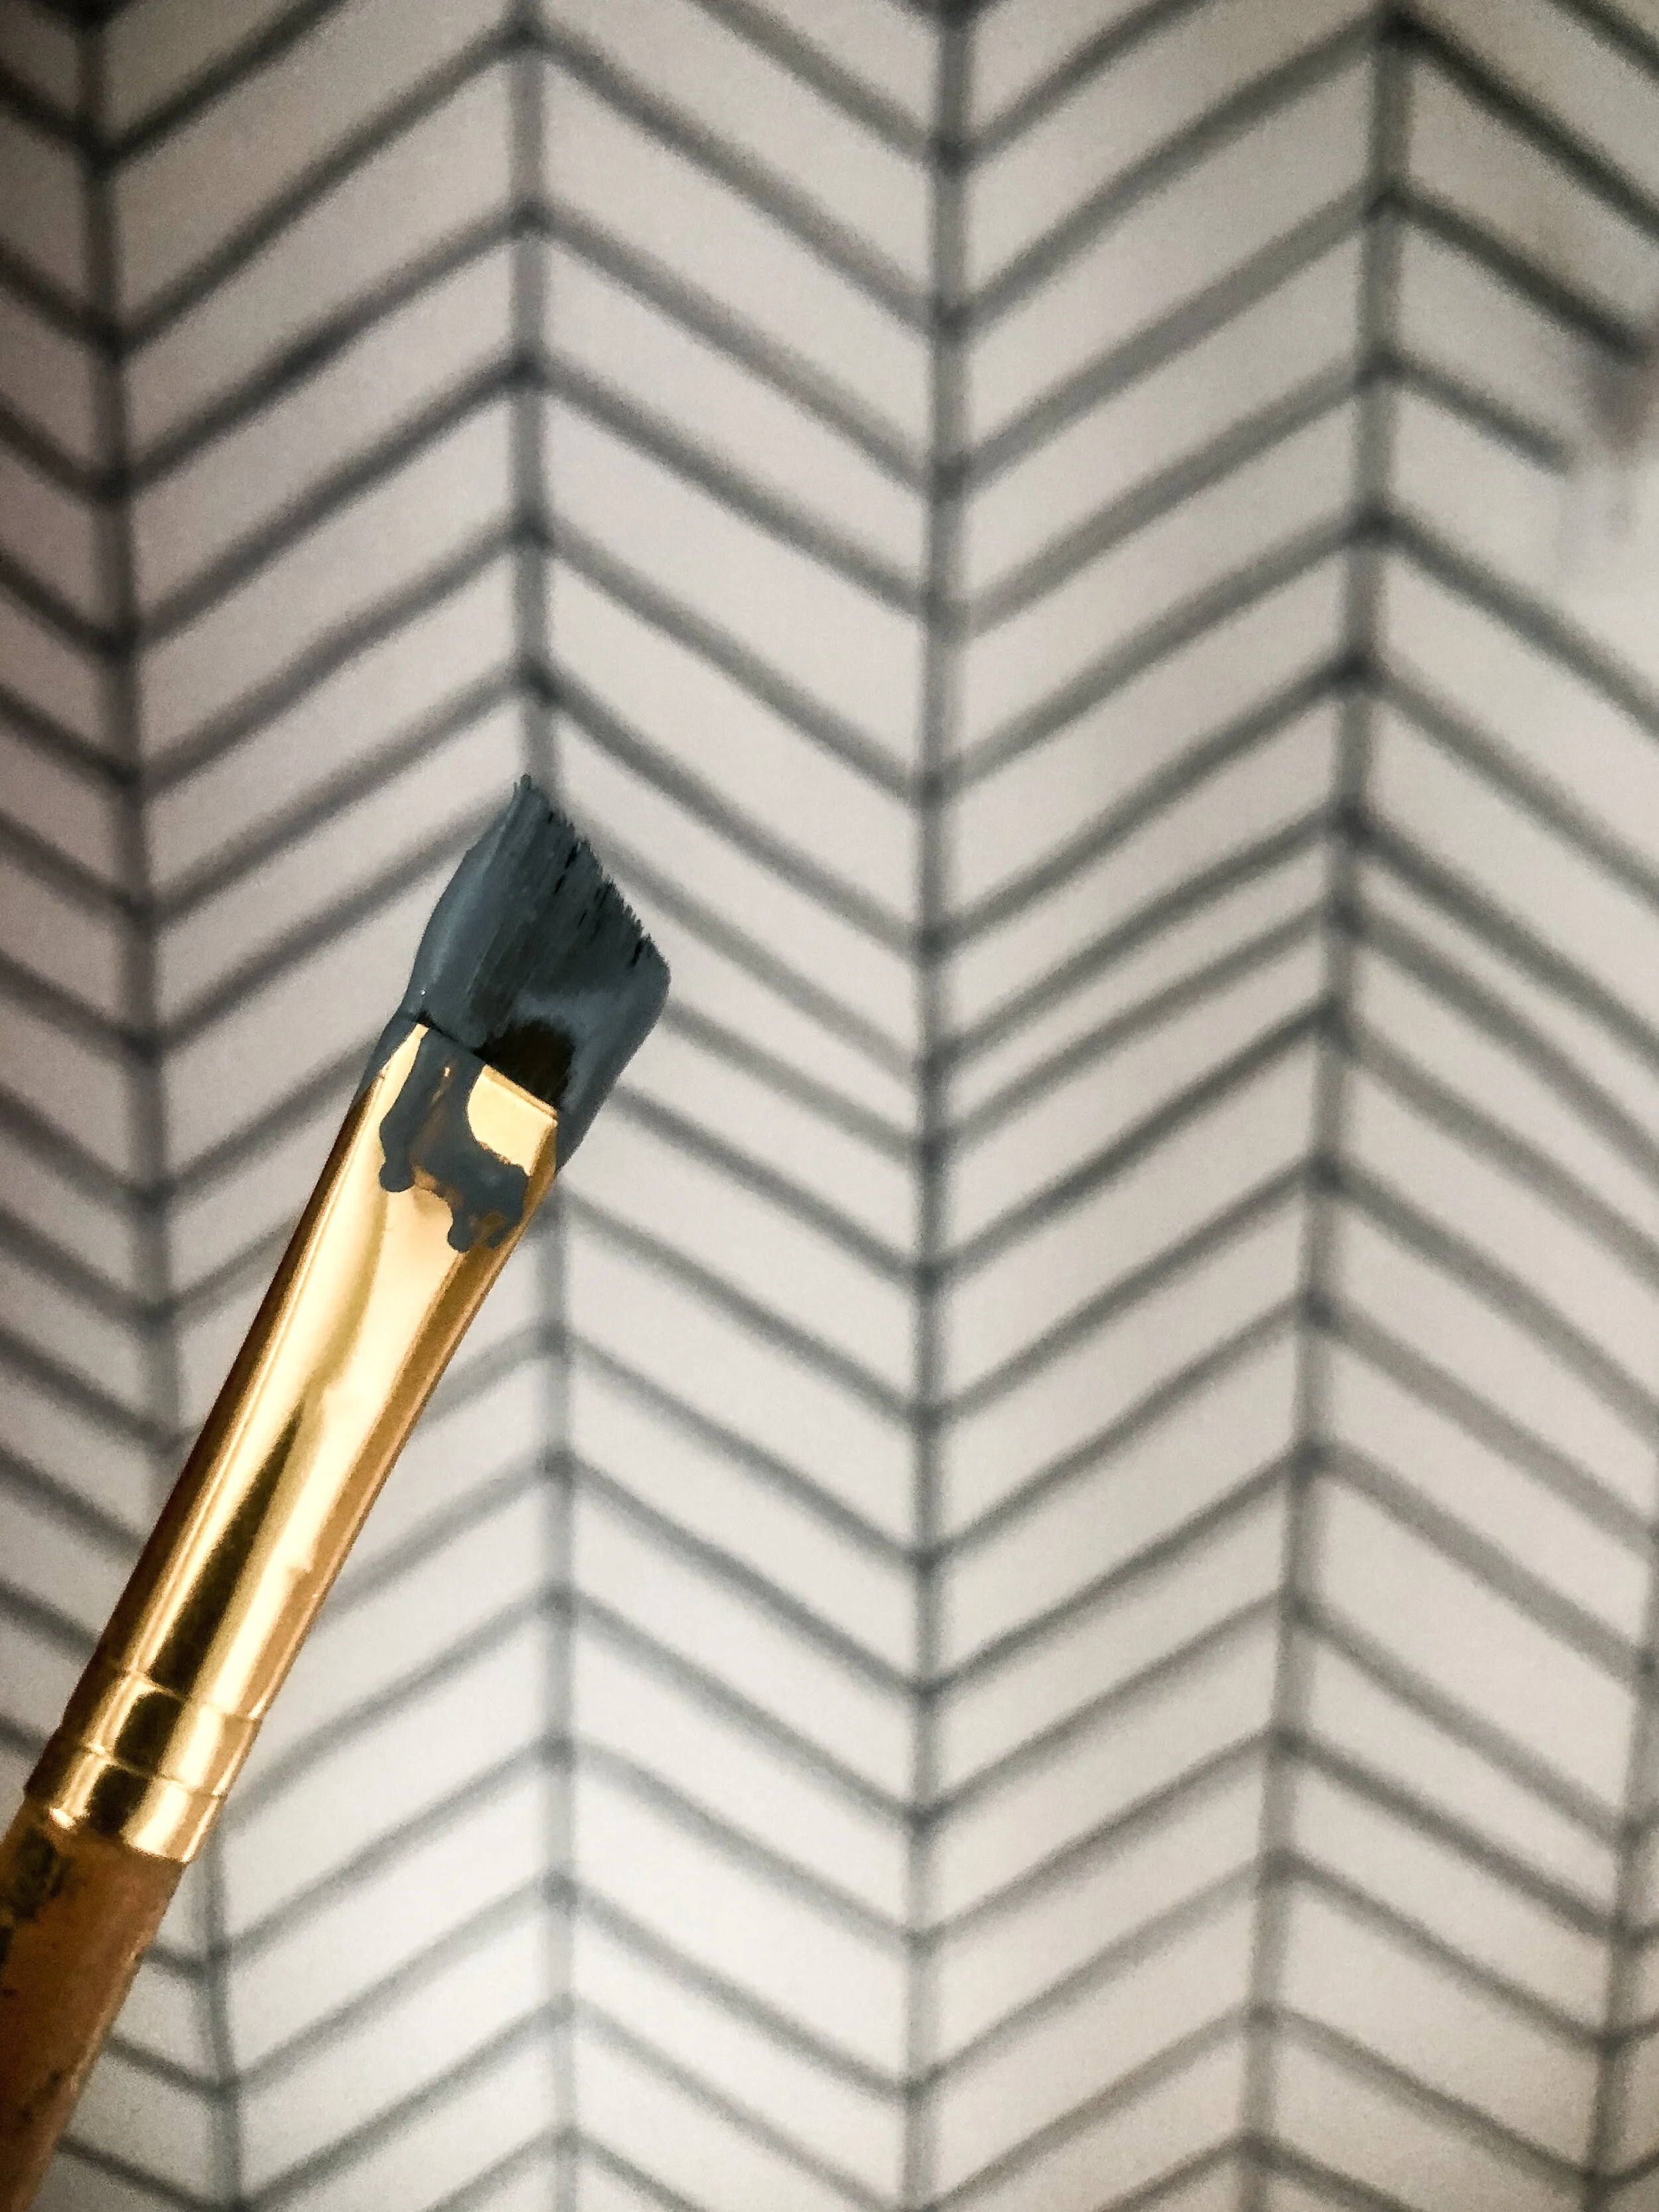
-paint color of your choice ( I used a grey/blue color shown above that I had lying around)
-fine, detail paint brush ( I used one with short bristles and a straight edge)
-template, like cardboard or something thick that is cut into the size parallelogram that you want.
-level or straight edge piece of wood to keep you lines straight
-pencil, preferably a mechanical (it was terrible having to sharpen a traditional)
Here is a picture of the size of the piece of cardboard I used. It was about 1.5 inches thick and surprisingly sturdy. It held up for the entire project.
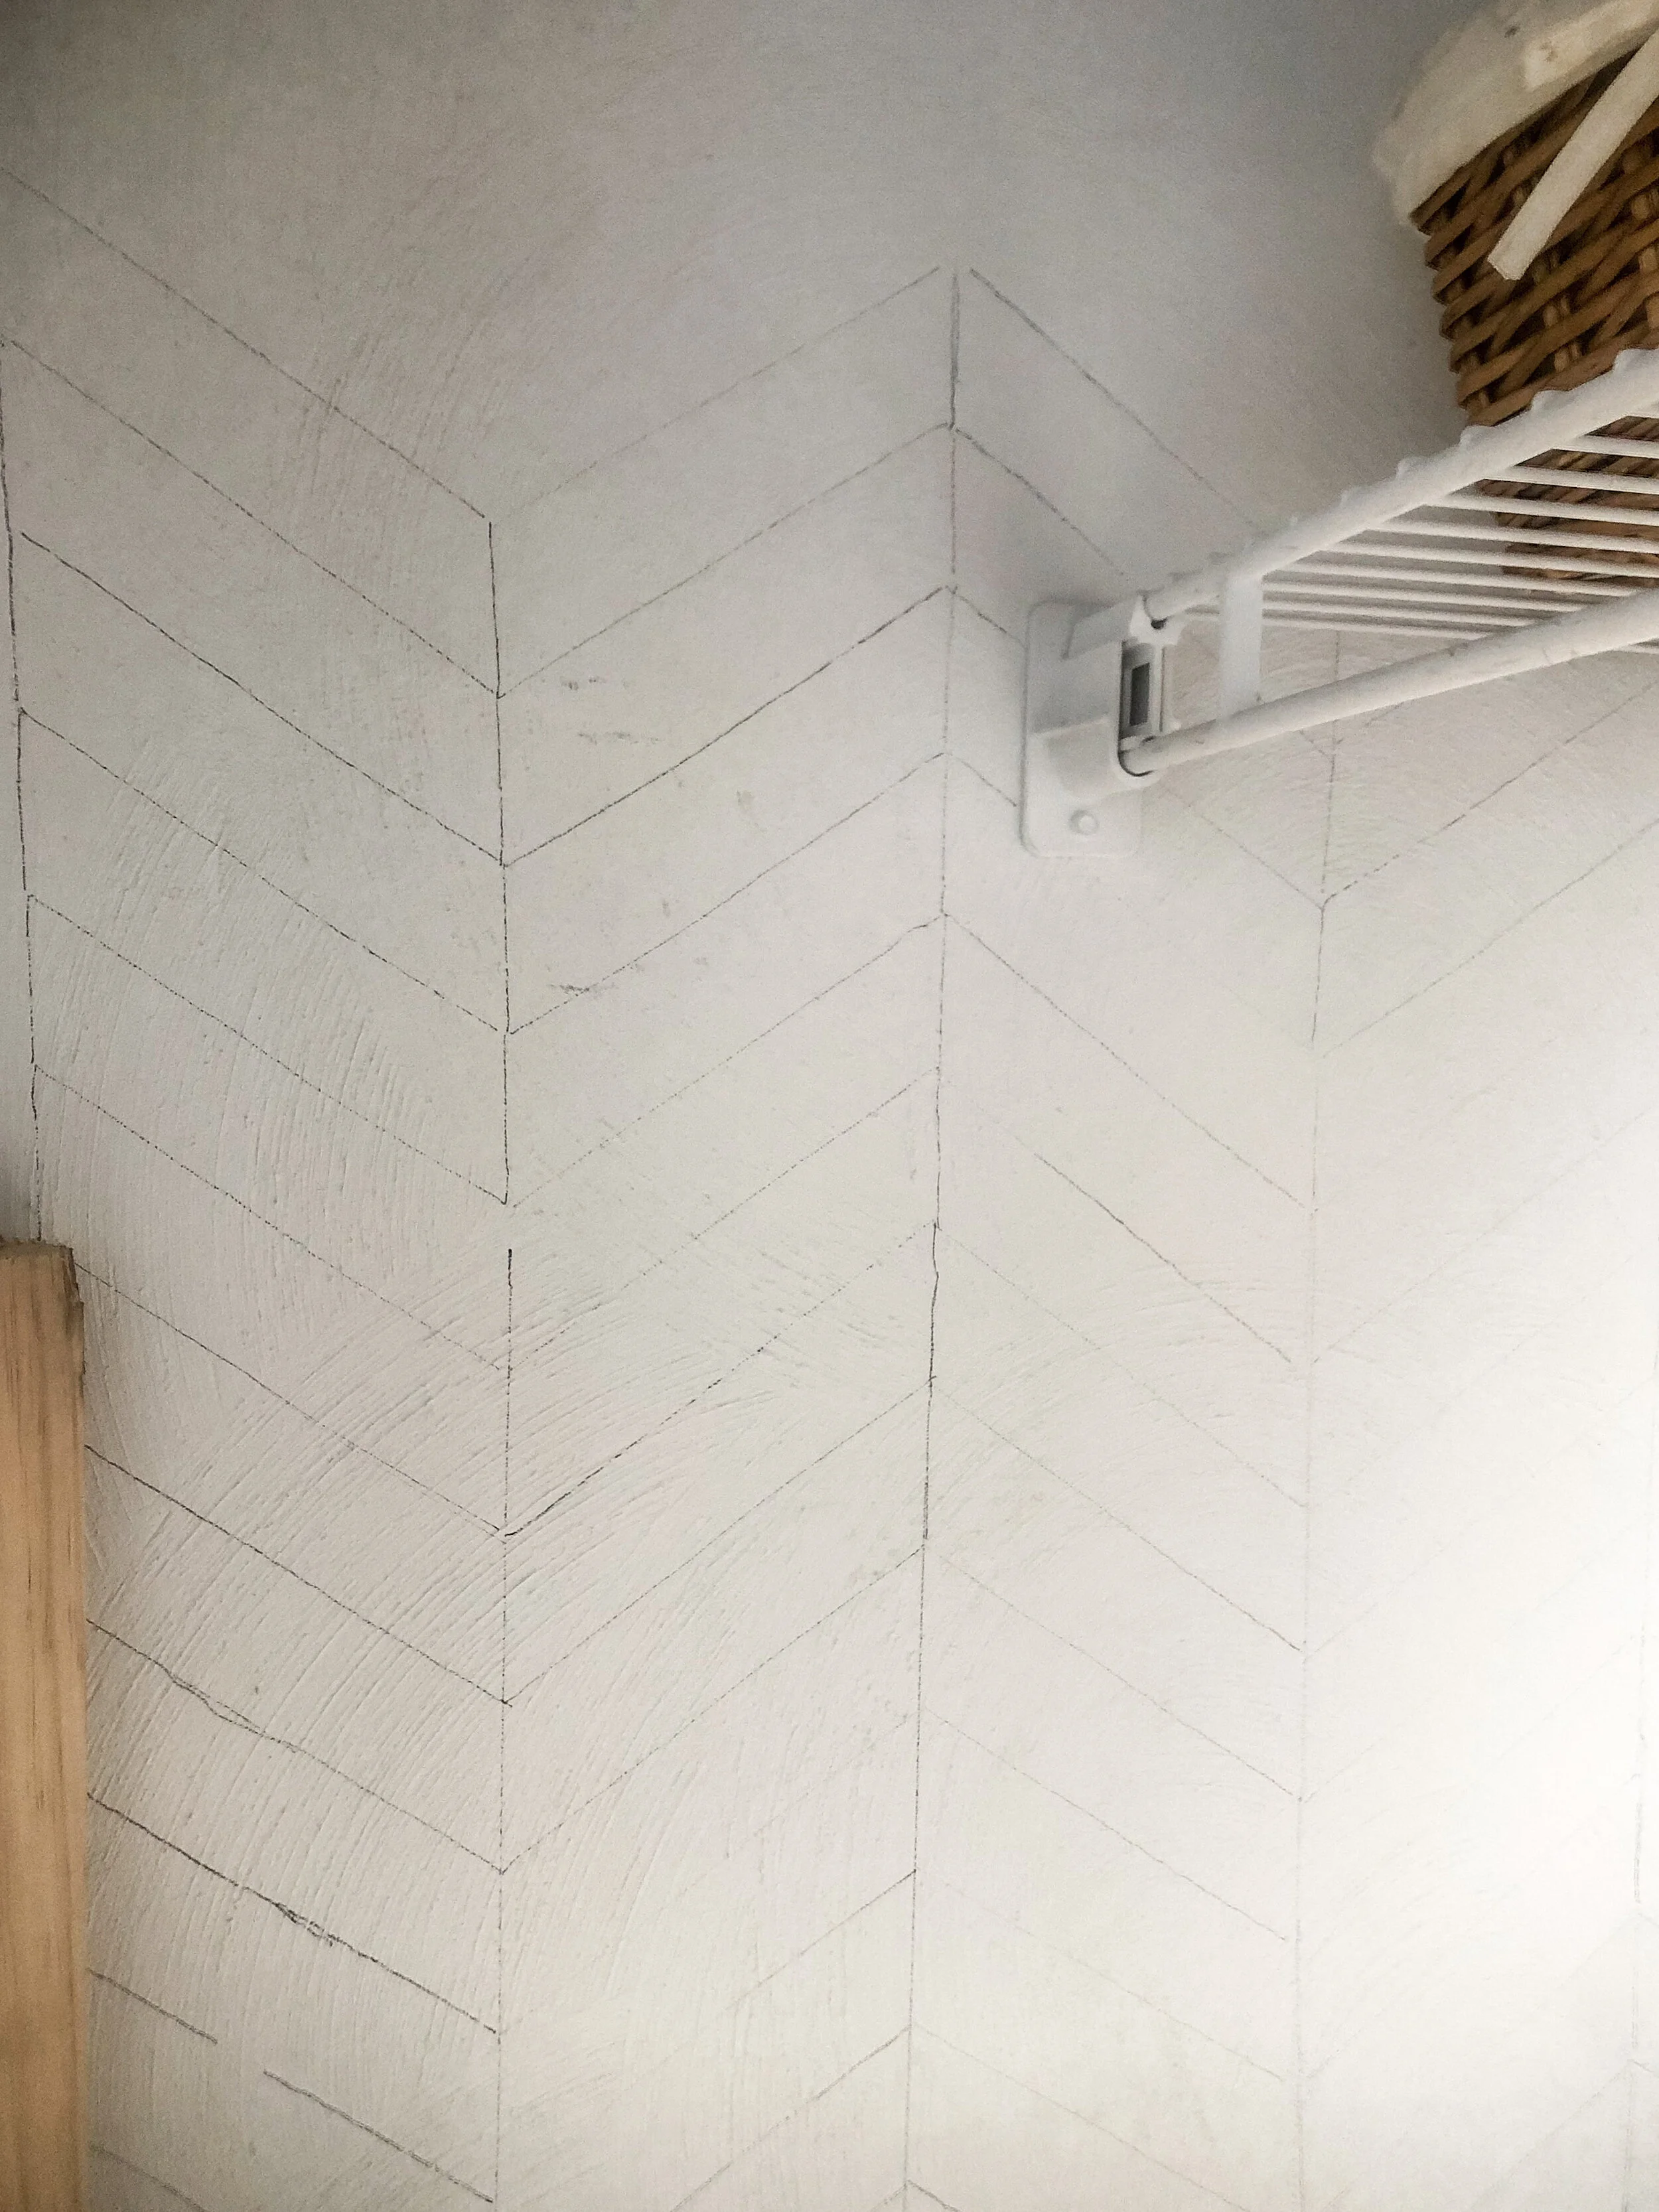
First, you need to draw your template lines with pencil. I also used the long board shown to keep me straight.
It probably would have been easier to use a preprinted template from Etsy or something but this method was free… I should probably also add that somewhere along this point in the project, I was told that Sean was just going to paint the bathroom and move on in the Fisherman Project and didn’t need me to hand paint the walls in the bathroom. So now, I was stuck painting a closet for no reason. Oh, well, might as well make it cute.
After, you are done painting the pencil lines of the herringbone pattern, drawing vertically down one side, then back up the other, it’s time to use that paint and brush and paint over the pencil lines.
I knew it wouldn’t be perfect, but at this point, it was the closet for my kids, so I wanted it cute but also FINISHED. I always knew it could be easily painted over when we move or kept if the new owners wanted it.
Confidence and time were the last tools needed. Between show time and a few minutes of nicely-playing-together-in-the-playroom sessions, I finally finished the closet.
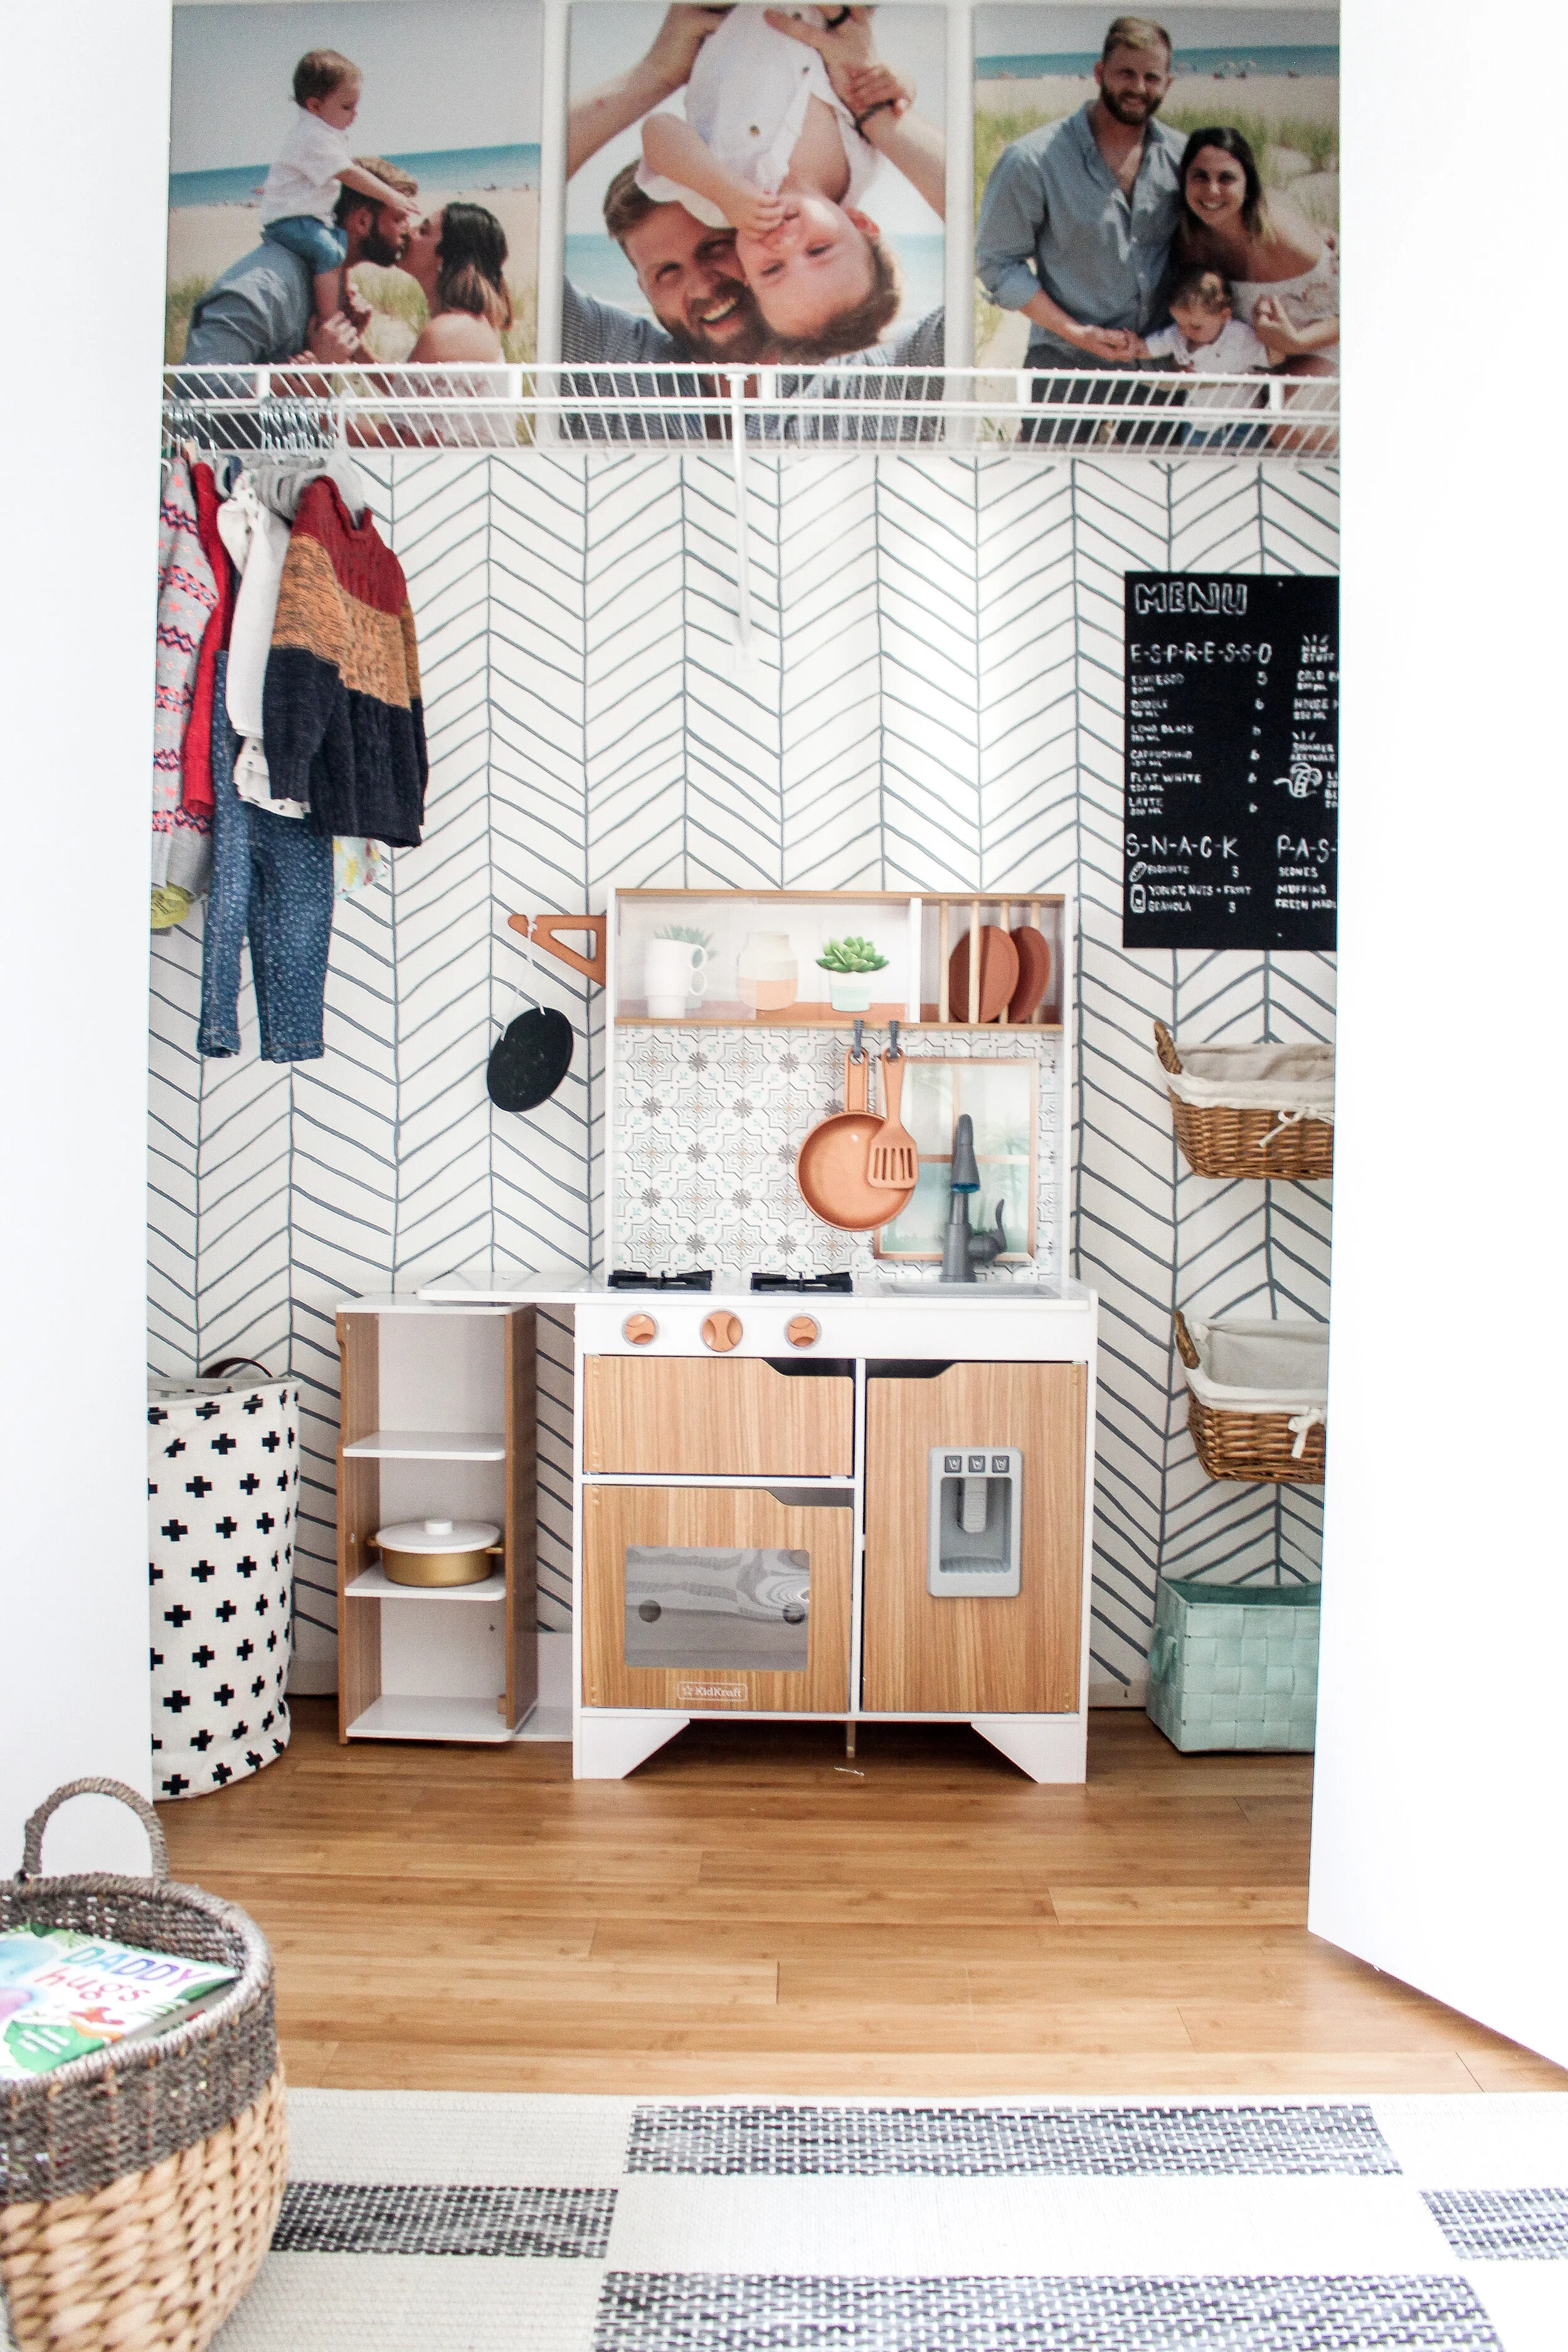
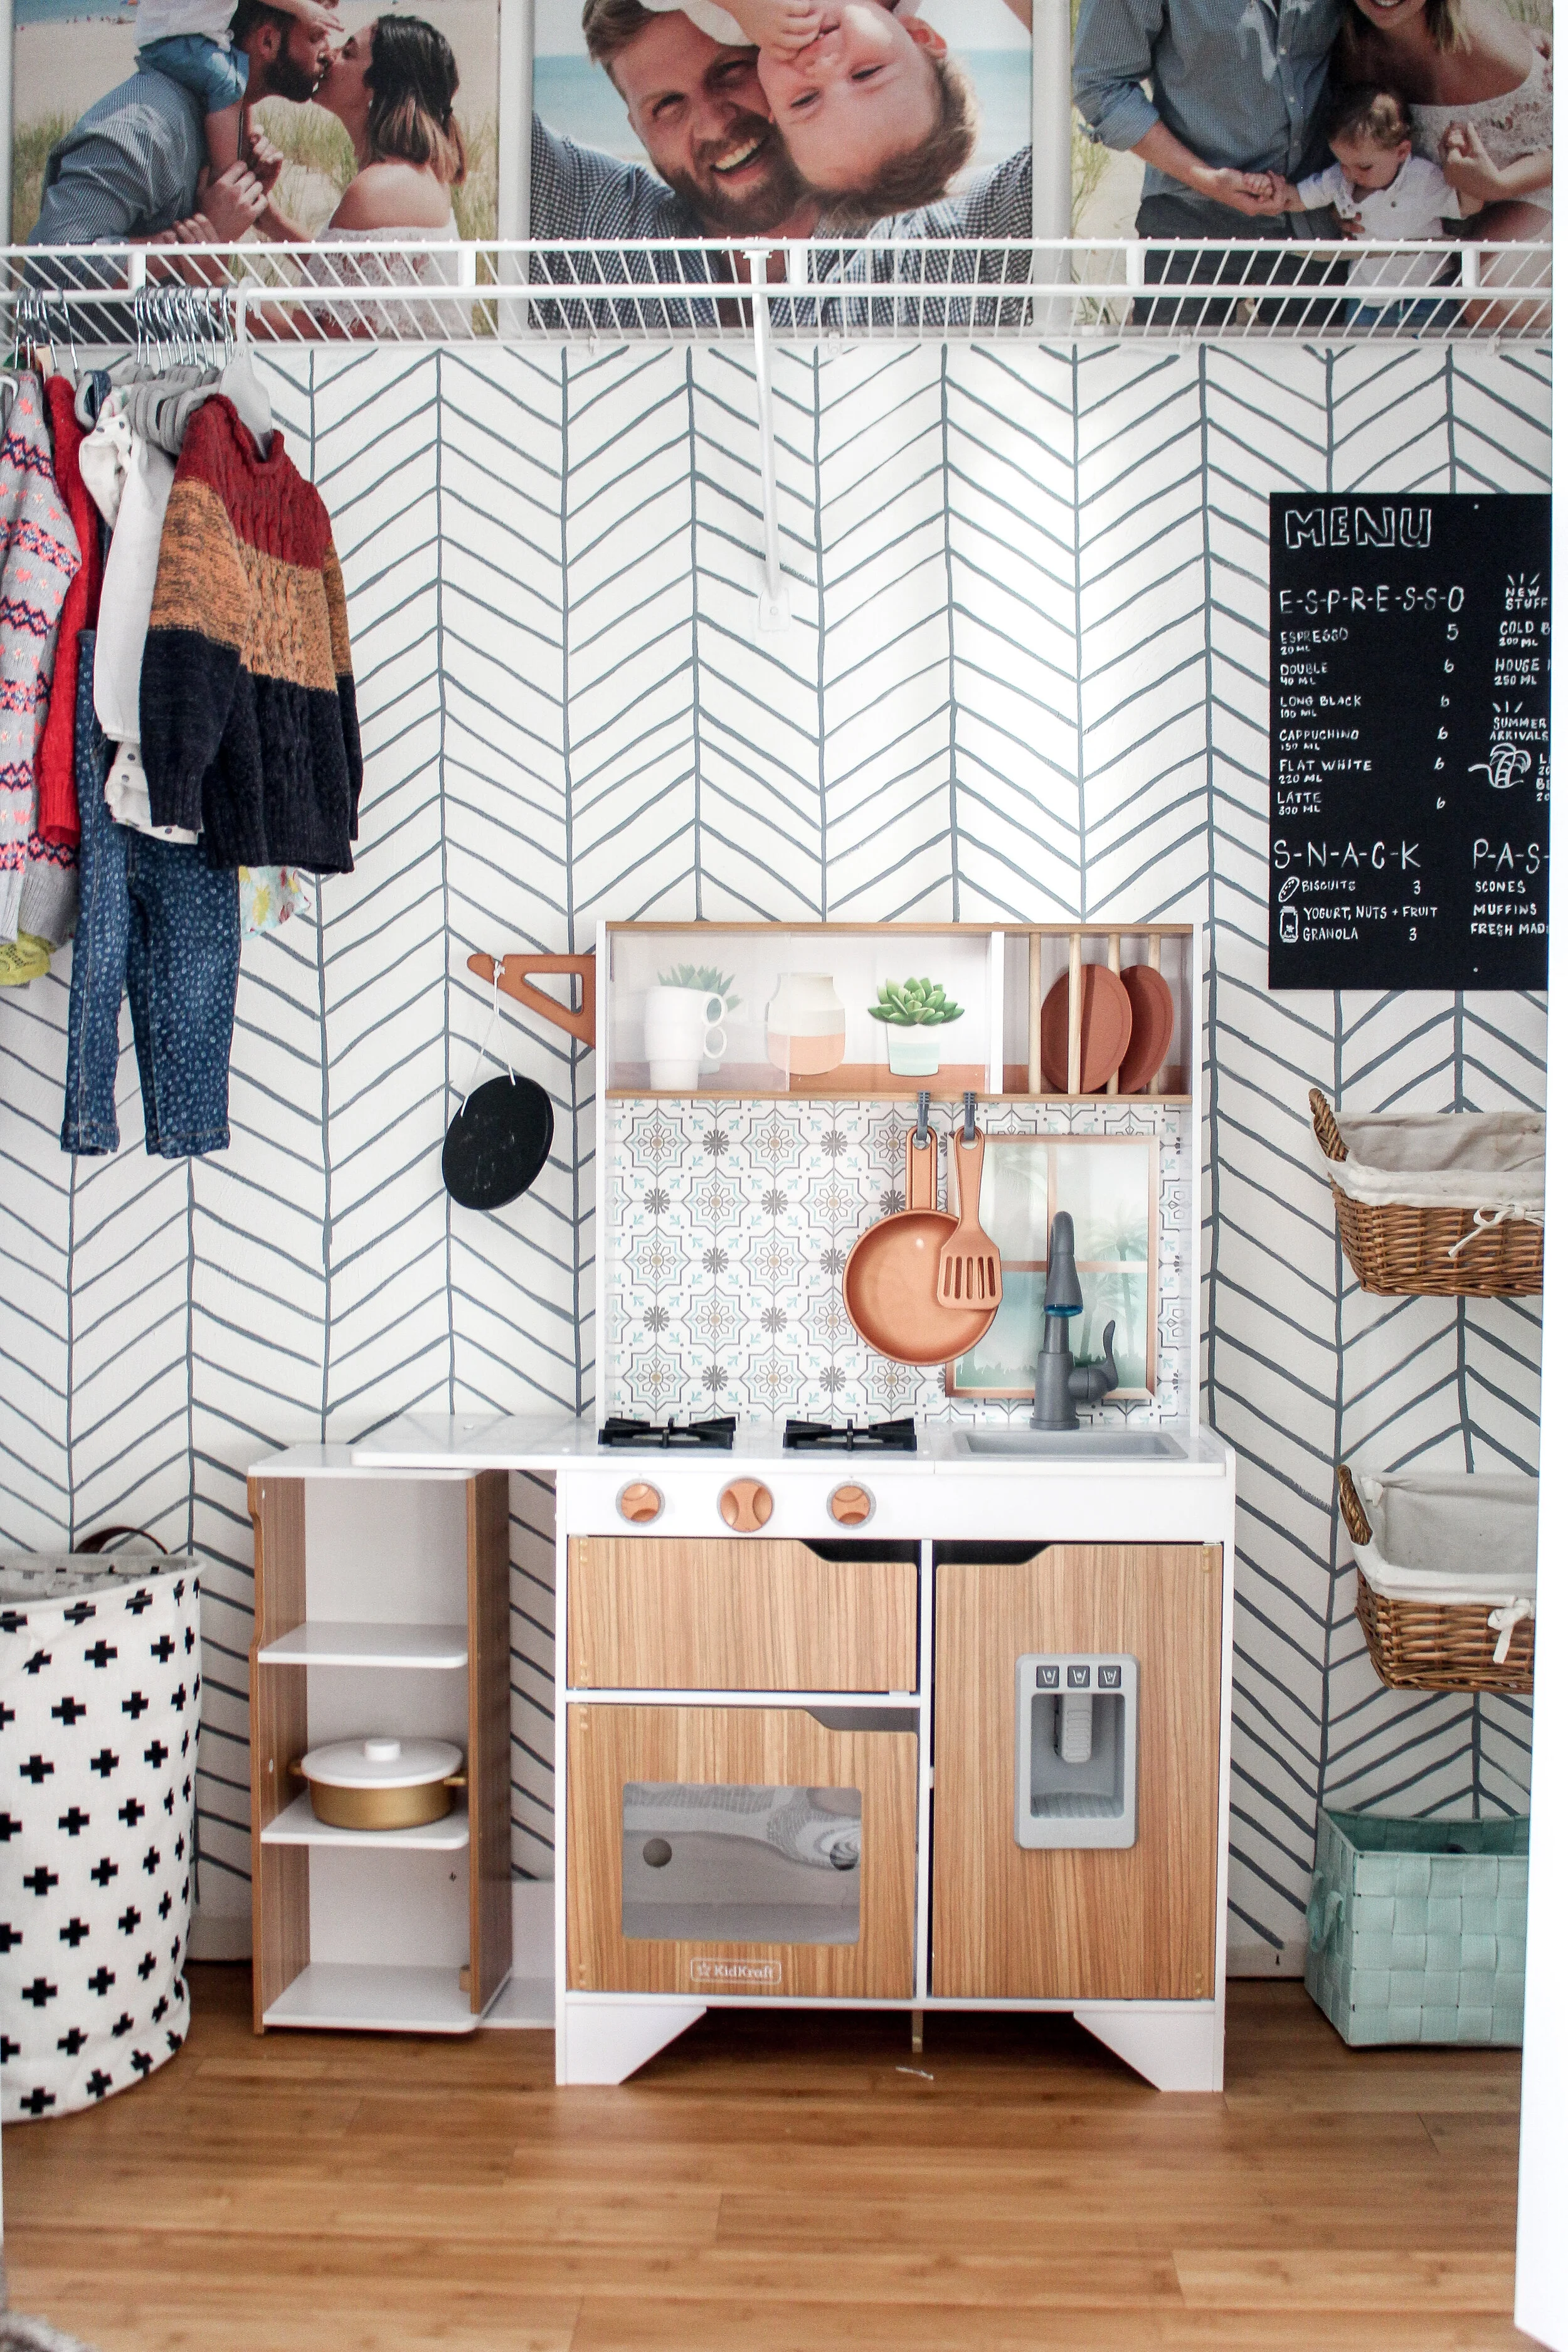
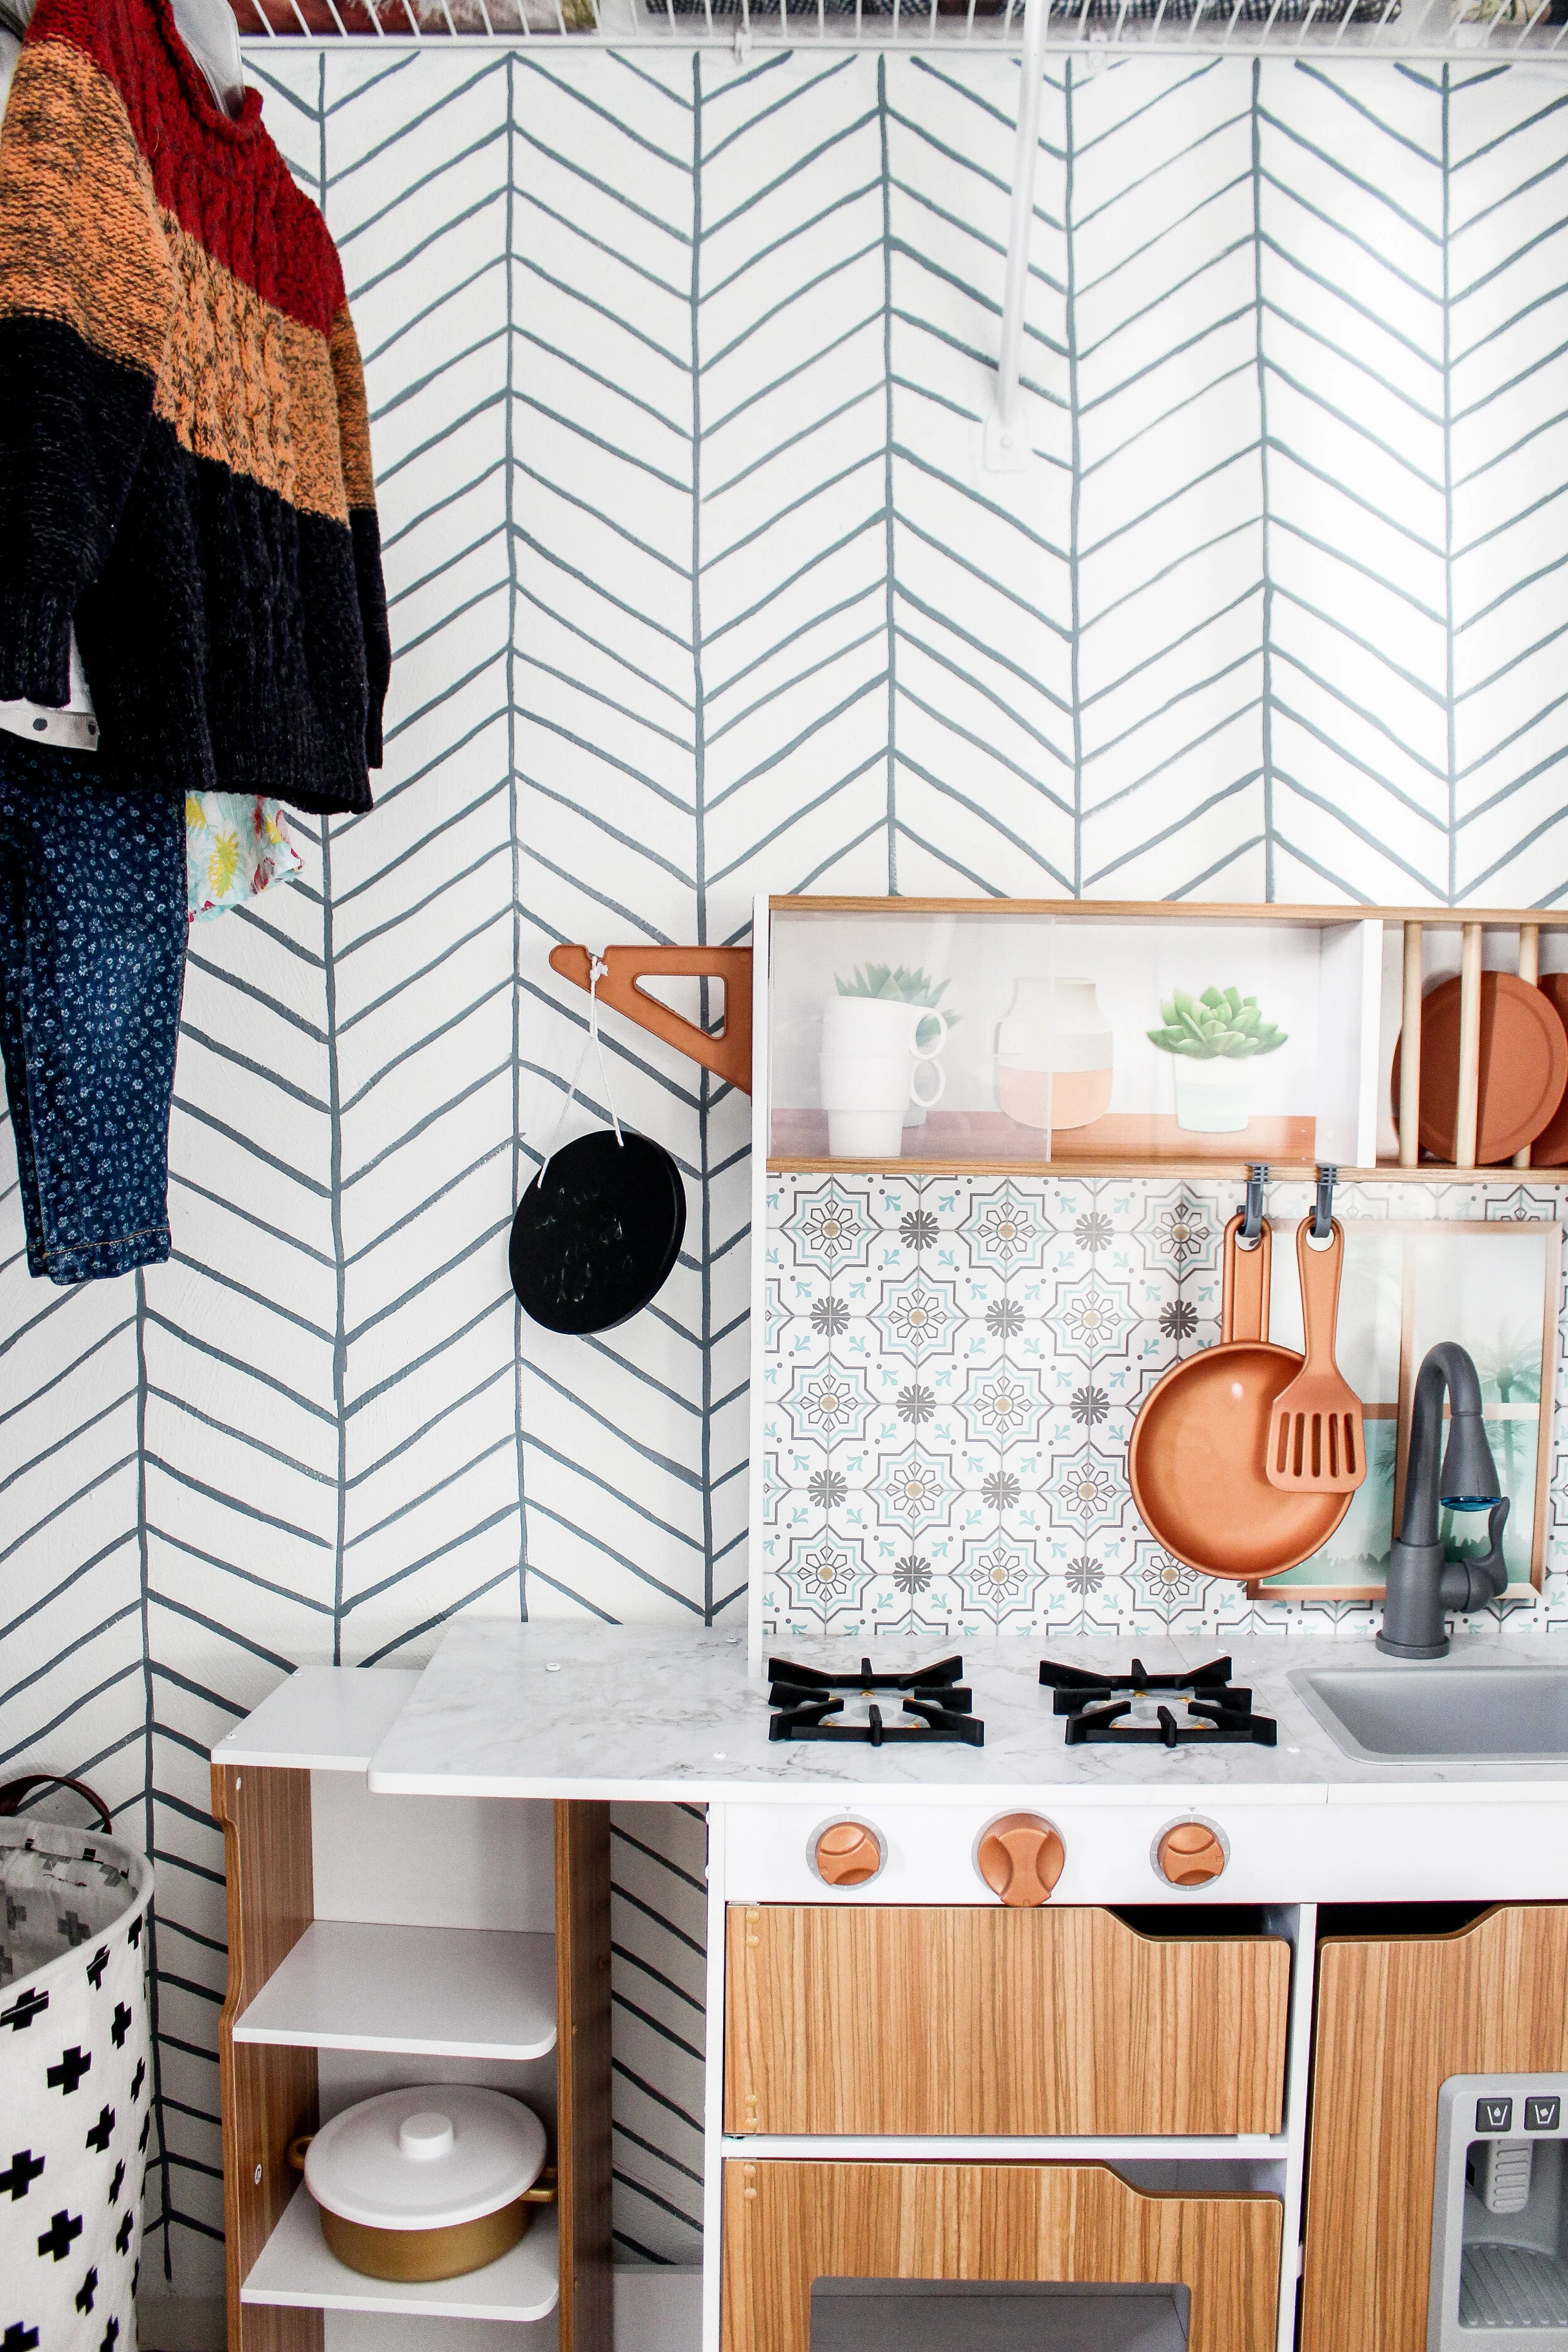
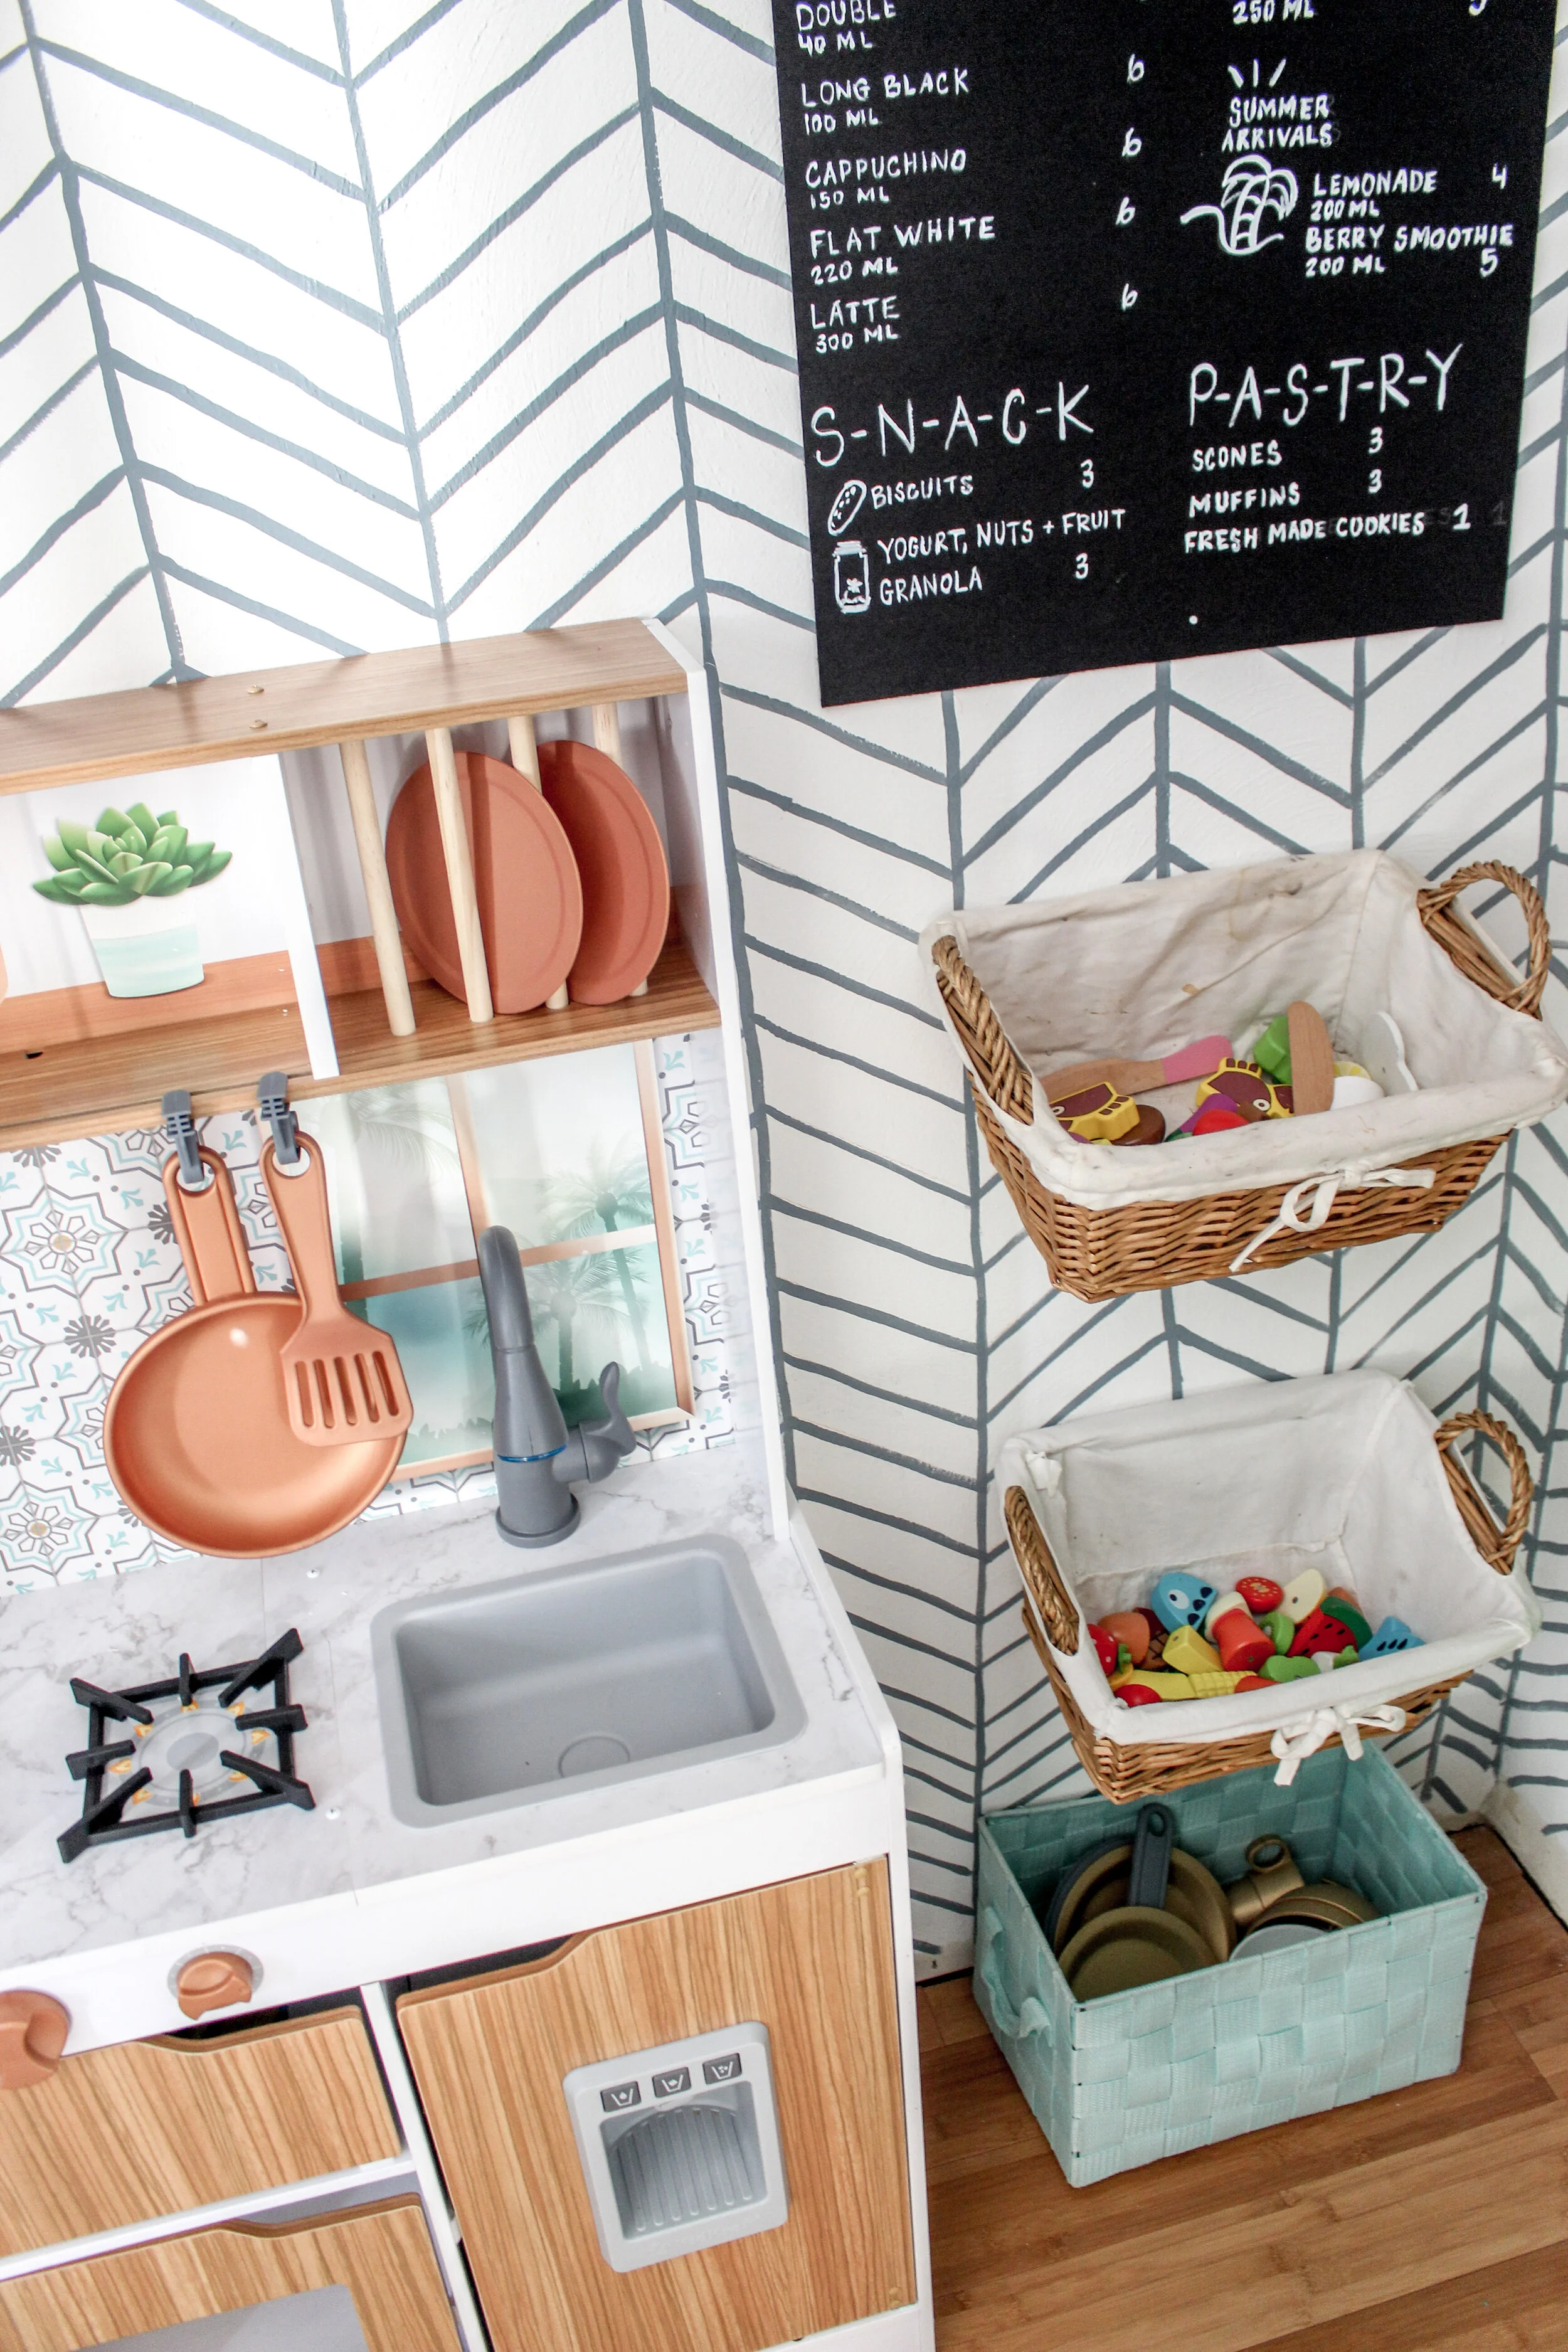
My gracious mother-in-law bought Addie this play kitchen from Target for Christmas. Unfortunately, I don’t think they sell it anymore but here is a link to another cute one there. I wanted a cute space with the kitchen that wasn’t in the playroom because I just KNOW the food and utensils and pots and pans would all end up lost in the chaos of the room.
And also, I couldn’t resist the cuteness of the new herringbone wall against the play kitchen and the way it looked! Come on. It’s like it was made to go here.
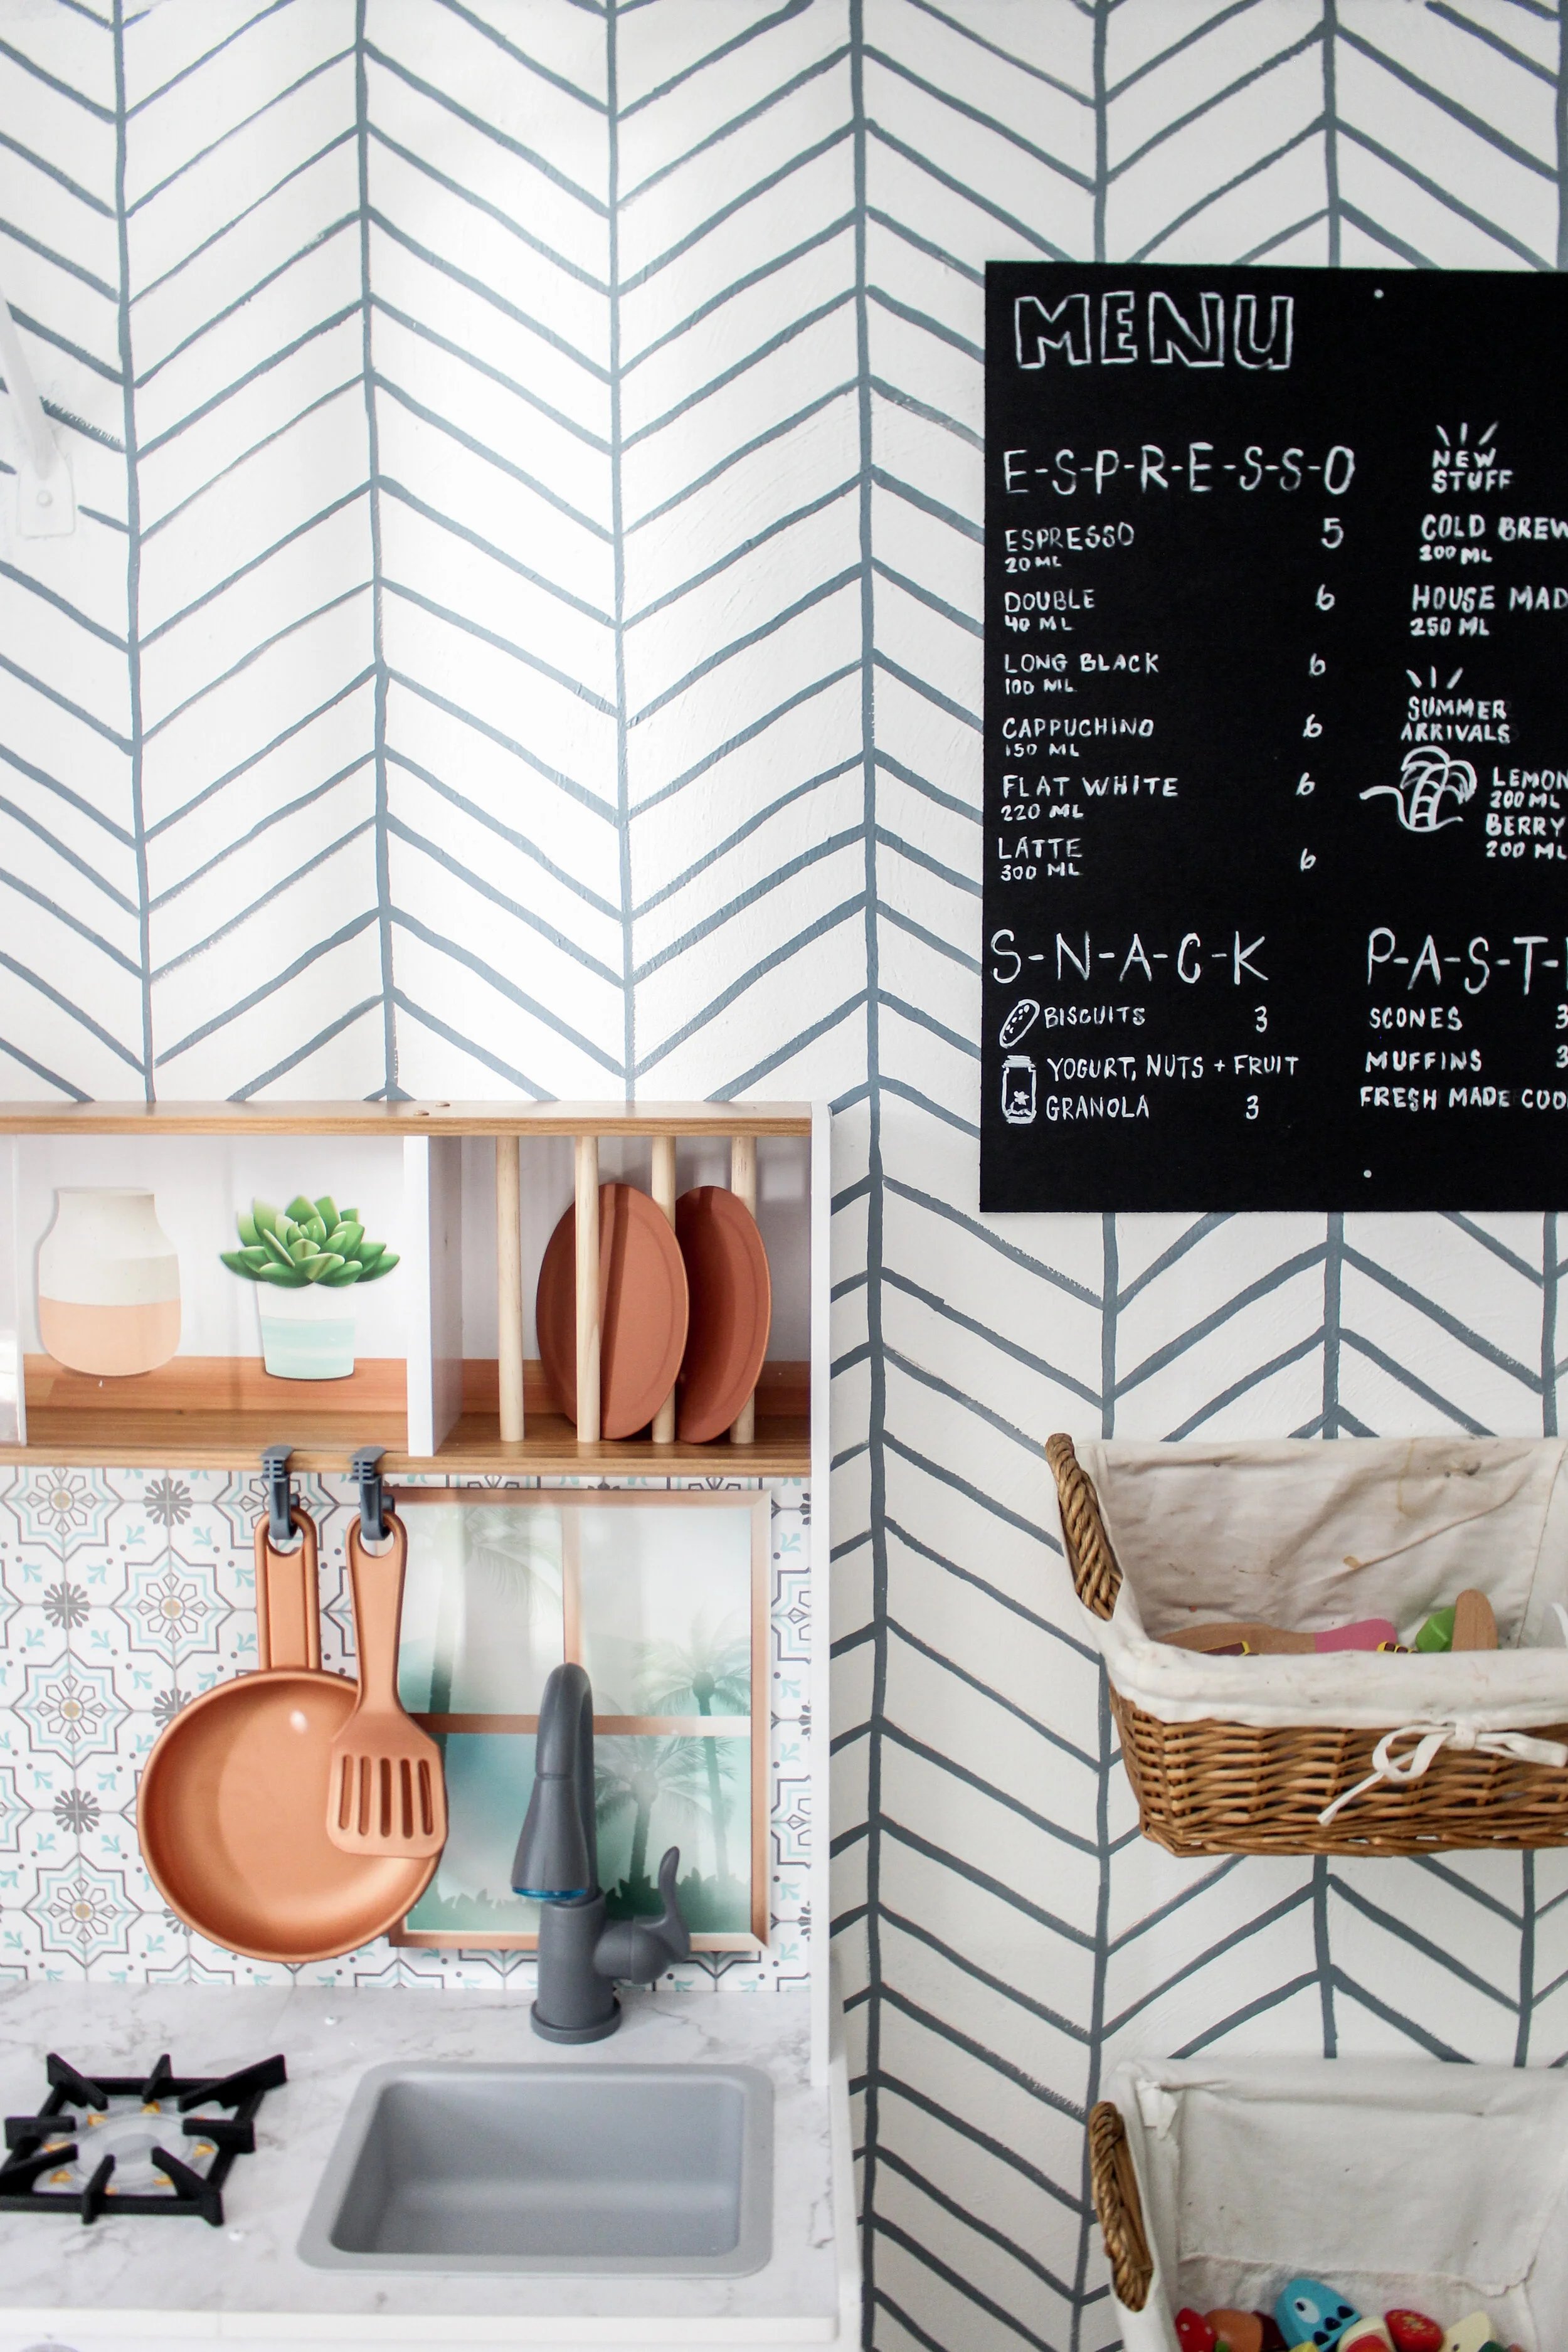
If you’ve read about our journey into real estate and a little about who we are in our Move and Modify 3 part blog, the second post talks about Sean and my LOVE for coffee. Naturally, I had to whip up this coffee shop menu and hang it above some baskets to hold all the play food.
Here’s an awesome tip that a friend from my gym shared with me. Her girls love their play kitchen so much that they make their mom carry it outside with them on nice days. She told me that the PLASTIC play kitchens are perfect for the outdoors and making mud pies and/or using real water for play all over the toys with no damage! I wanted a nicer one for inside the house, but you better believe I will be Good Will hunting for a cheap plastic outdoor set real soon.
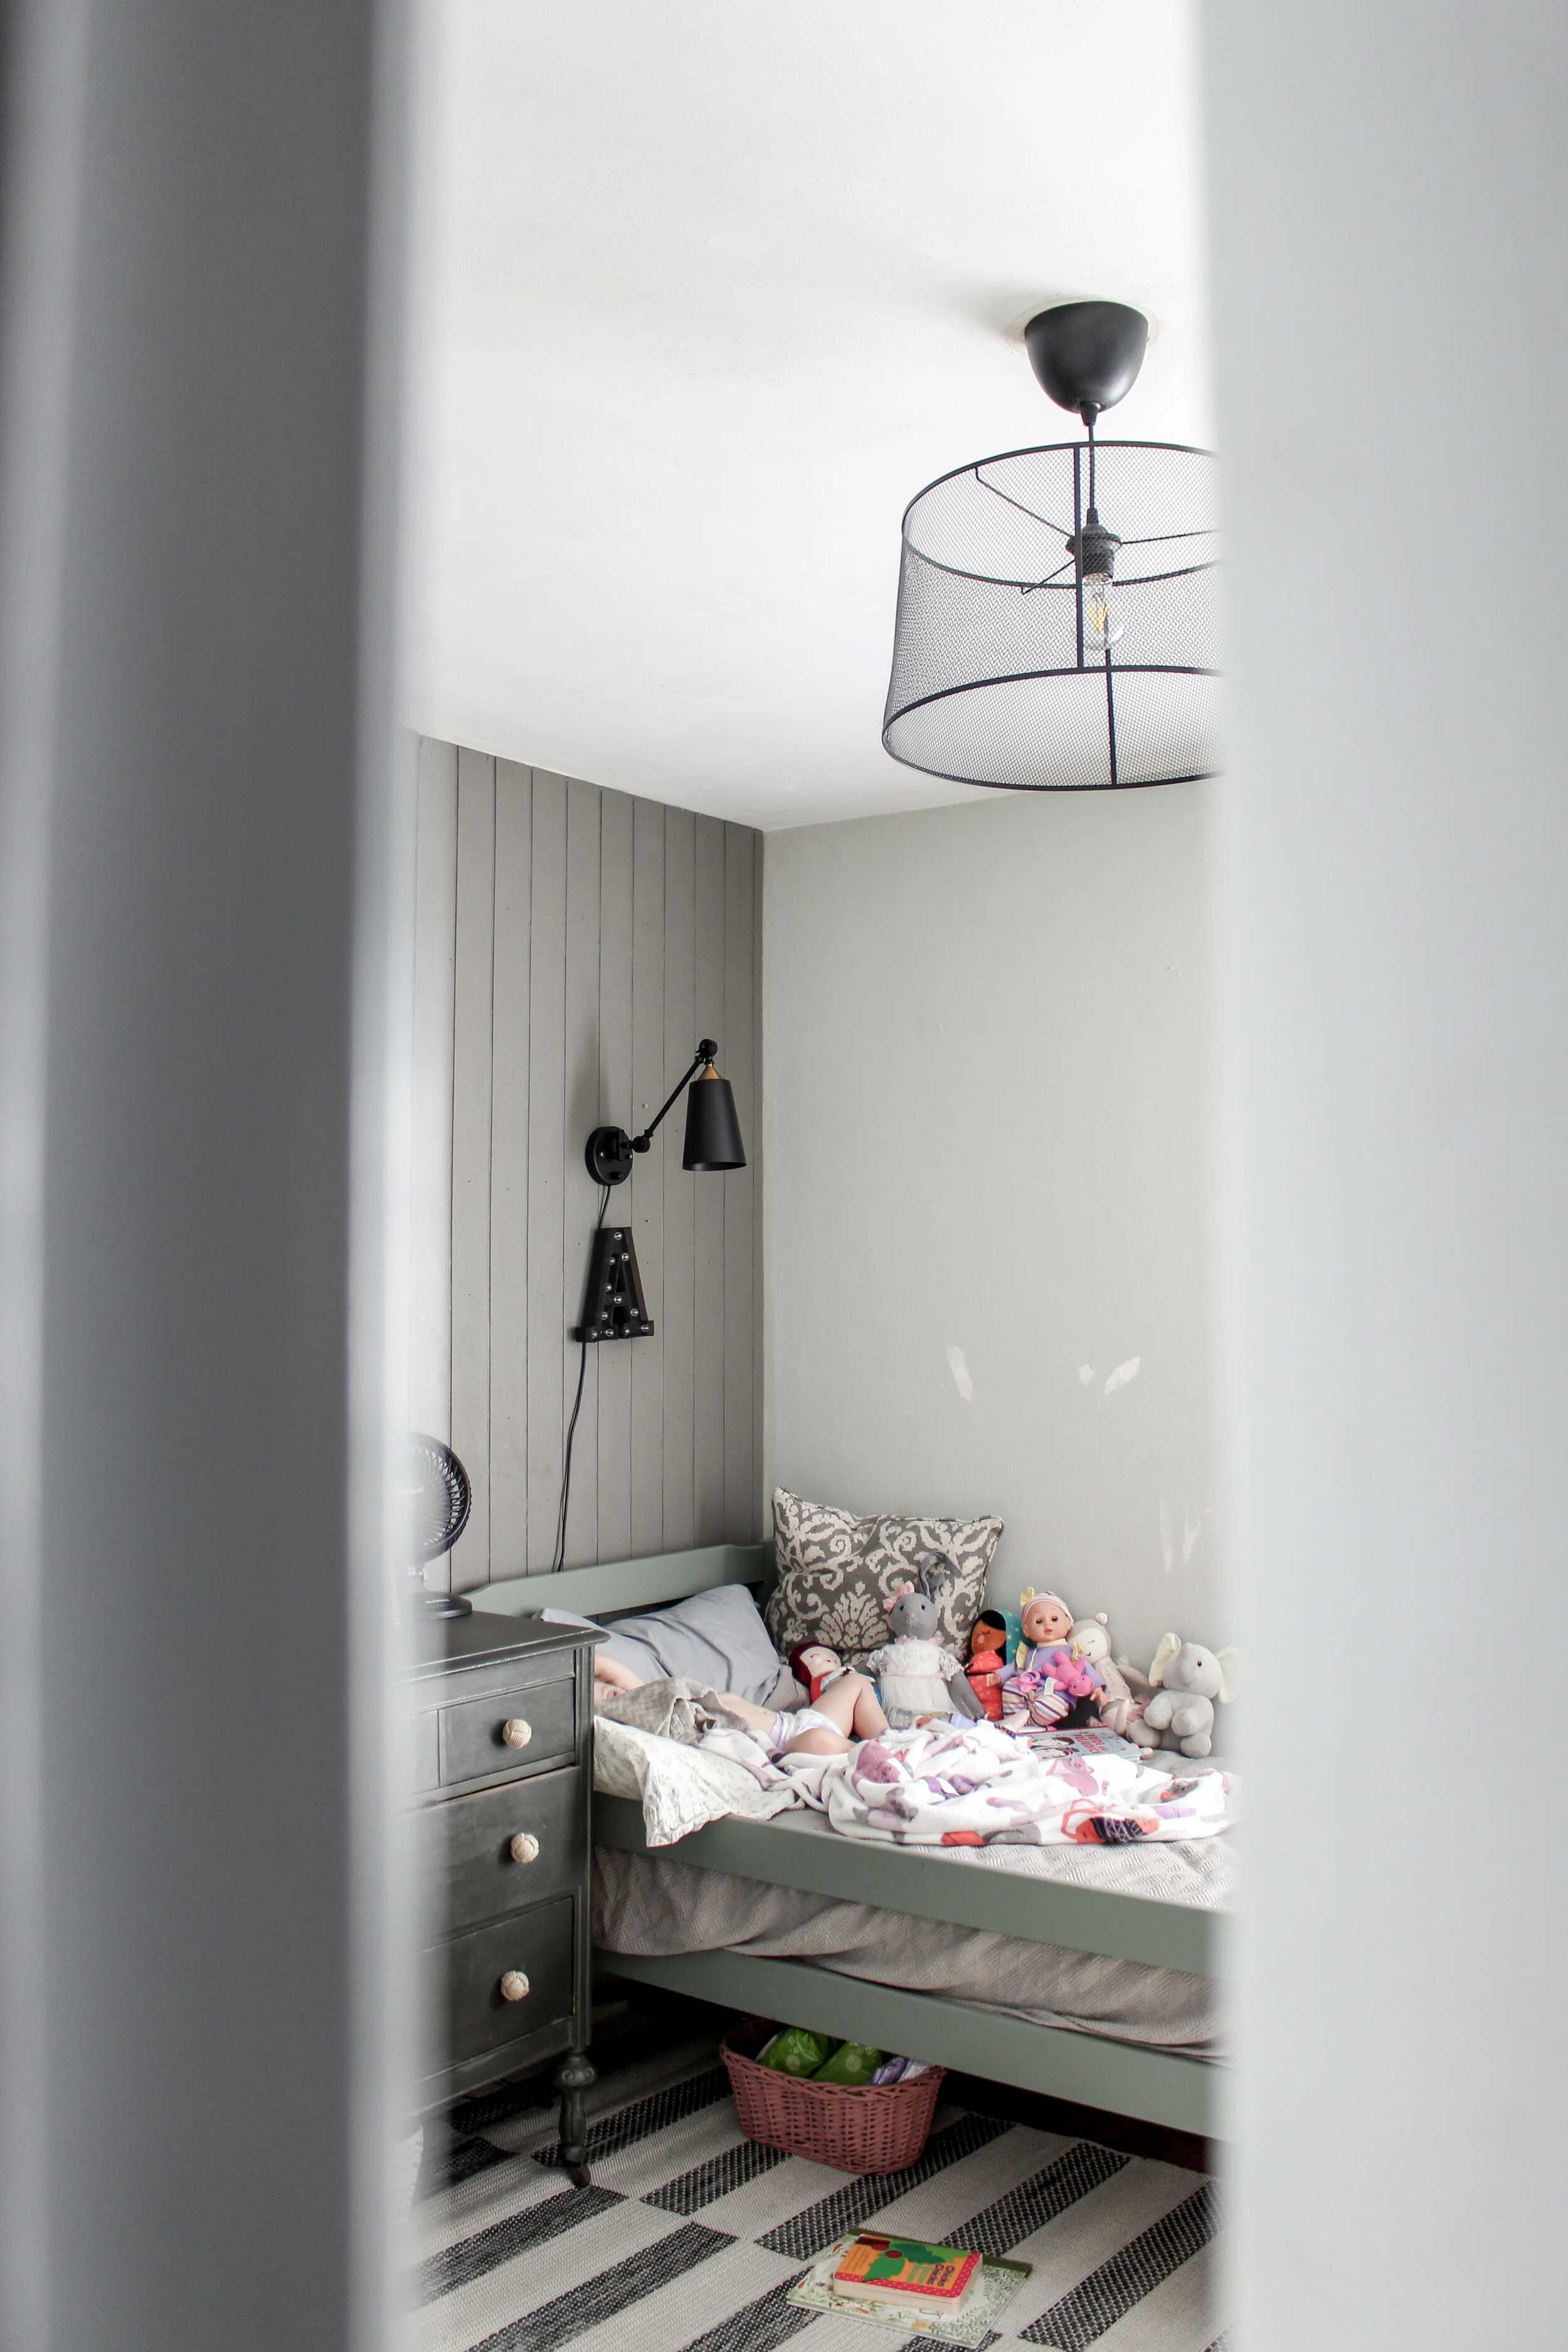
Annnnd again, because my littles were enjoying a show, they will not be present in these photos enjoying the new kitchen, but their Shared Room Reveal is coming in a few short days. I’m waiting on a new comforter for Addie and a few wall touch to be cleaned up next to her bed. I can flash you a sneak peak though…
All I can say is that the new carpet is hot fire for this room and my daughter needs to knock it off with this turning into a big girl thing.
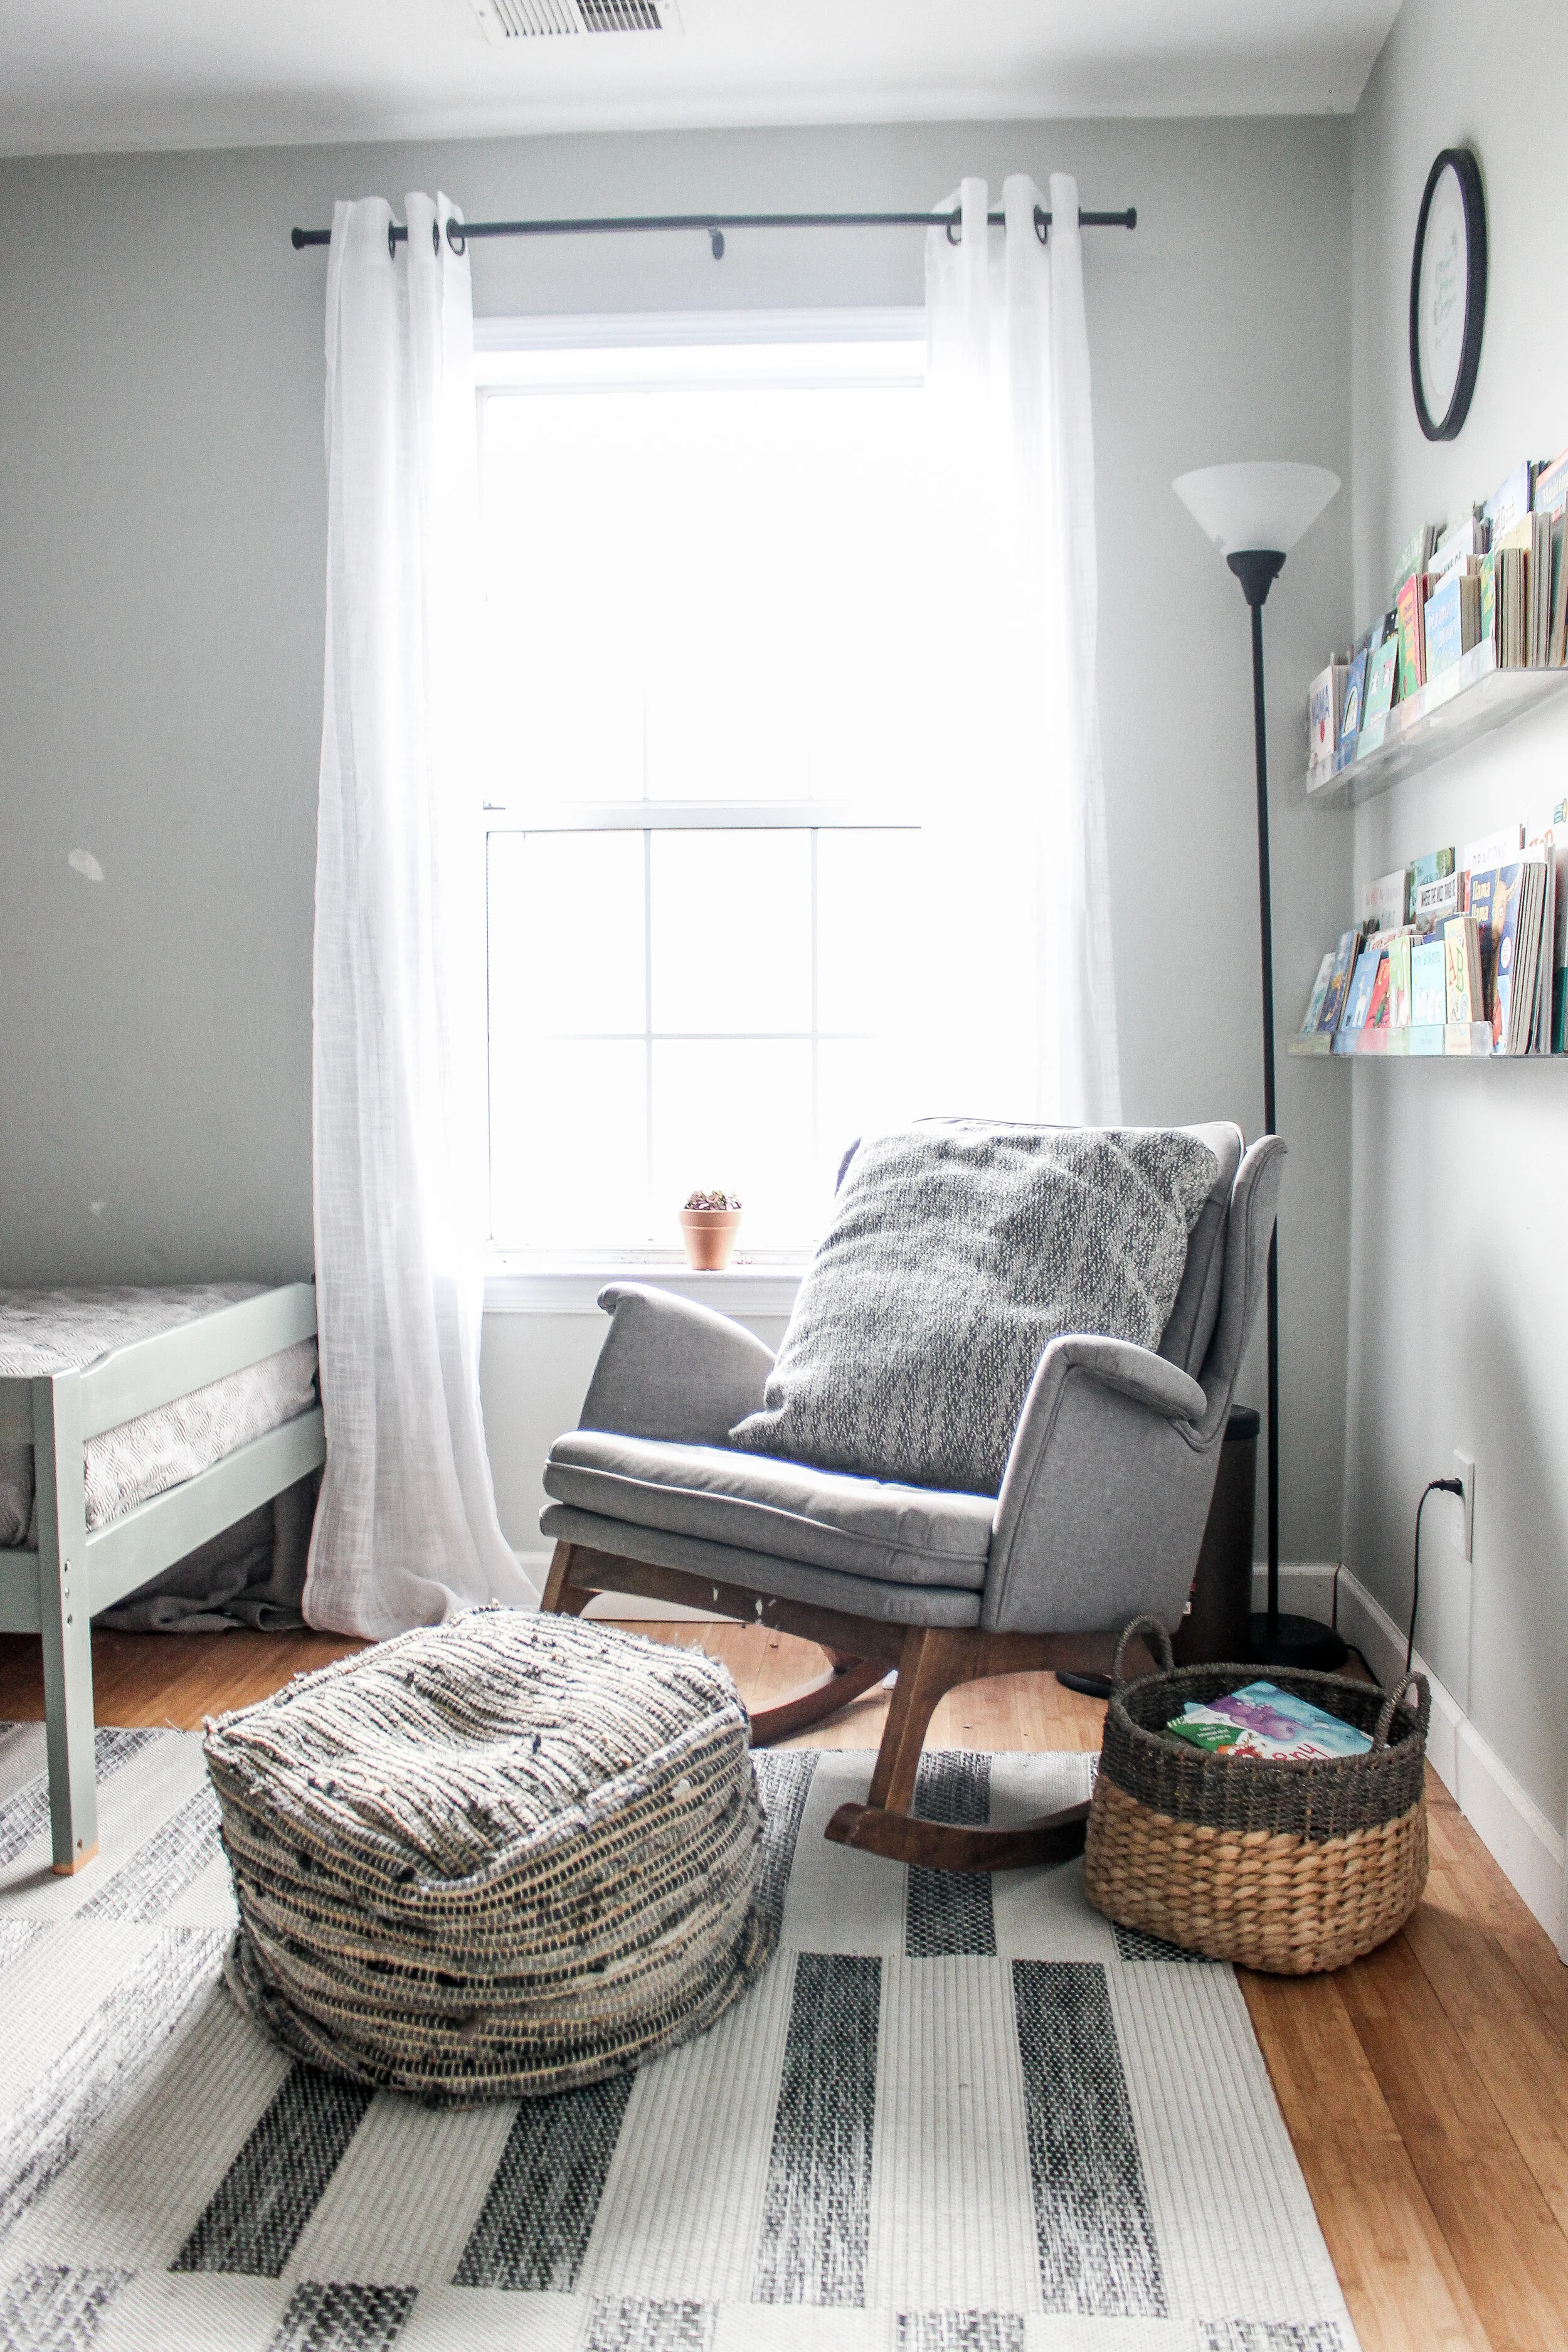
I’ve always been bad at keeping secrets (in the cases of presents and room reveals) so there. One more for good measure. But really. I’m waiting for a good sun day to brighten this room and a few quiet (probably not) moments to sand and hit those spots on the wall so I can show you the whole room!
Thanks for sticking around on this crazy, insane journey of ours and seeing how we are fixing up our Virginia Beach Fixer Upper Home… oh yeah and all our other homes…
Ann | DESIGN

