
Rogers Project: Part 2
Norfolk, Virginia

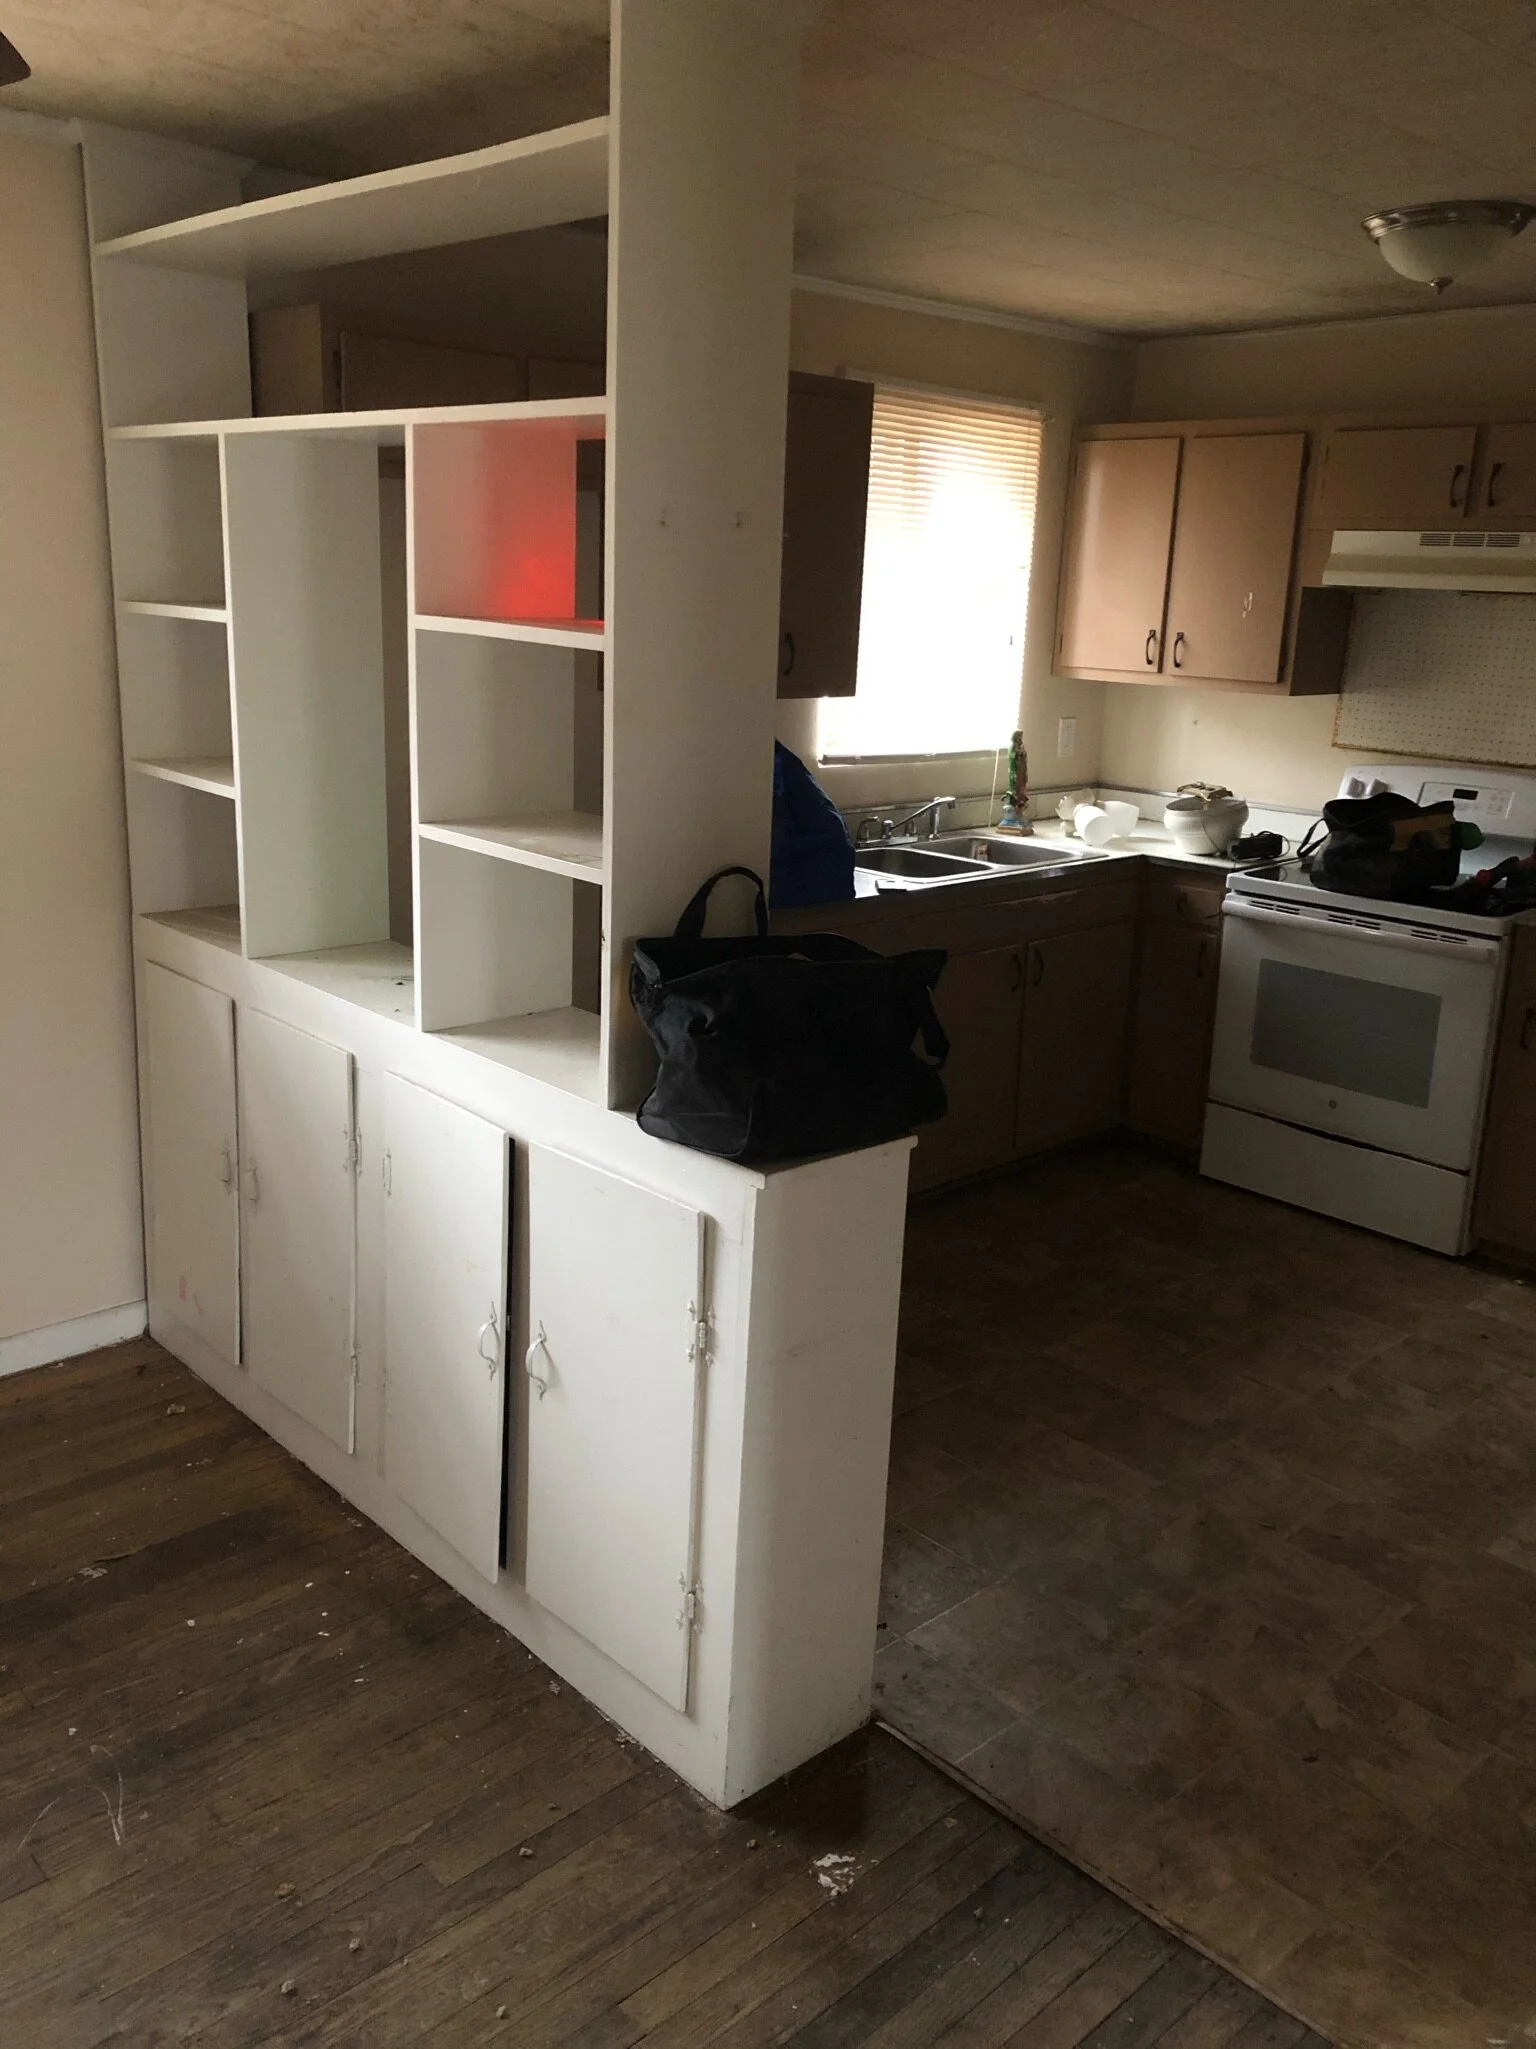
Rogers Project: Part 2 should be called “The Bathrooms” because really that’s the rest of the house left to cover. In Rogers Projects: Part 1, I talked mostly about the kitchen and how we saved money and did not give up character in that little space. With three bathrooms renovations, there is still a whole other section of this project left to discuss.
The Master Bathroom

This master bathroom and bedroom where completely brand new renovation. The original house had a very dirty and dysfunctional garage space. The boys decided that it would be more advantageous to renovate the entire garage into a master bedroom with an en suit.
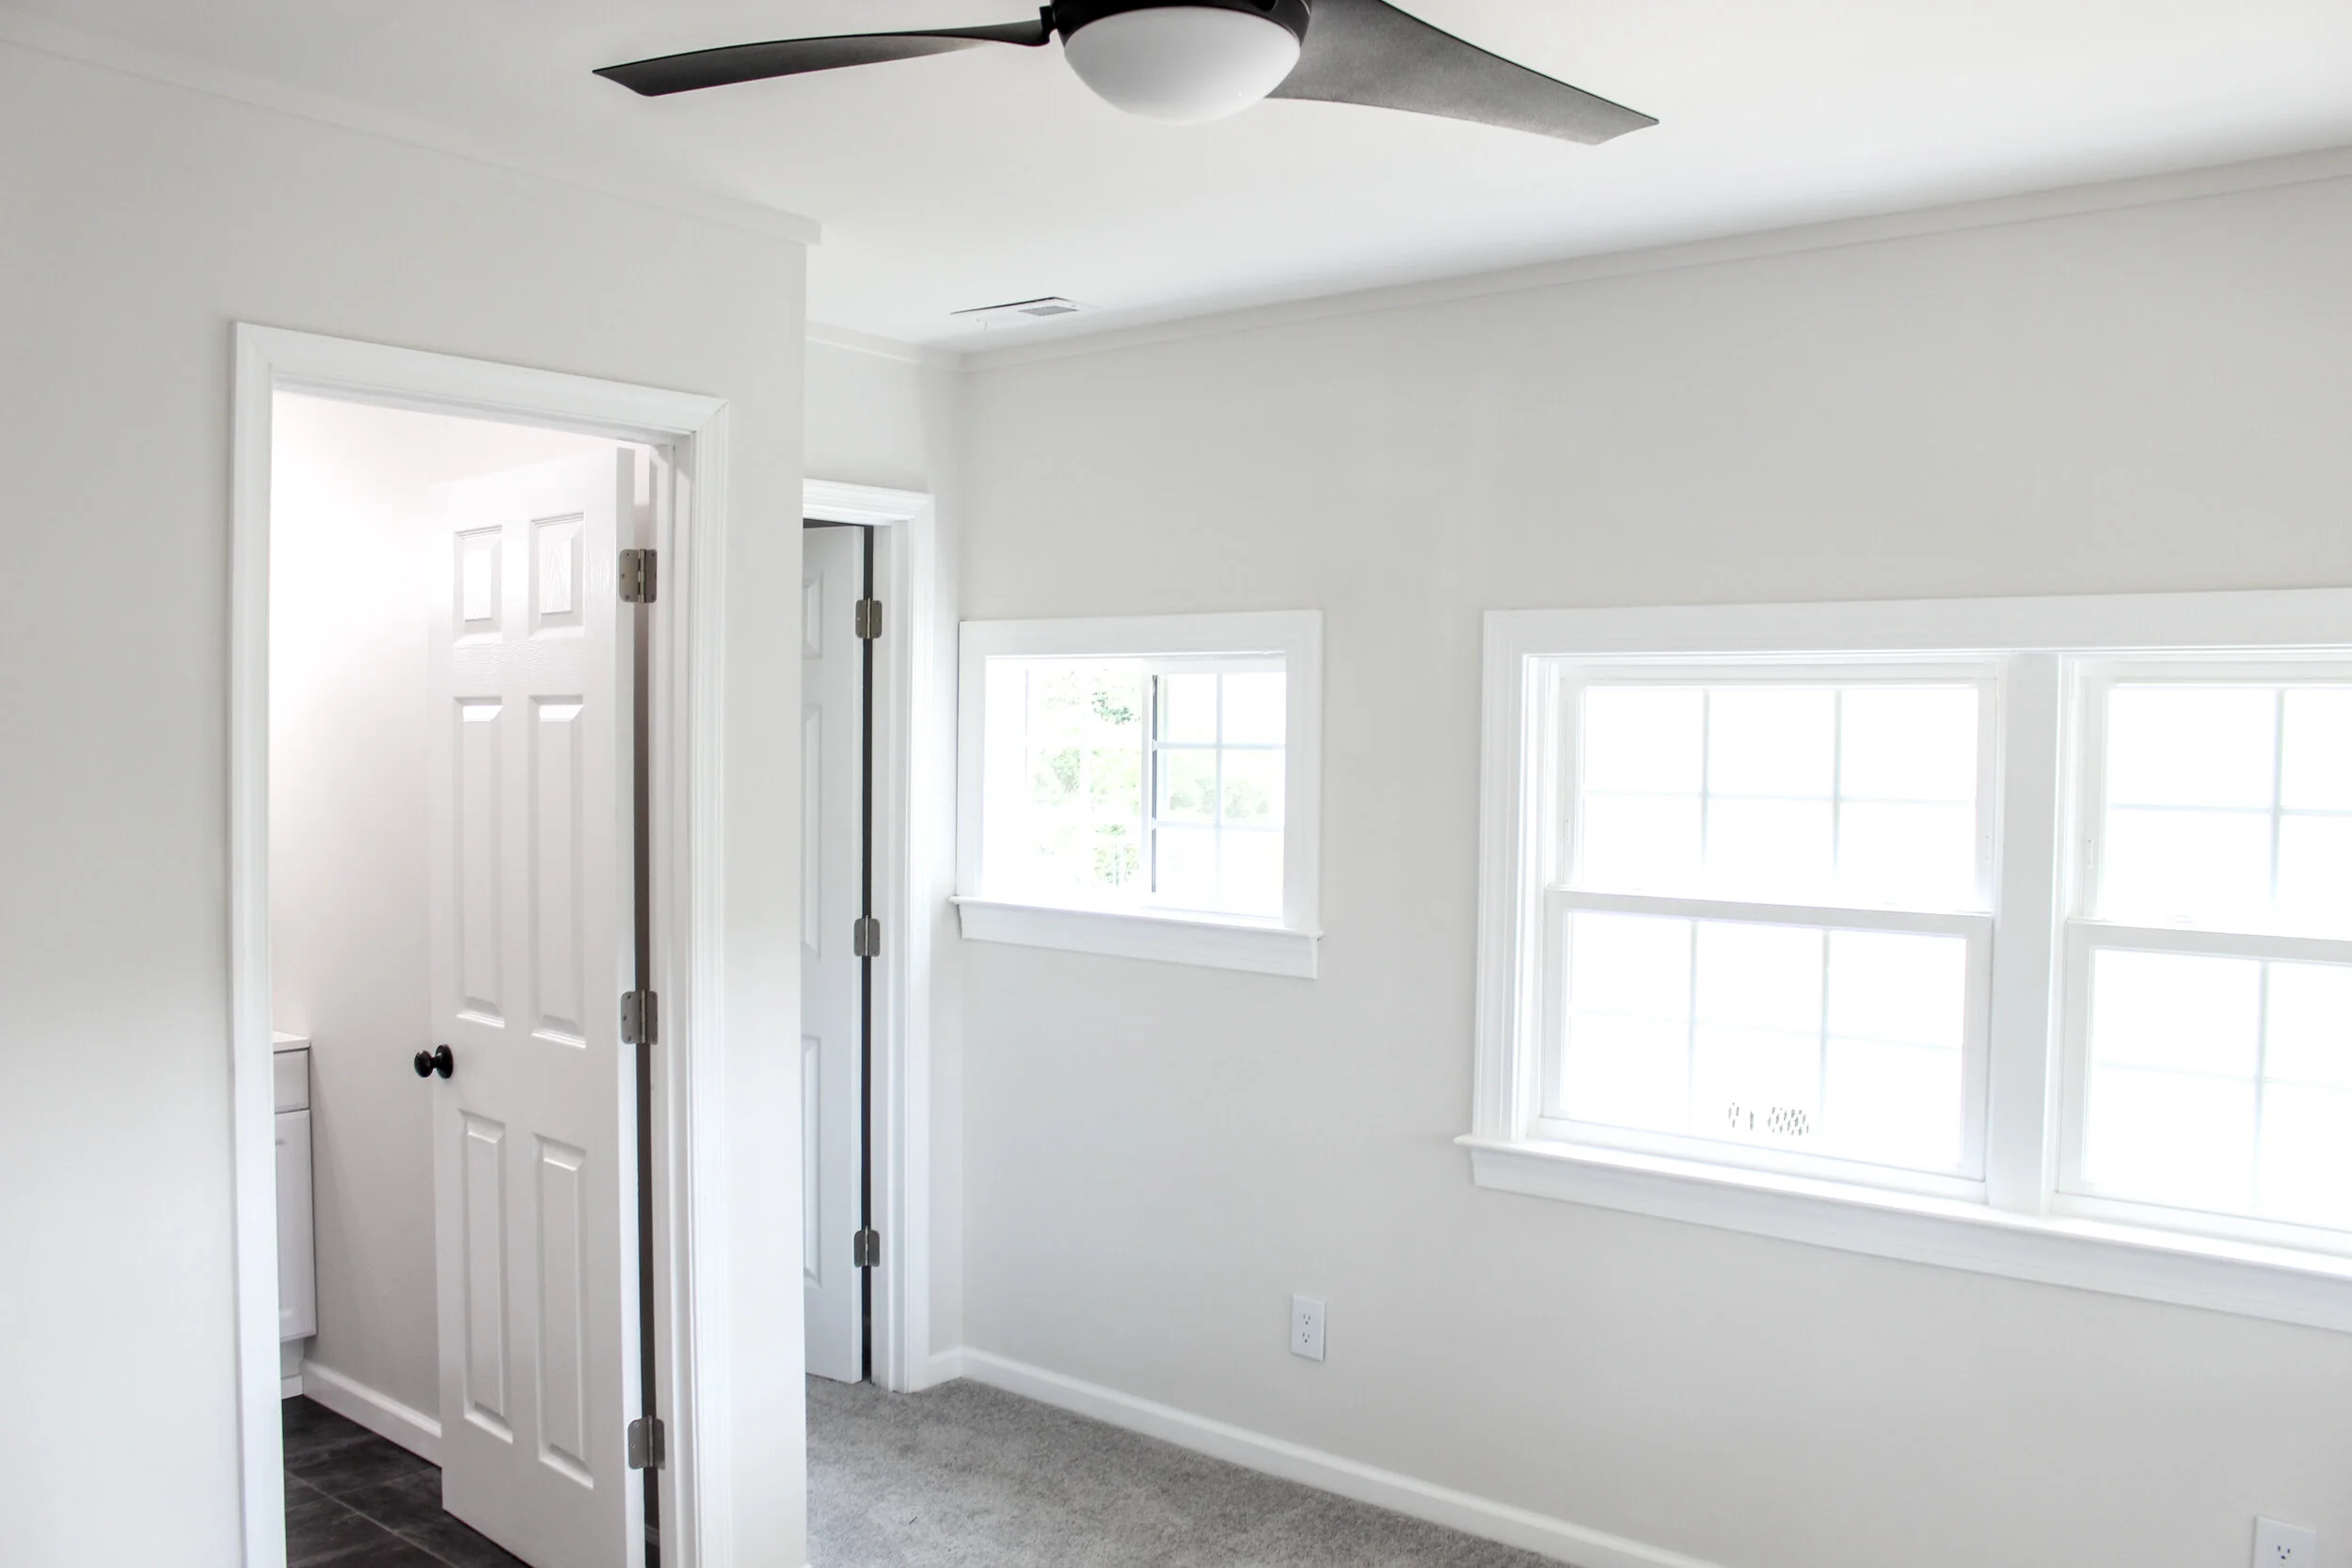
The master bedroom, like the rest of the house, received all new windows and even all new drywall and trim. A walk-in closet was carved out and so was a well-sized master bathroom.

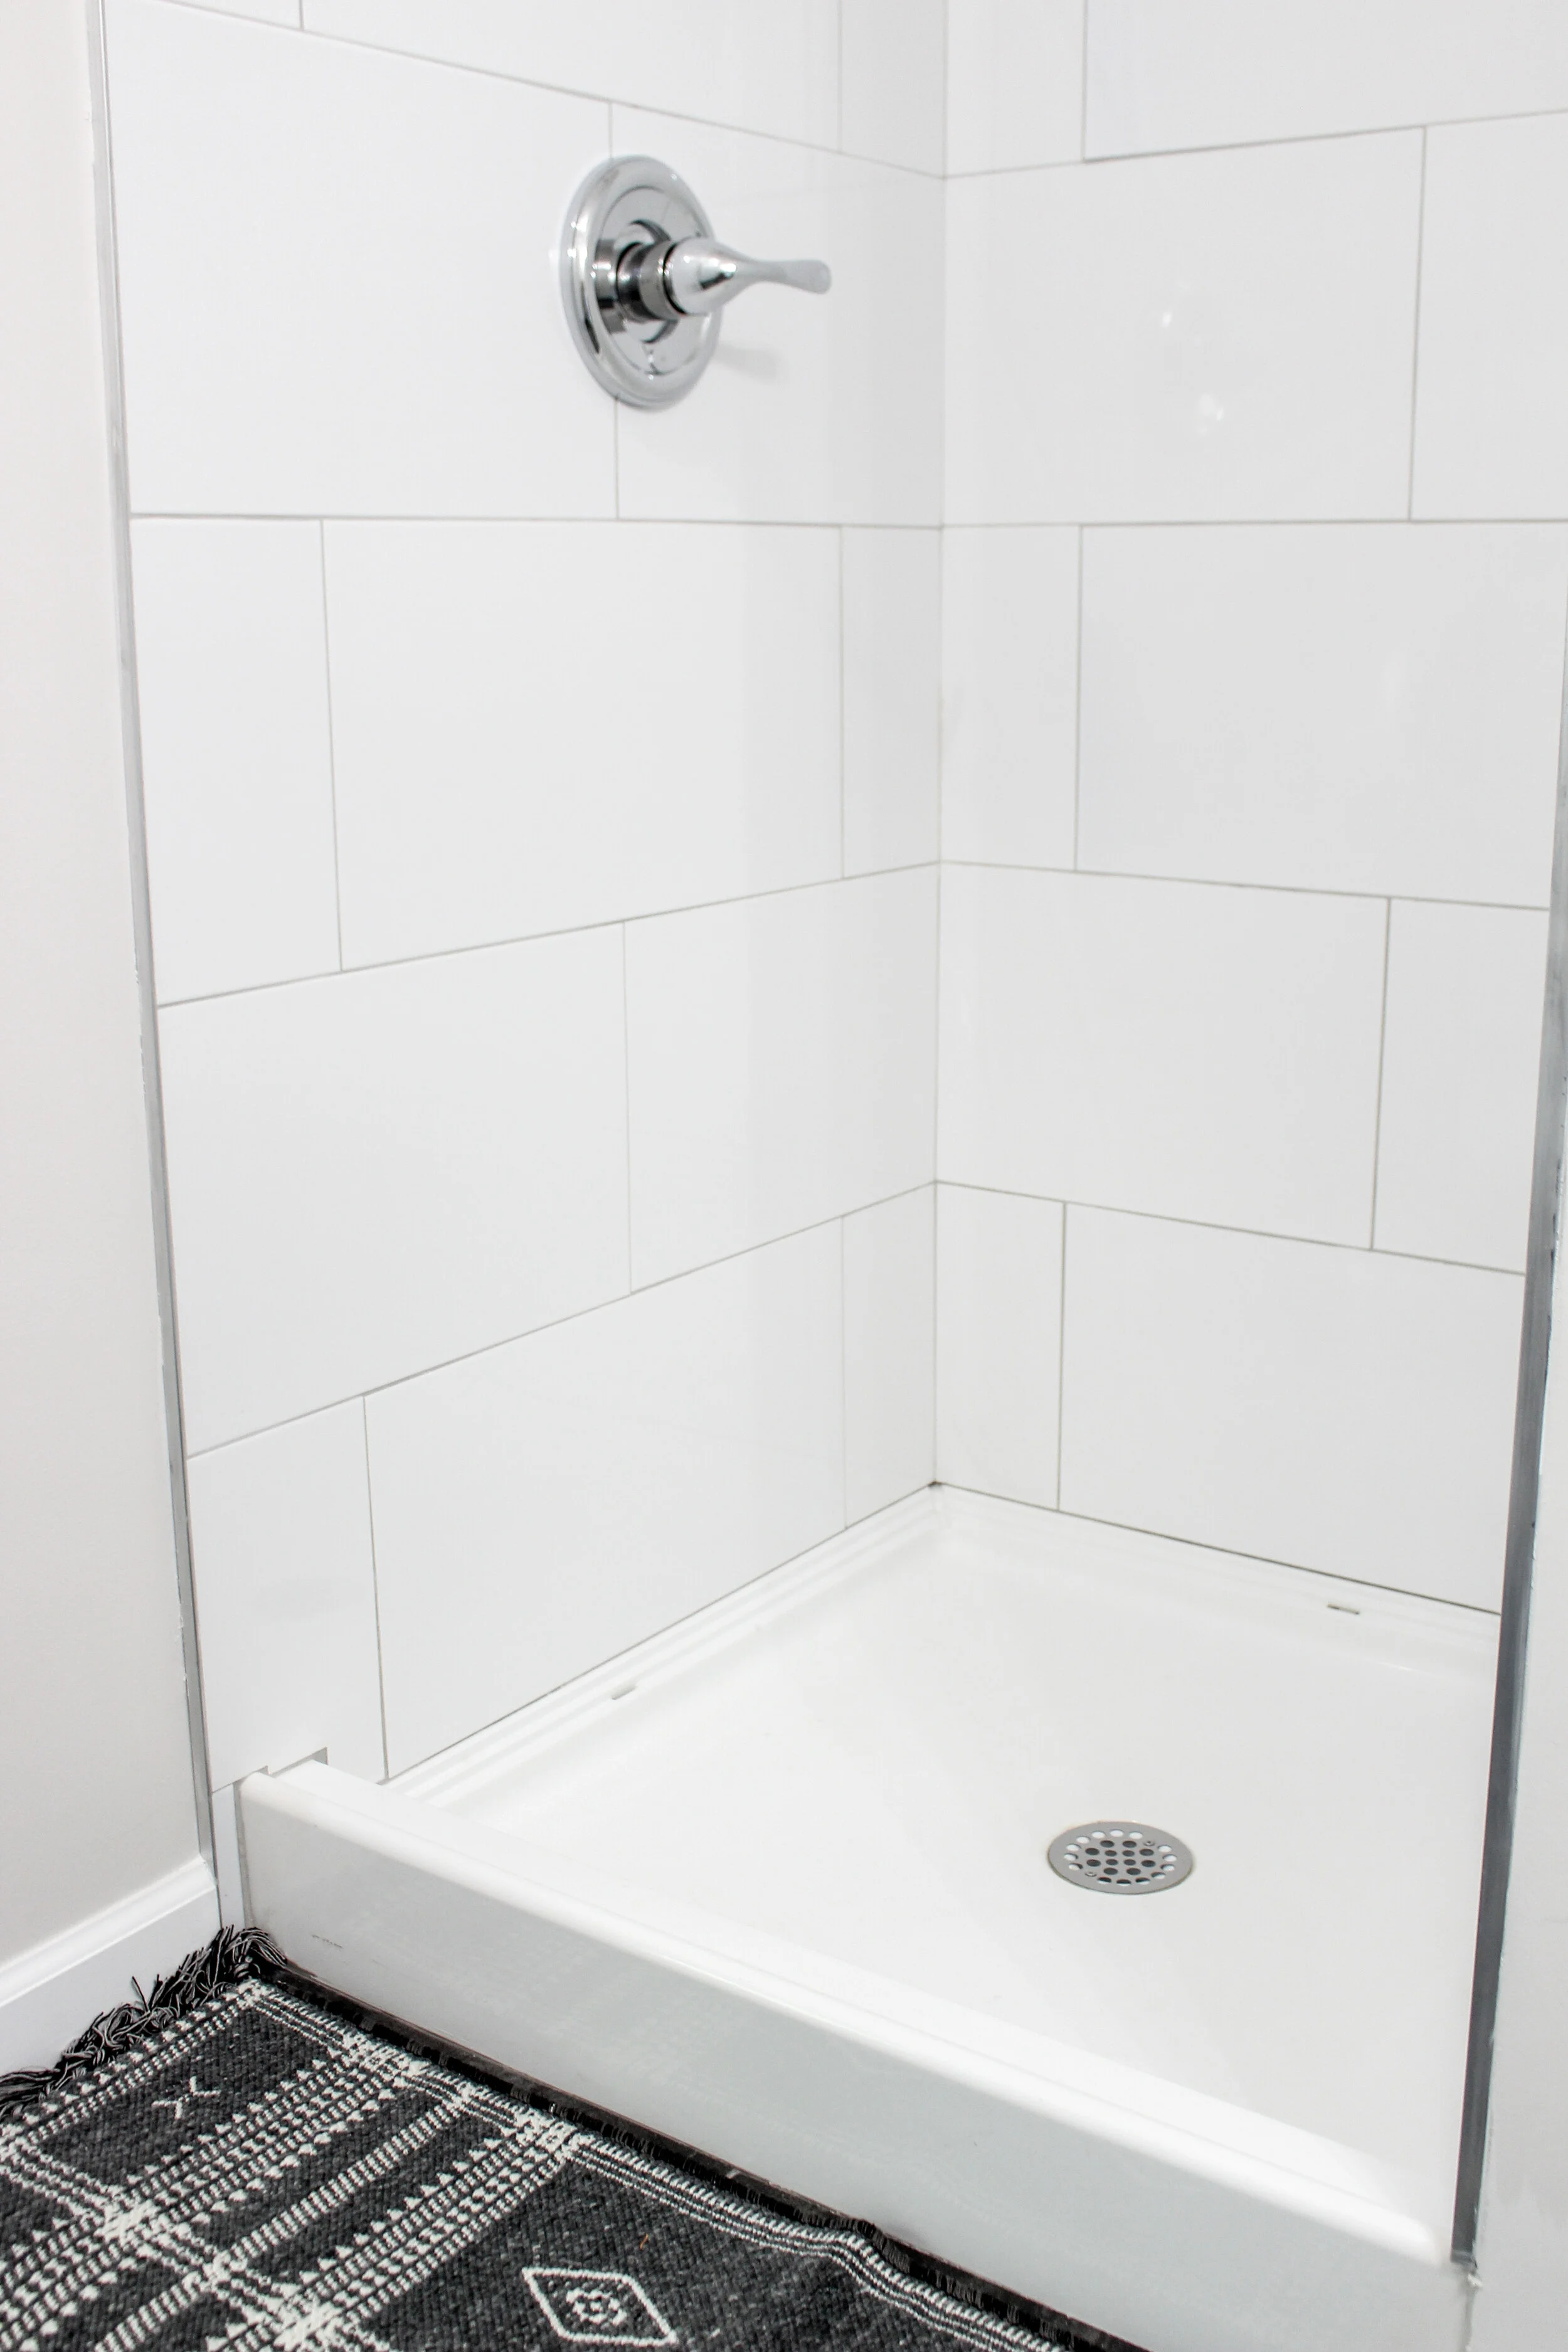
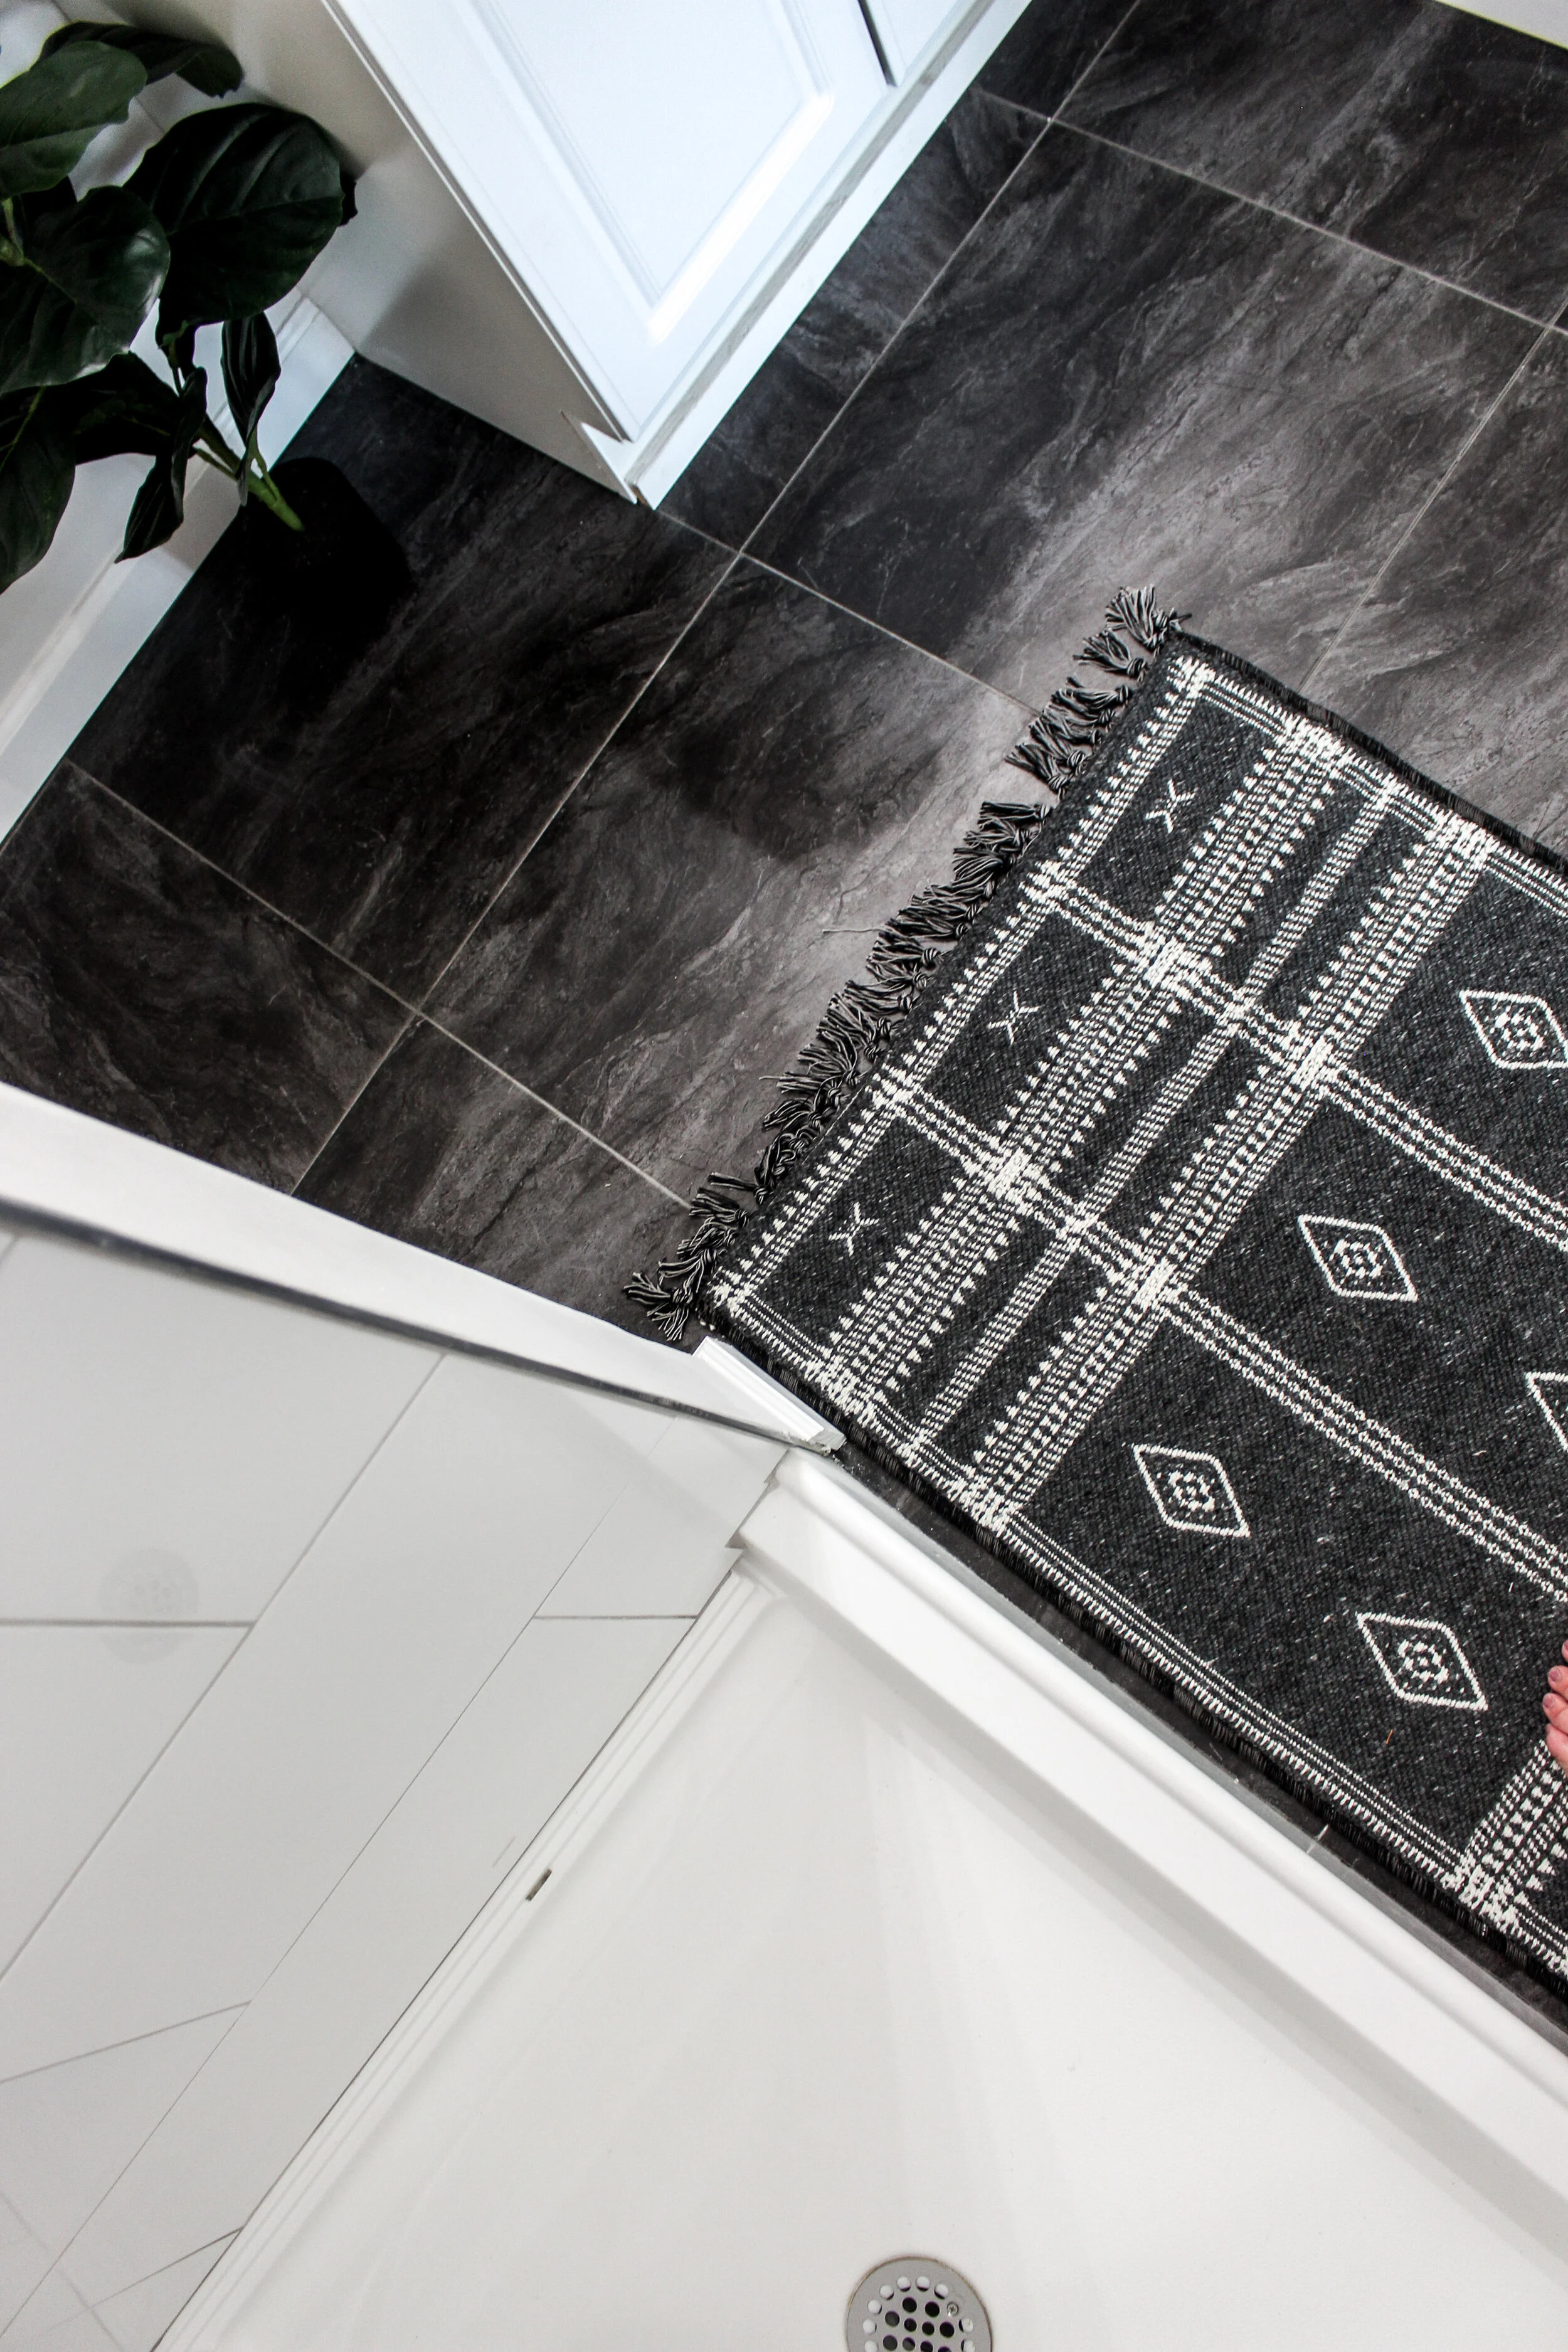
The floor tile is linked here from Floor and Decor. I love the contrast of black and how it elevates the bathroom altogether. The light grey streaks gives it a marble-like appearance. We would 100% put it into another house of ours in the future.
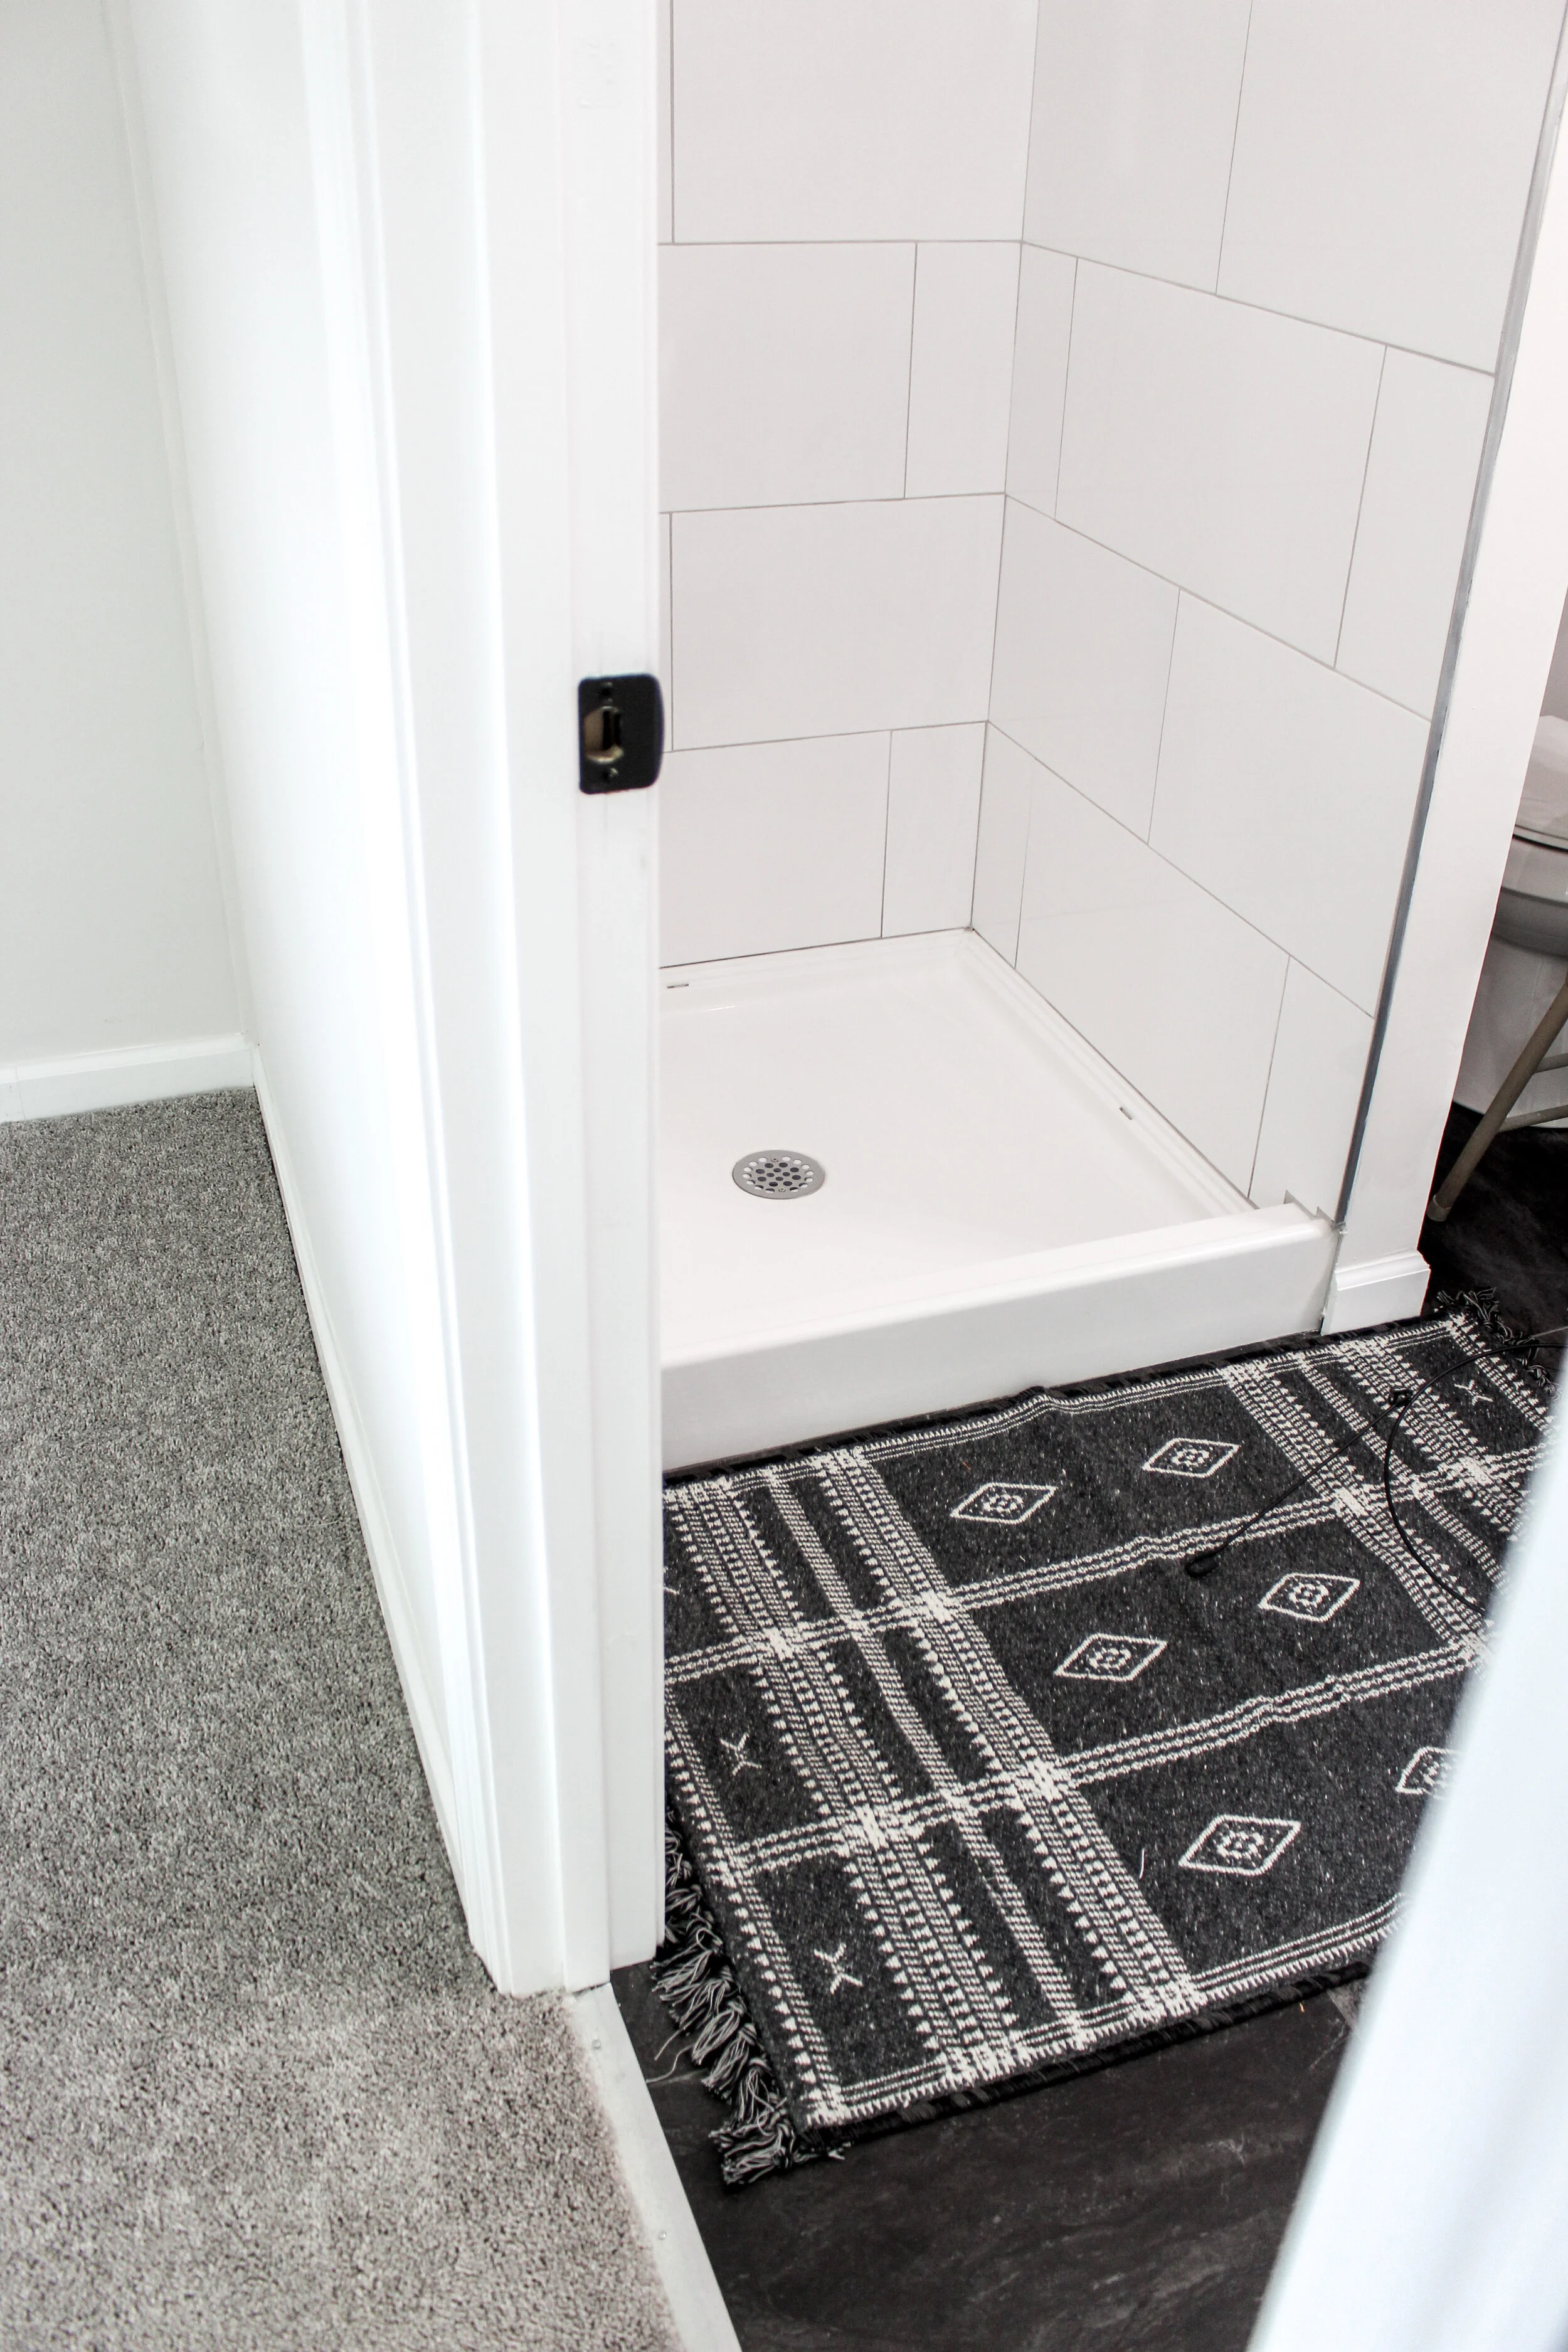
This shower was the first time we added an extra large white subway look into any of our properties. I like how simple and clean it pulled together. Sometimes less grout is better! Here are those tiles as well.
If you follow us on Instagram you may have seen our reel on real estate staging. Basically, I shared a little about my opinion on why we stage our projects. For one, it looks better in photos. Not just for friends and family to see by more importantly on the MLS when you list. Two, it helps the buyer visualize how they would decorate their space and allows for them to connect with the property. Three, ultimately it helps to sell your property quicker!
In all honestly, I just find staging fun! It helps me to bring a room to life and sometimes makes it appear less sterile. Besides, someone is going to be living there. I want it to feel like a home.
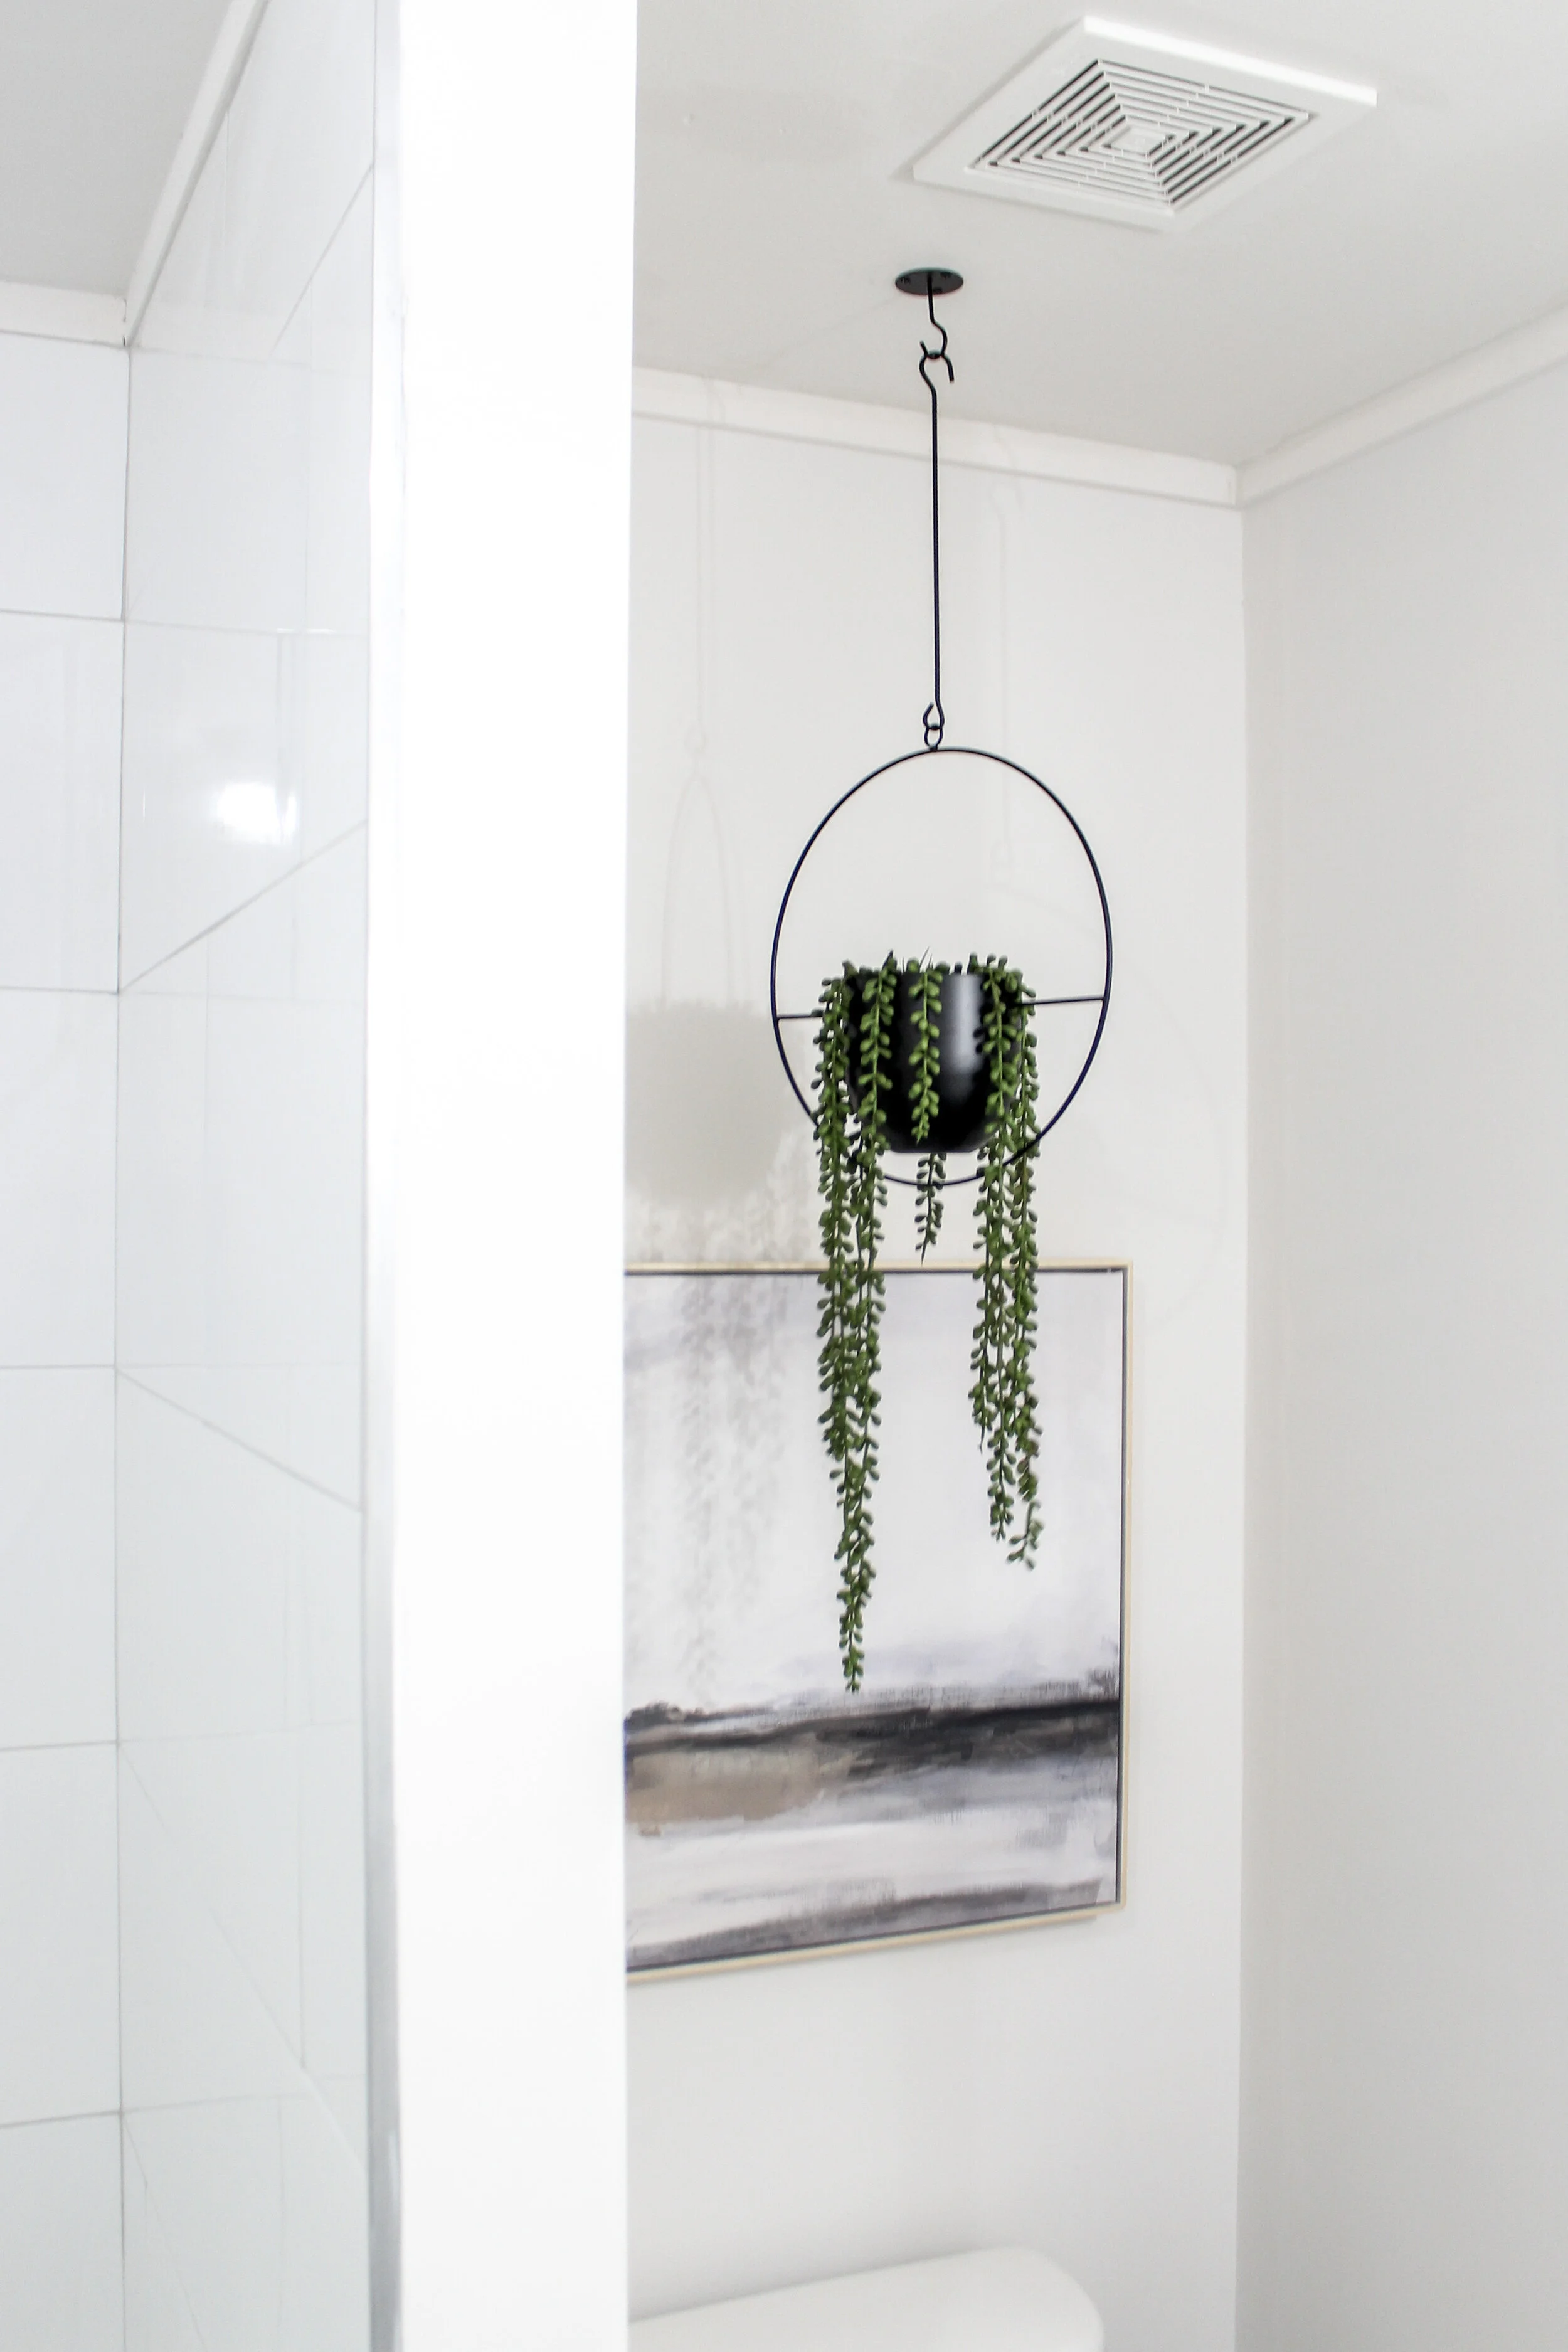
Plants (especially fake ones because you don’t have to water them) pictures, candles, soaps, hand towels, and kitchen accessories are all affordable and meaningful things to use when staging a house or a room. We have not yet found the need to use furniture yet…you may have noticed. The market right now is so hot that there really has been no need to use furniture in bedrooms or living areas.
Going with a staging company is said to have astronomical effects on selling a home. You may want to take this route if you have a house that is empty and is not selling very fast. Most companies cost a few thousand dollars to rent their furniture and it may be the way to go if you are in desperate need. Right now (and we thank God for this) we just don’t need that particular expense. We have plenty.
Second Hallway Bathroom
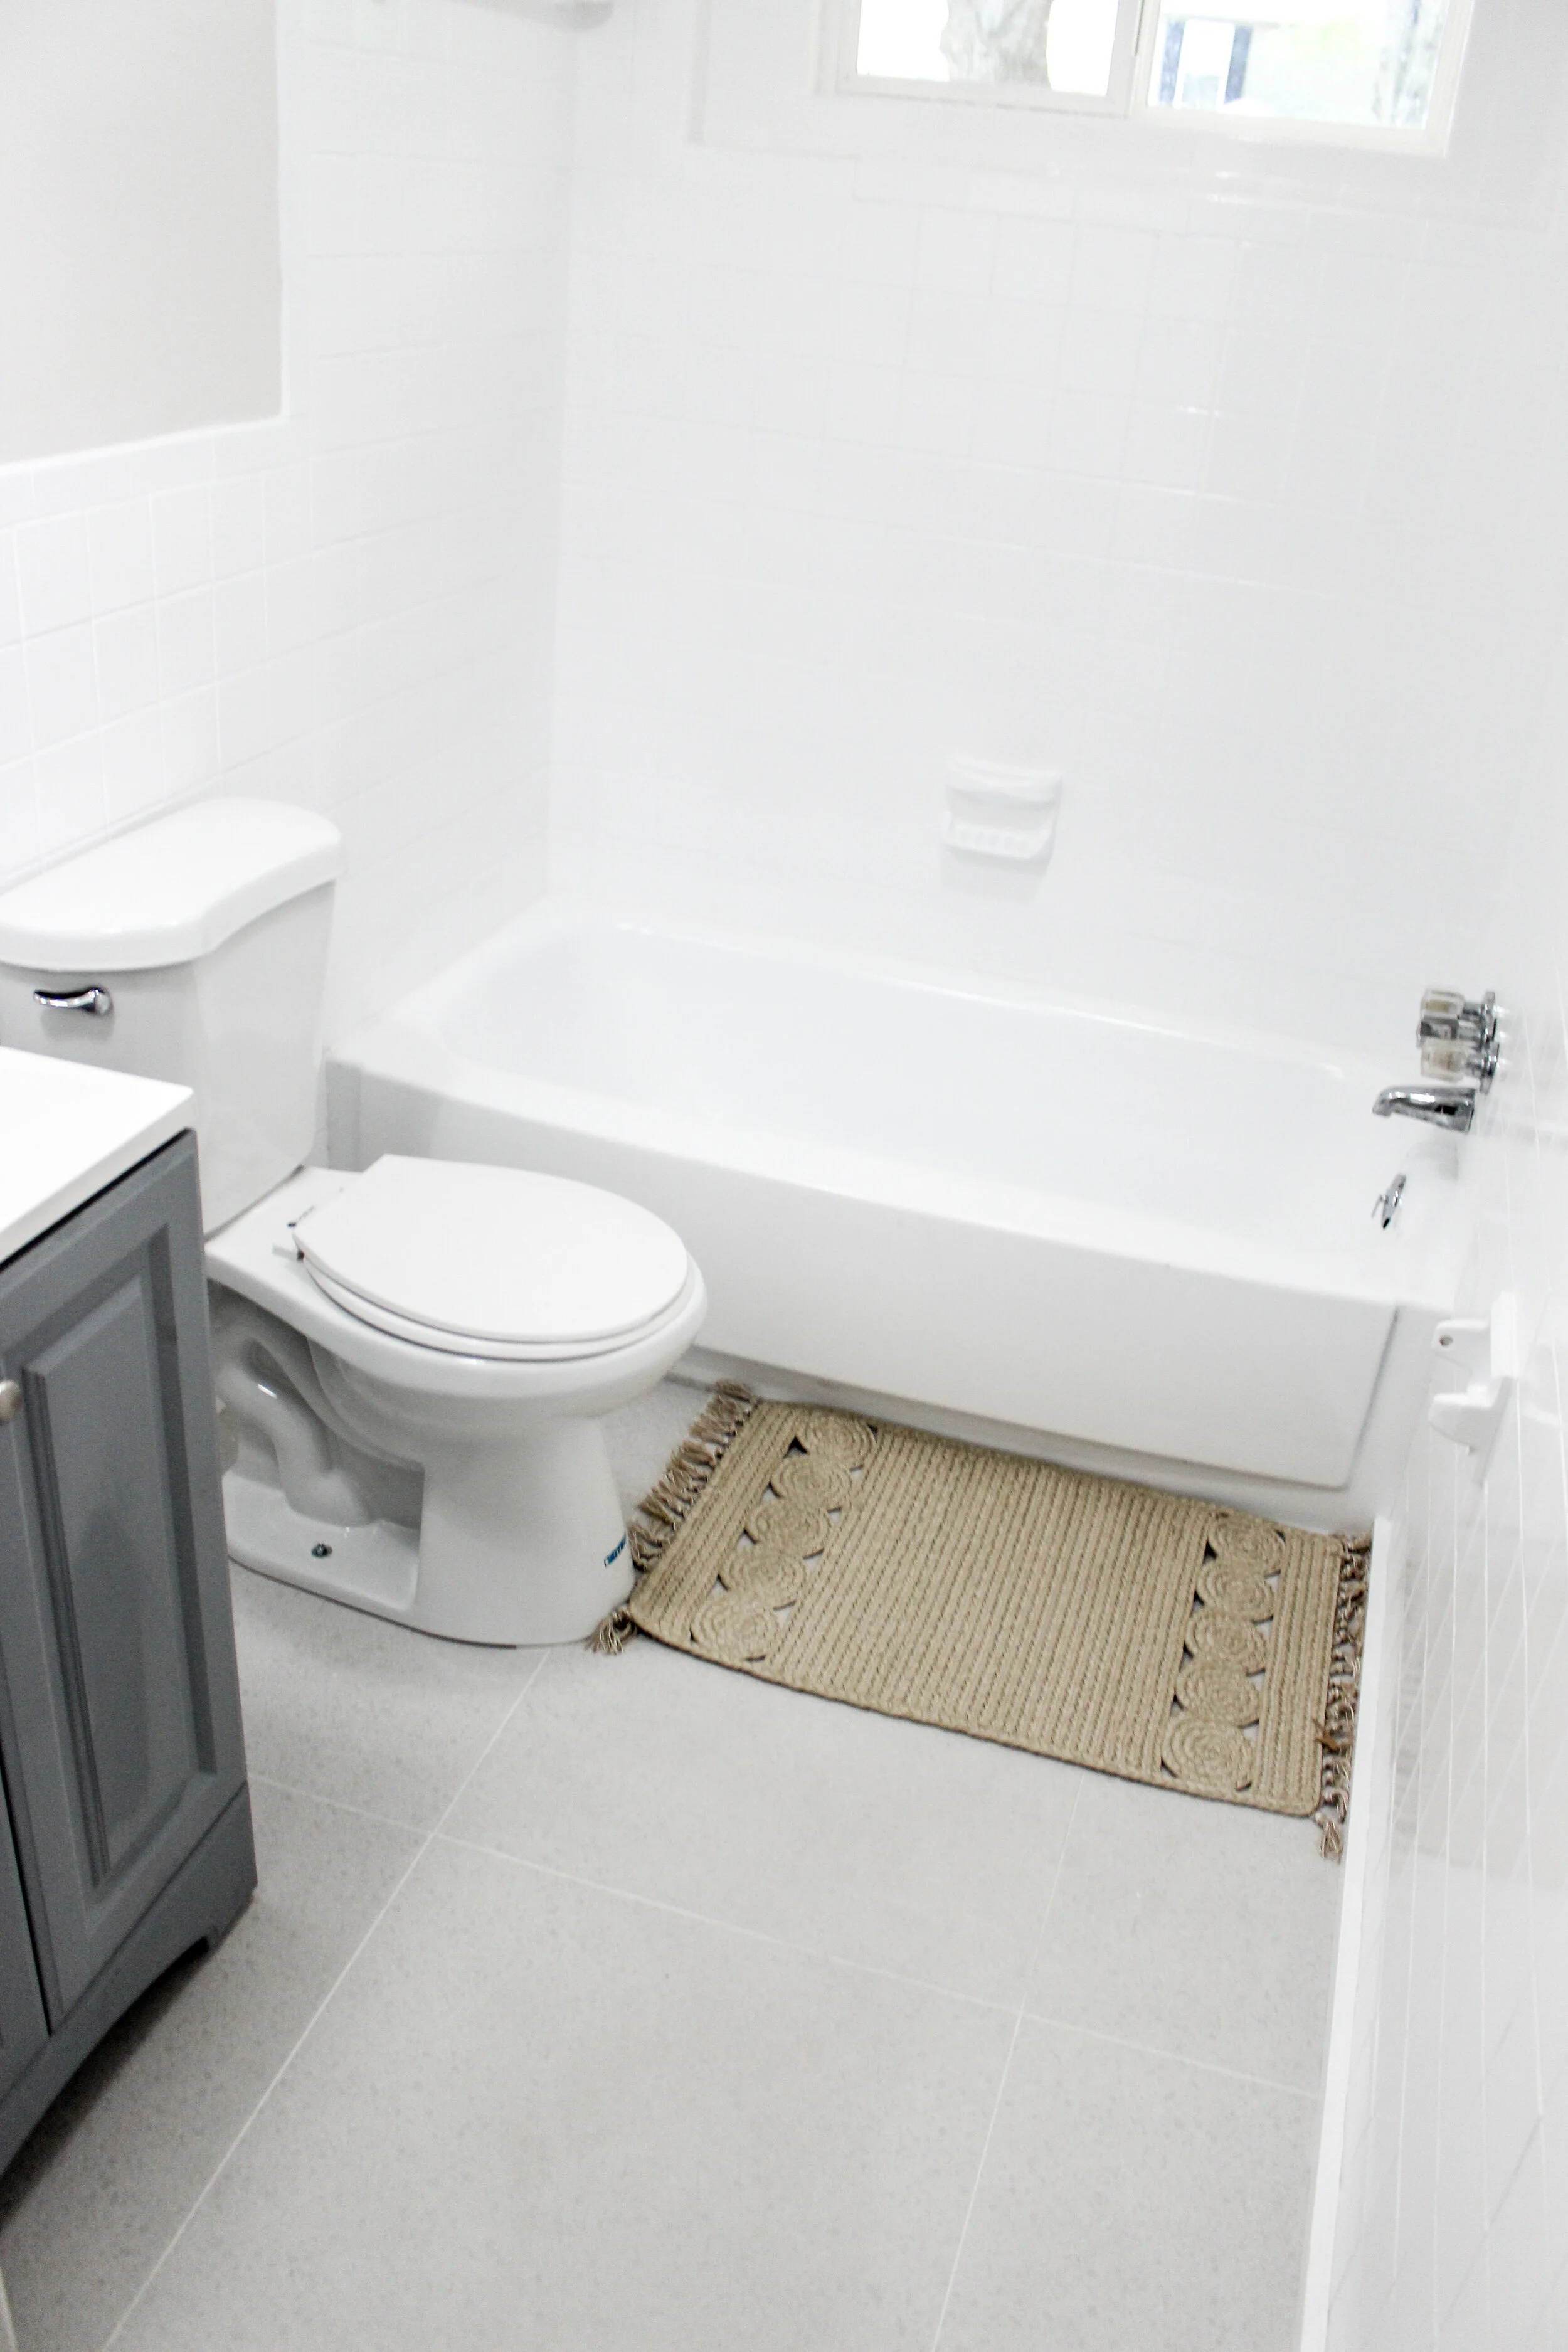
I’m very excited to talk about this second bathroom in the project. We decided to save money by reglazing the tiles and not ripping out all the tile that was originally in this room. Reglazing is basically painting tile with a very, very strong resin that bonds to the surface creating a whole new look. I also want to link these amazing light grey “terrazzo” type tiles here! They are actually porcelain but look just like terrazzo. I’m obsessed!
Pro tip: we reglaze a TON of the tubs we get in our houses. It’s so much easier than ripping out the whole shower or original tub and, in complete honesty, look as good as new! We are even reglazing our current master bathroom in our own home because we like it so much.
Check out the difference! We love the way the new tiles shine and even though the tiles were some shade of off white before, this bathroom has been completely transformed. Last thing I will say about reglazing is to consider hiring someone to do it. The process is so intense and the professionals have the strongest of agents to really adhere to the old tiles. You can buy a kit from any hardware store but I like the piece of mind of knowing that the job was done right and won’t peel in the future.
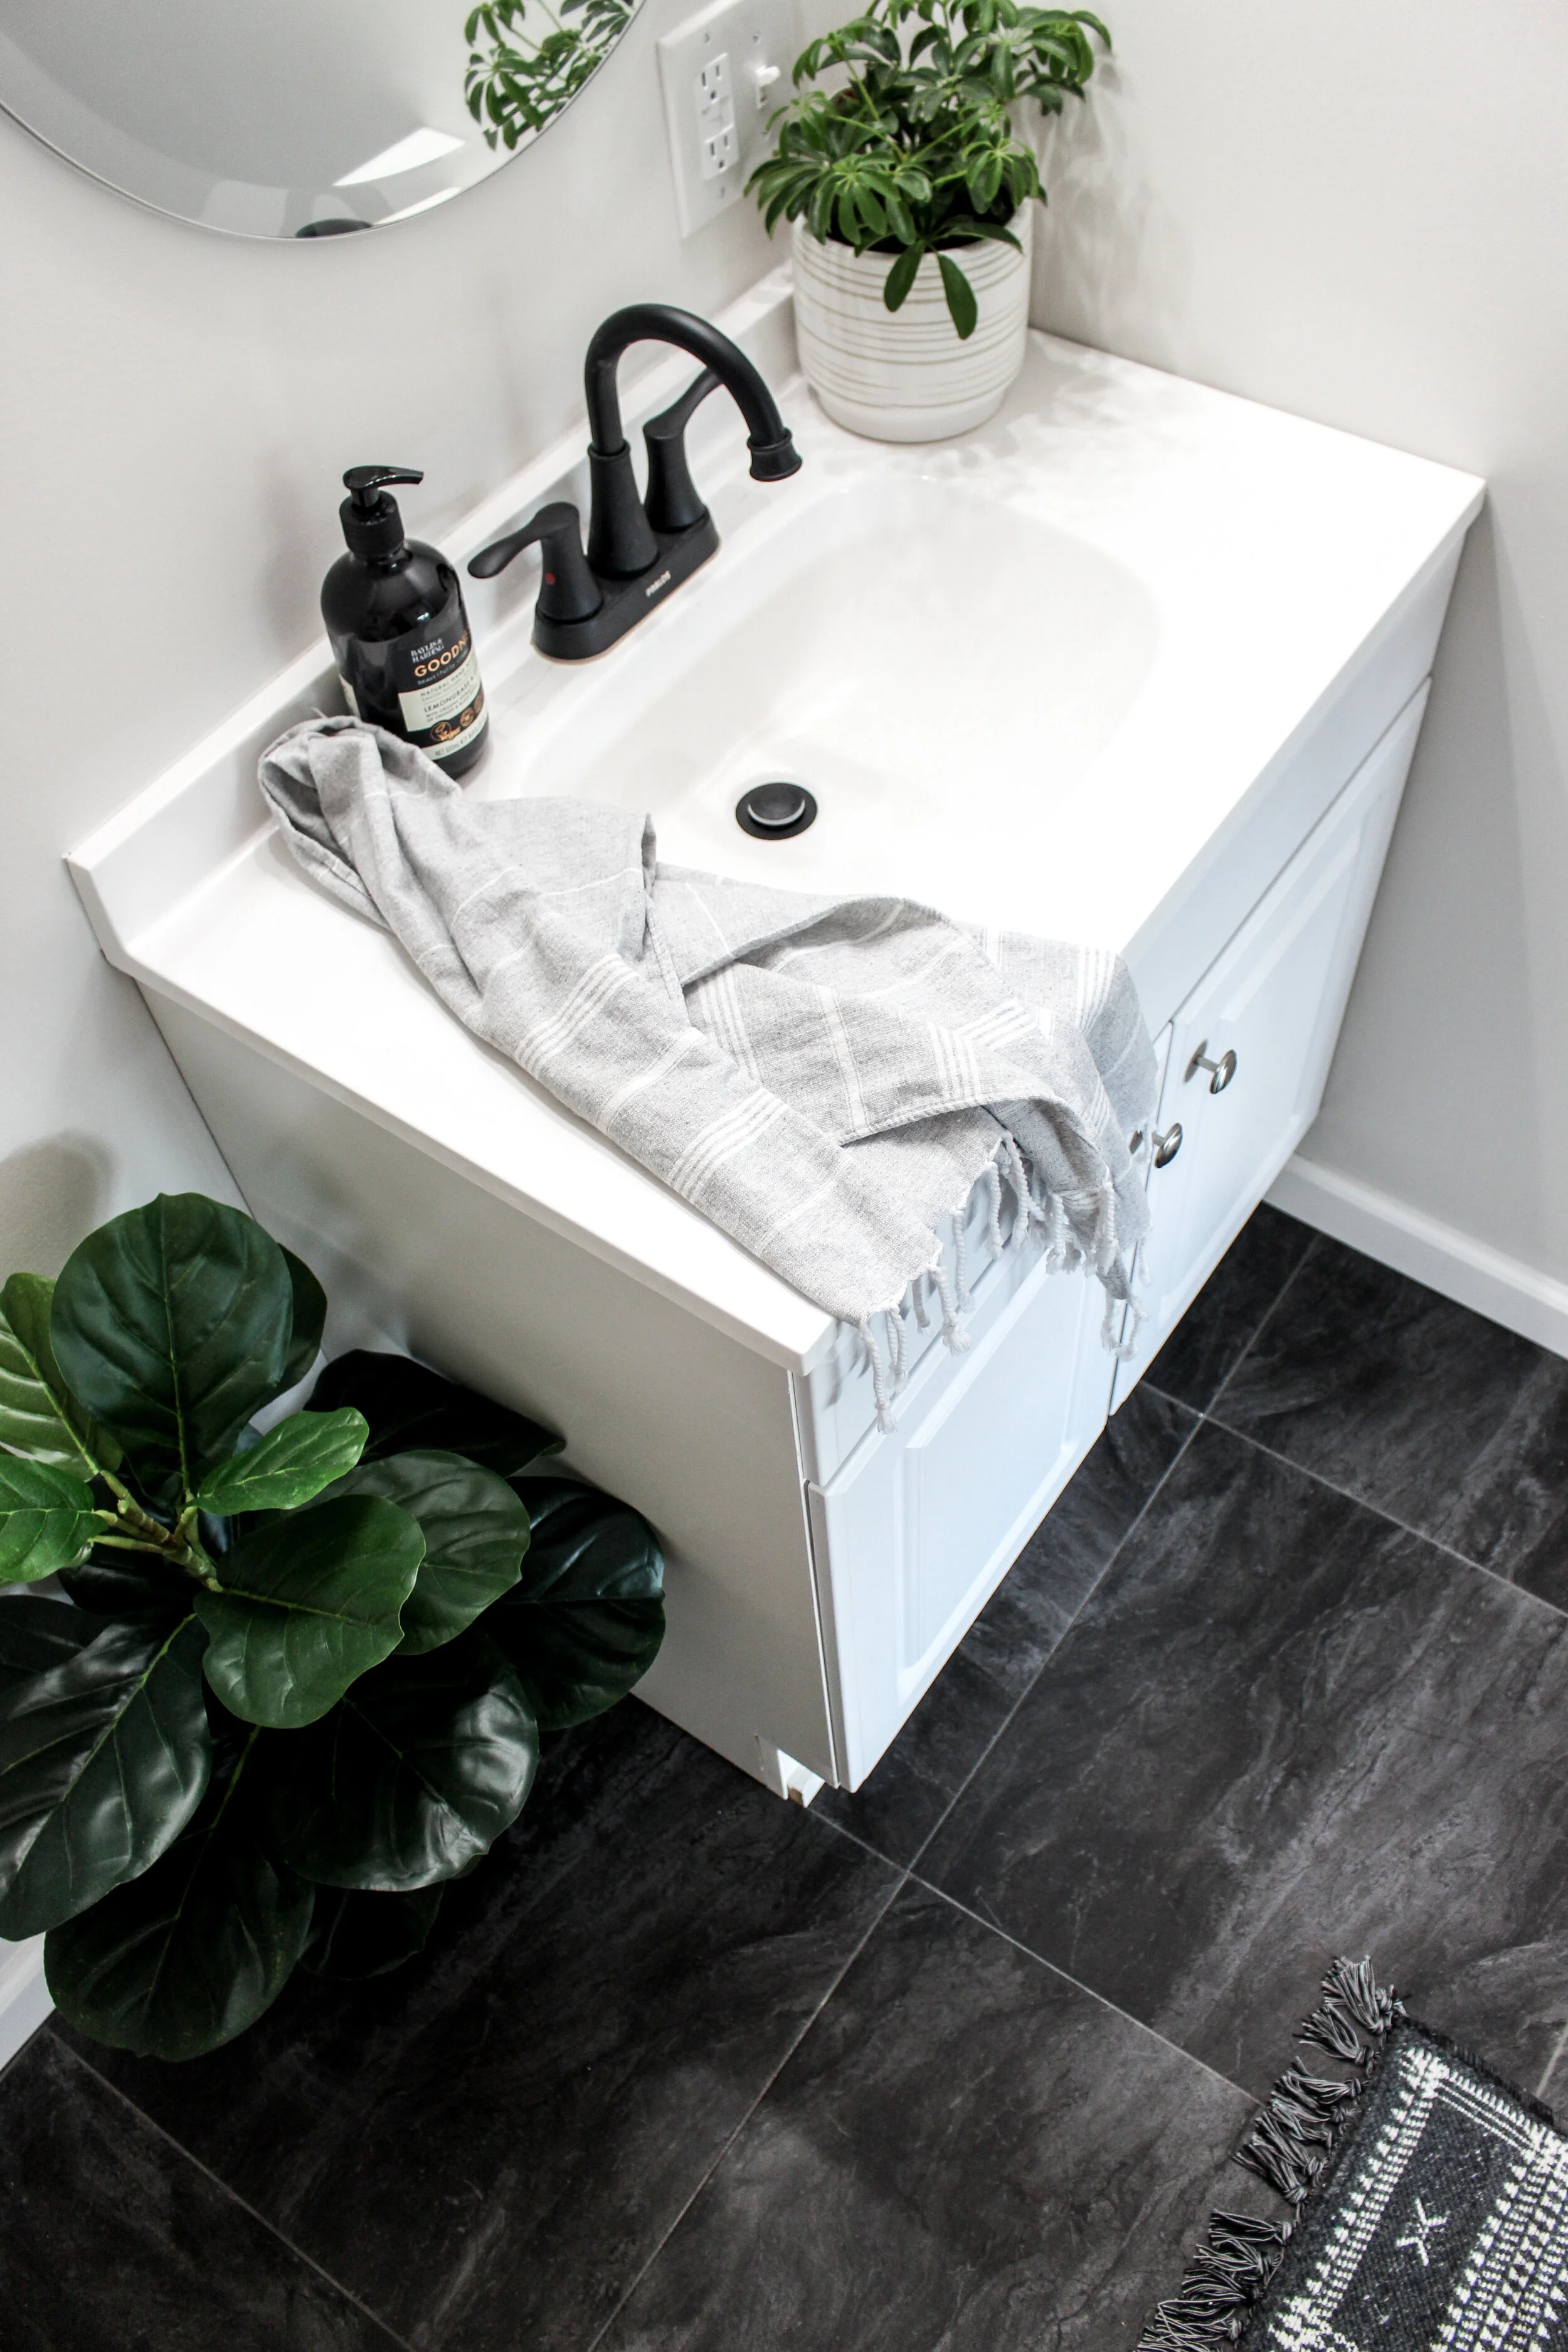
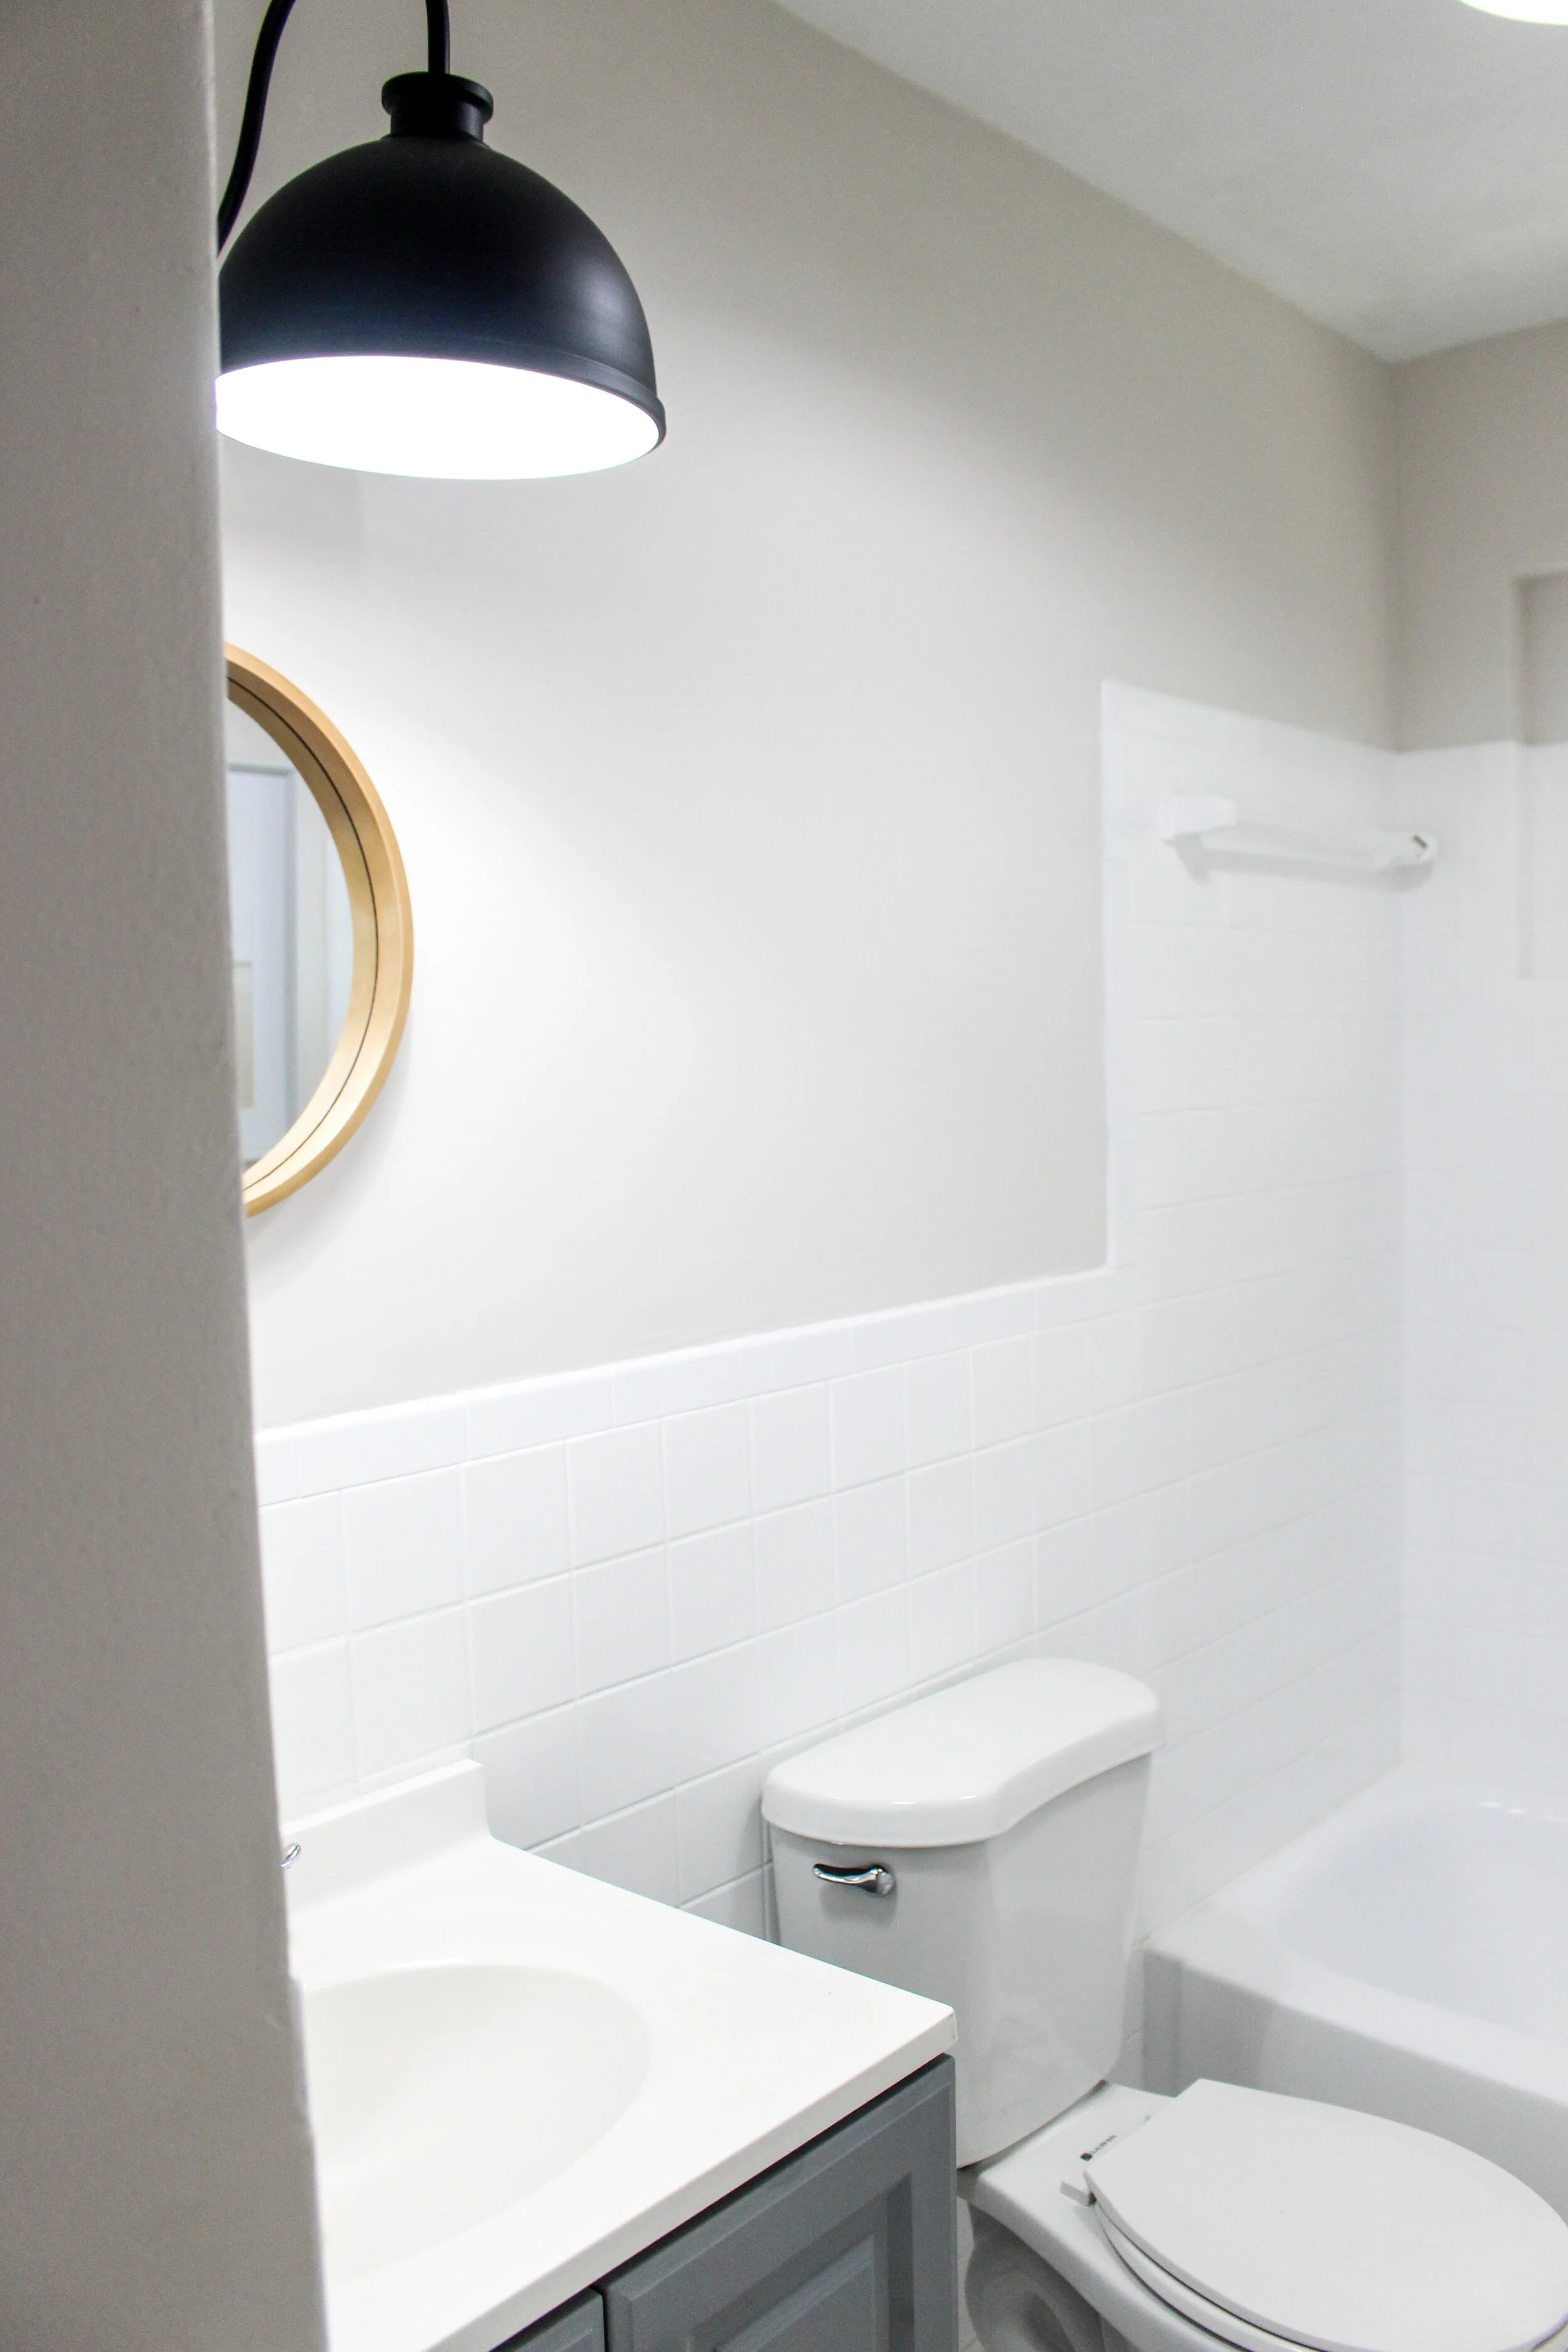
Third Half Bathroom

I really think this little half bathroom is one of my favorite bathrooms we have created so far. I found this raw edge backsplash tile look here on pinterest. I never forgot this pin and I frequently told myself that if I had the opportunity to do it, I’d ask Sean to copy it in a bathroom of ours. Well, my man delivered!

The other fun feature of this room was the butcher block and vessel sink combo. I like the natural wood look with the simplicity of the vessel sink. It’s held up by multiple white brackets underneath (4 to be exact). Sean was excited about the galvanized exposed piping below the wood as well.
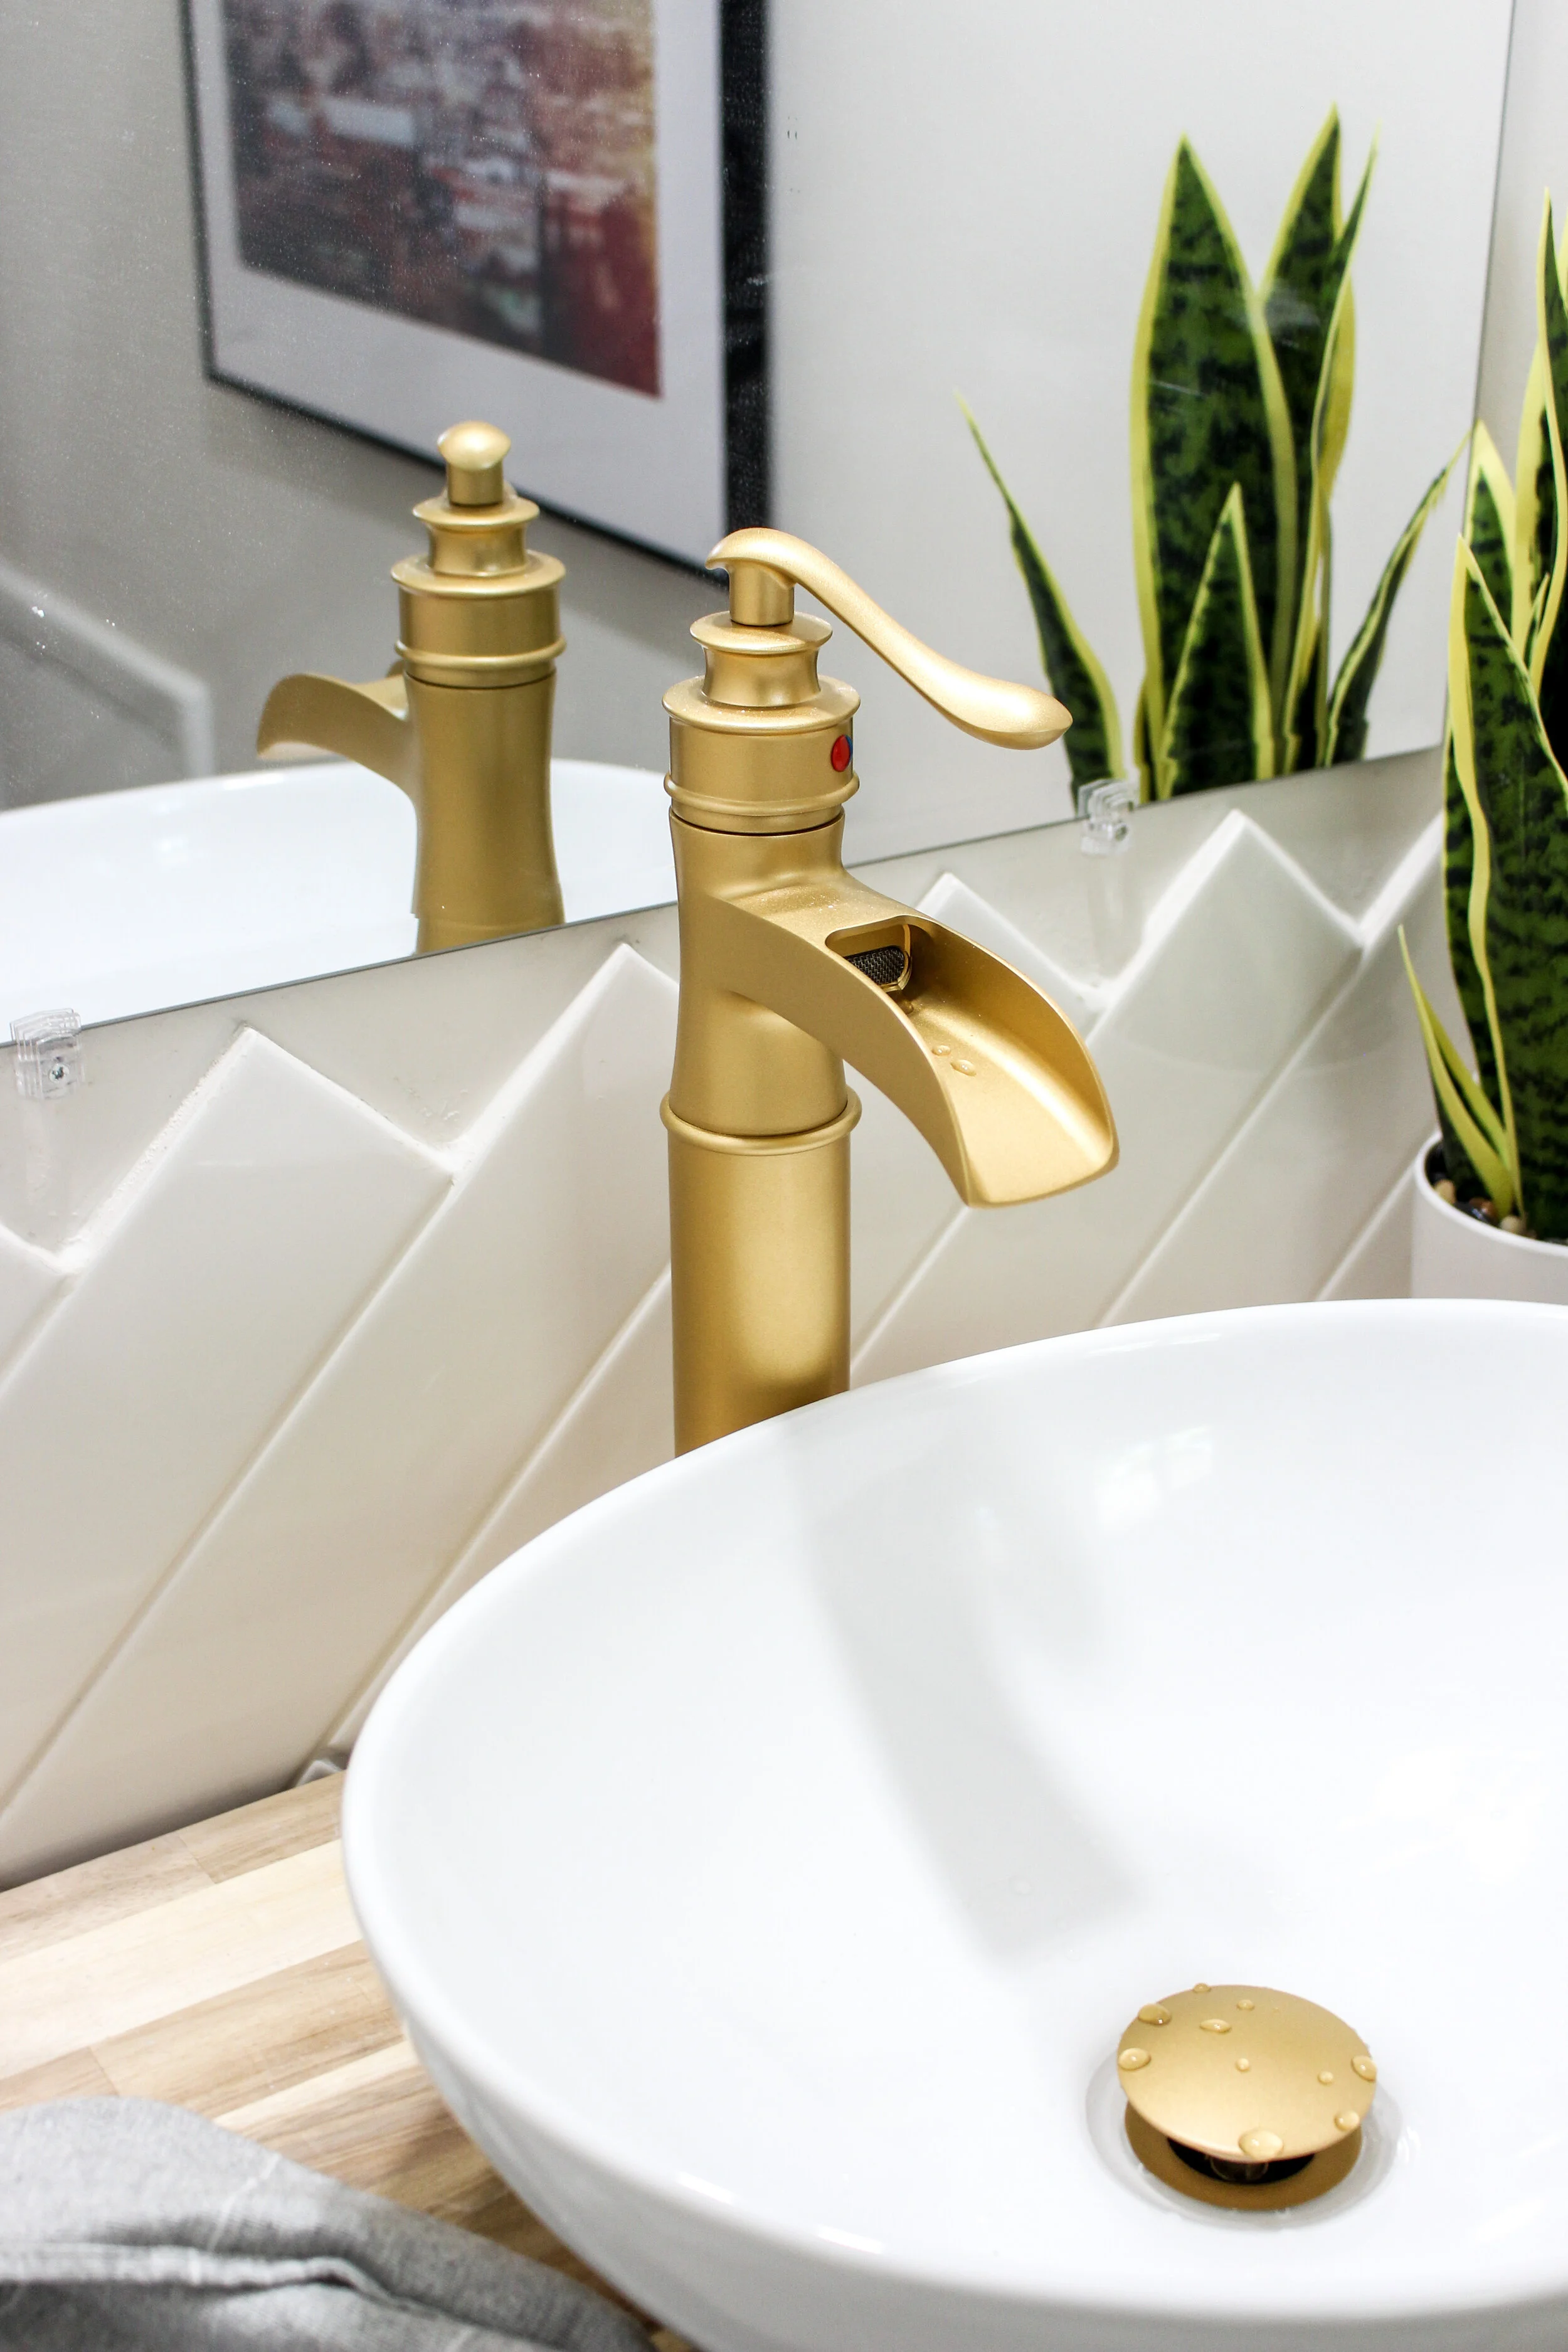
This faucet is linked here from amazon. I can’t help but think of Aladin every time I look at it though :D I guess that’s not a bad thing?
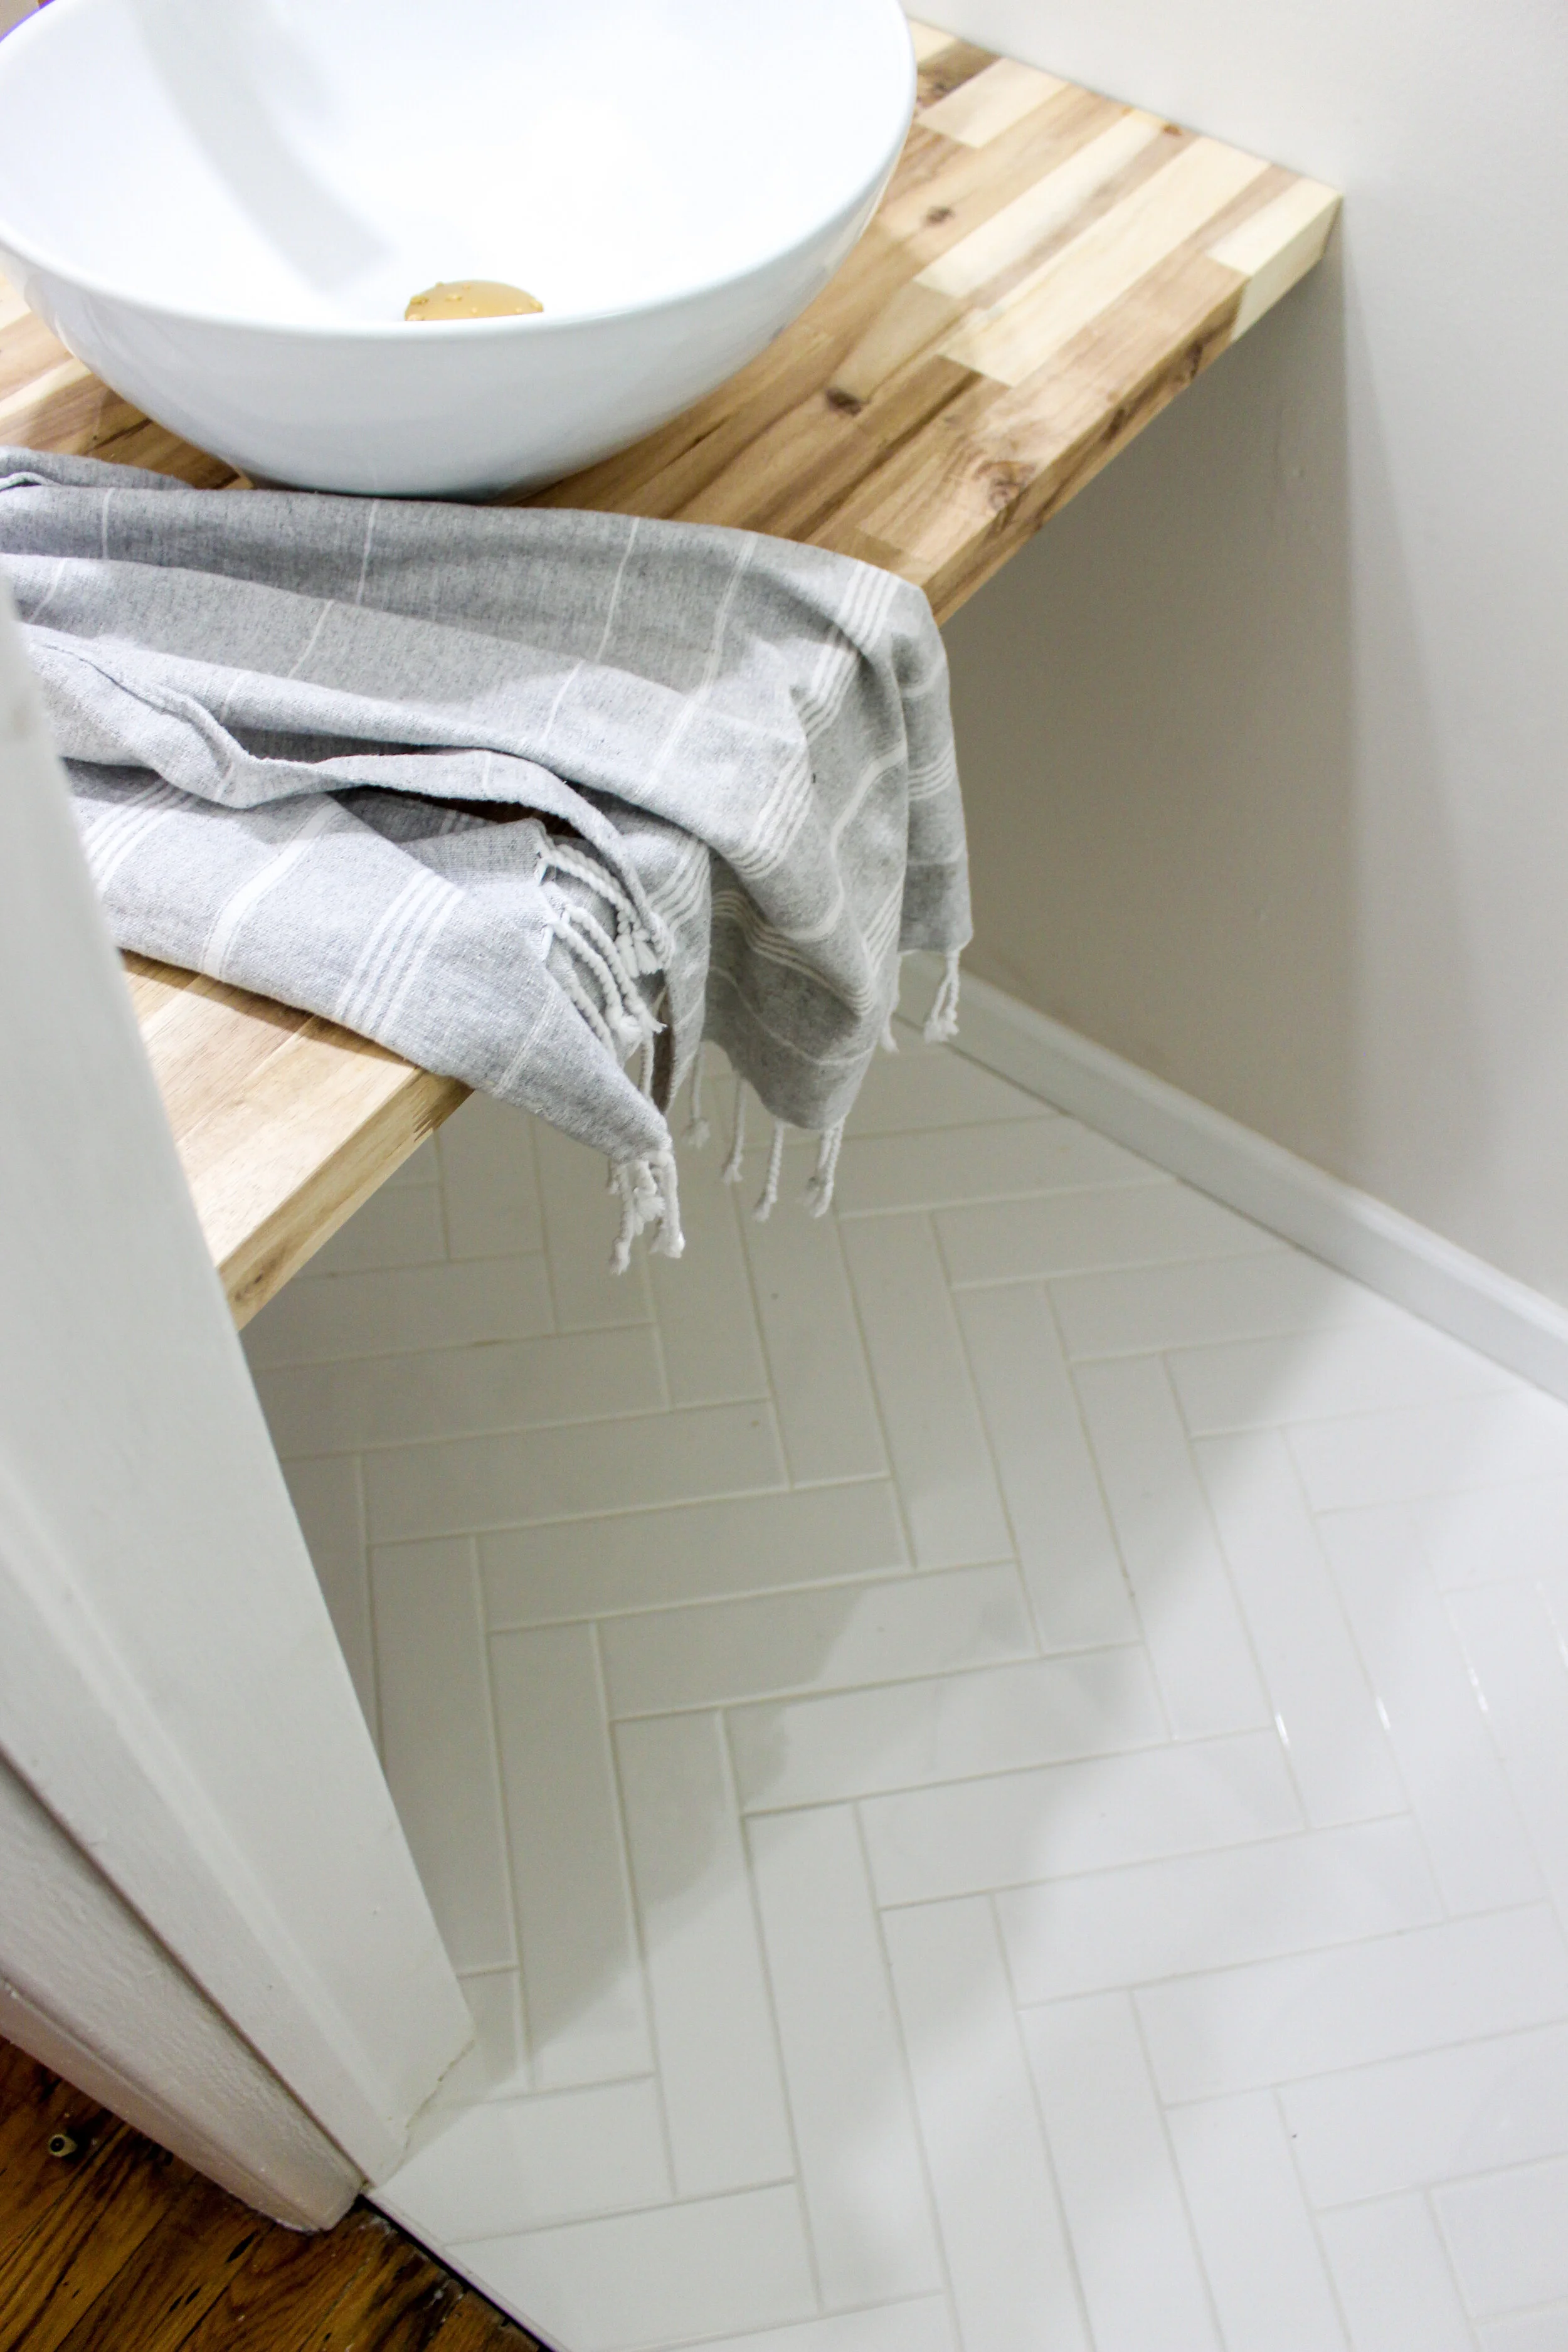
The last amazing feature about this bathroom is that the herringbone starts on the floor and makes it’s way up the one side of the wall and ends at the top of the vessel sink’s backsplash. I mean, herringbone is magical in and of itself then make it climb up a wall to end in a raw edge?? Slay me.
The Beadboard/Coffered Ceiling
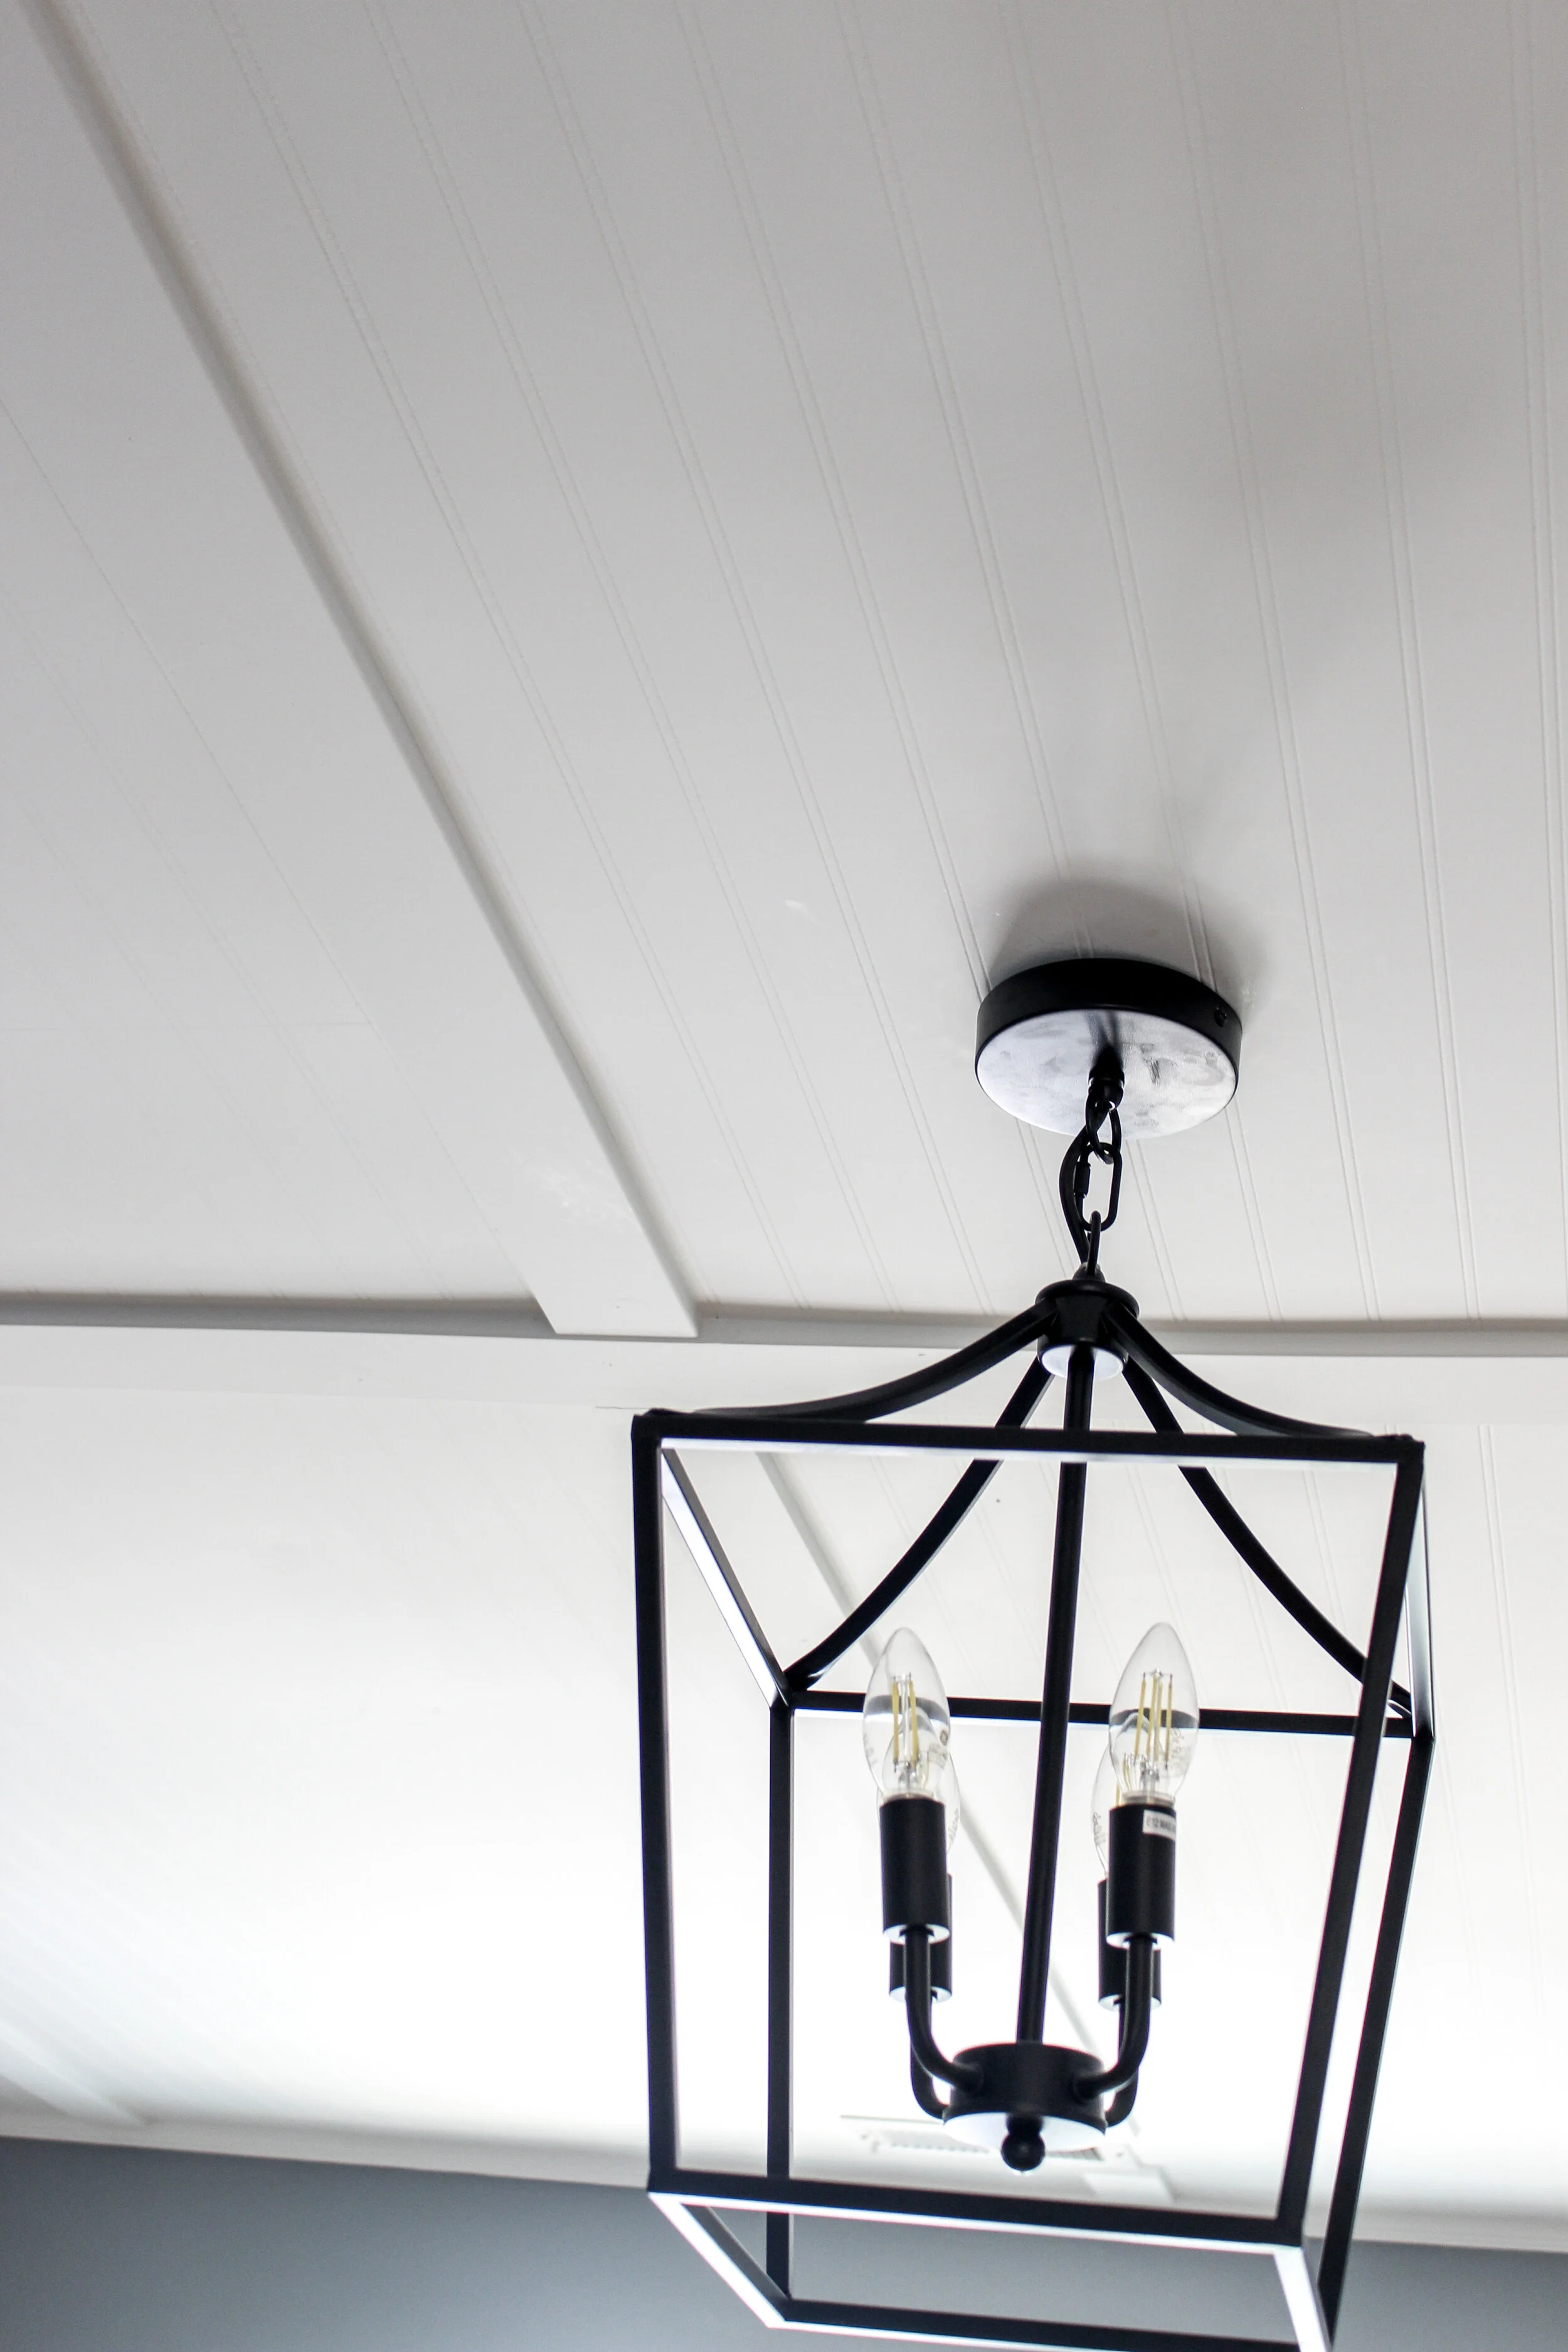
There was so much about this home, I told you it needed a part 1 and 2! The last but not least feature in this blog post is the beadboard coffered ceiling. I remember when Sean called to tell him he was going to spray the nasty square paneled ceiling that was in the original house. I told him it was too gross and wouldn’t work. Well, you know it’s bad when your husband calls again to tell you it looked horrible even after being sprayed white! We had to get creative.

I remember when I first pitched the coffered ceiling idea to him, he immediately said no way! He thought that it would be WAY too much work and cost way too much money. I told him, “what if you used beadboard and took 2 x 4’s to cover the seams? It would create a coffered look with texture in the squares.” Well, he didn’t feel like the ugly panels on the ceiling really gave him a choice so he would try his best to cover them the way I suggested. Well… what do you think? I think that’s an easy answer. The ceiling turned out incredible and I will hopefully be giving the ceiling it’s own post soon because… well just look at it! It deserves a post.
Here’s a little update on Roger’s selling as well. We originally took a very fast offer that fell through in a very strange way. We just accepted another offer in hopes that this one sticks :) Real estate is such a strange game that tests your trust in not only yourself but also the big Man. Good thing we love the ride and we aren’t going anywhere anytime soon. Thanks for reading y’all and stay tuned for Seaboard 2.0 coming soon!
Ann | DESIGN