
Breakfast Nook Bench Seat Reveal
Virginia Beach, Virginia
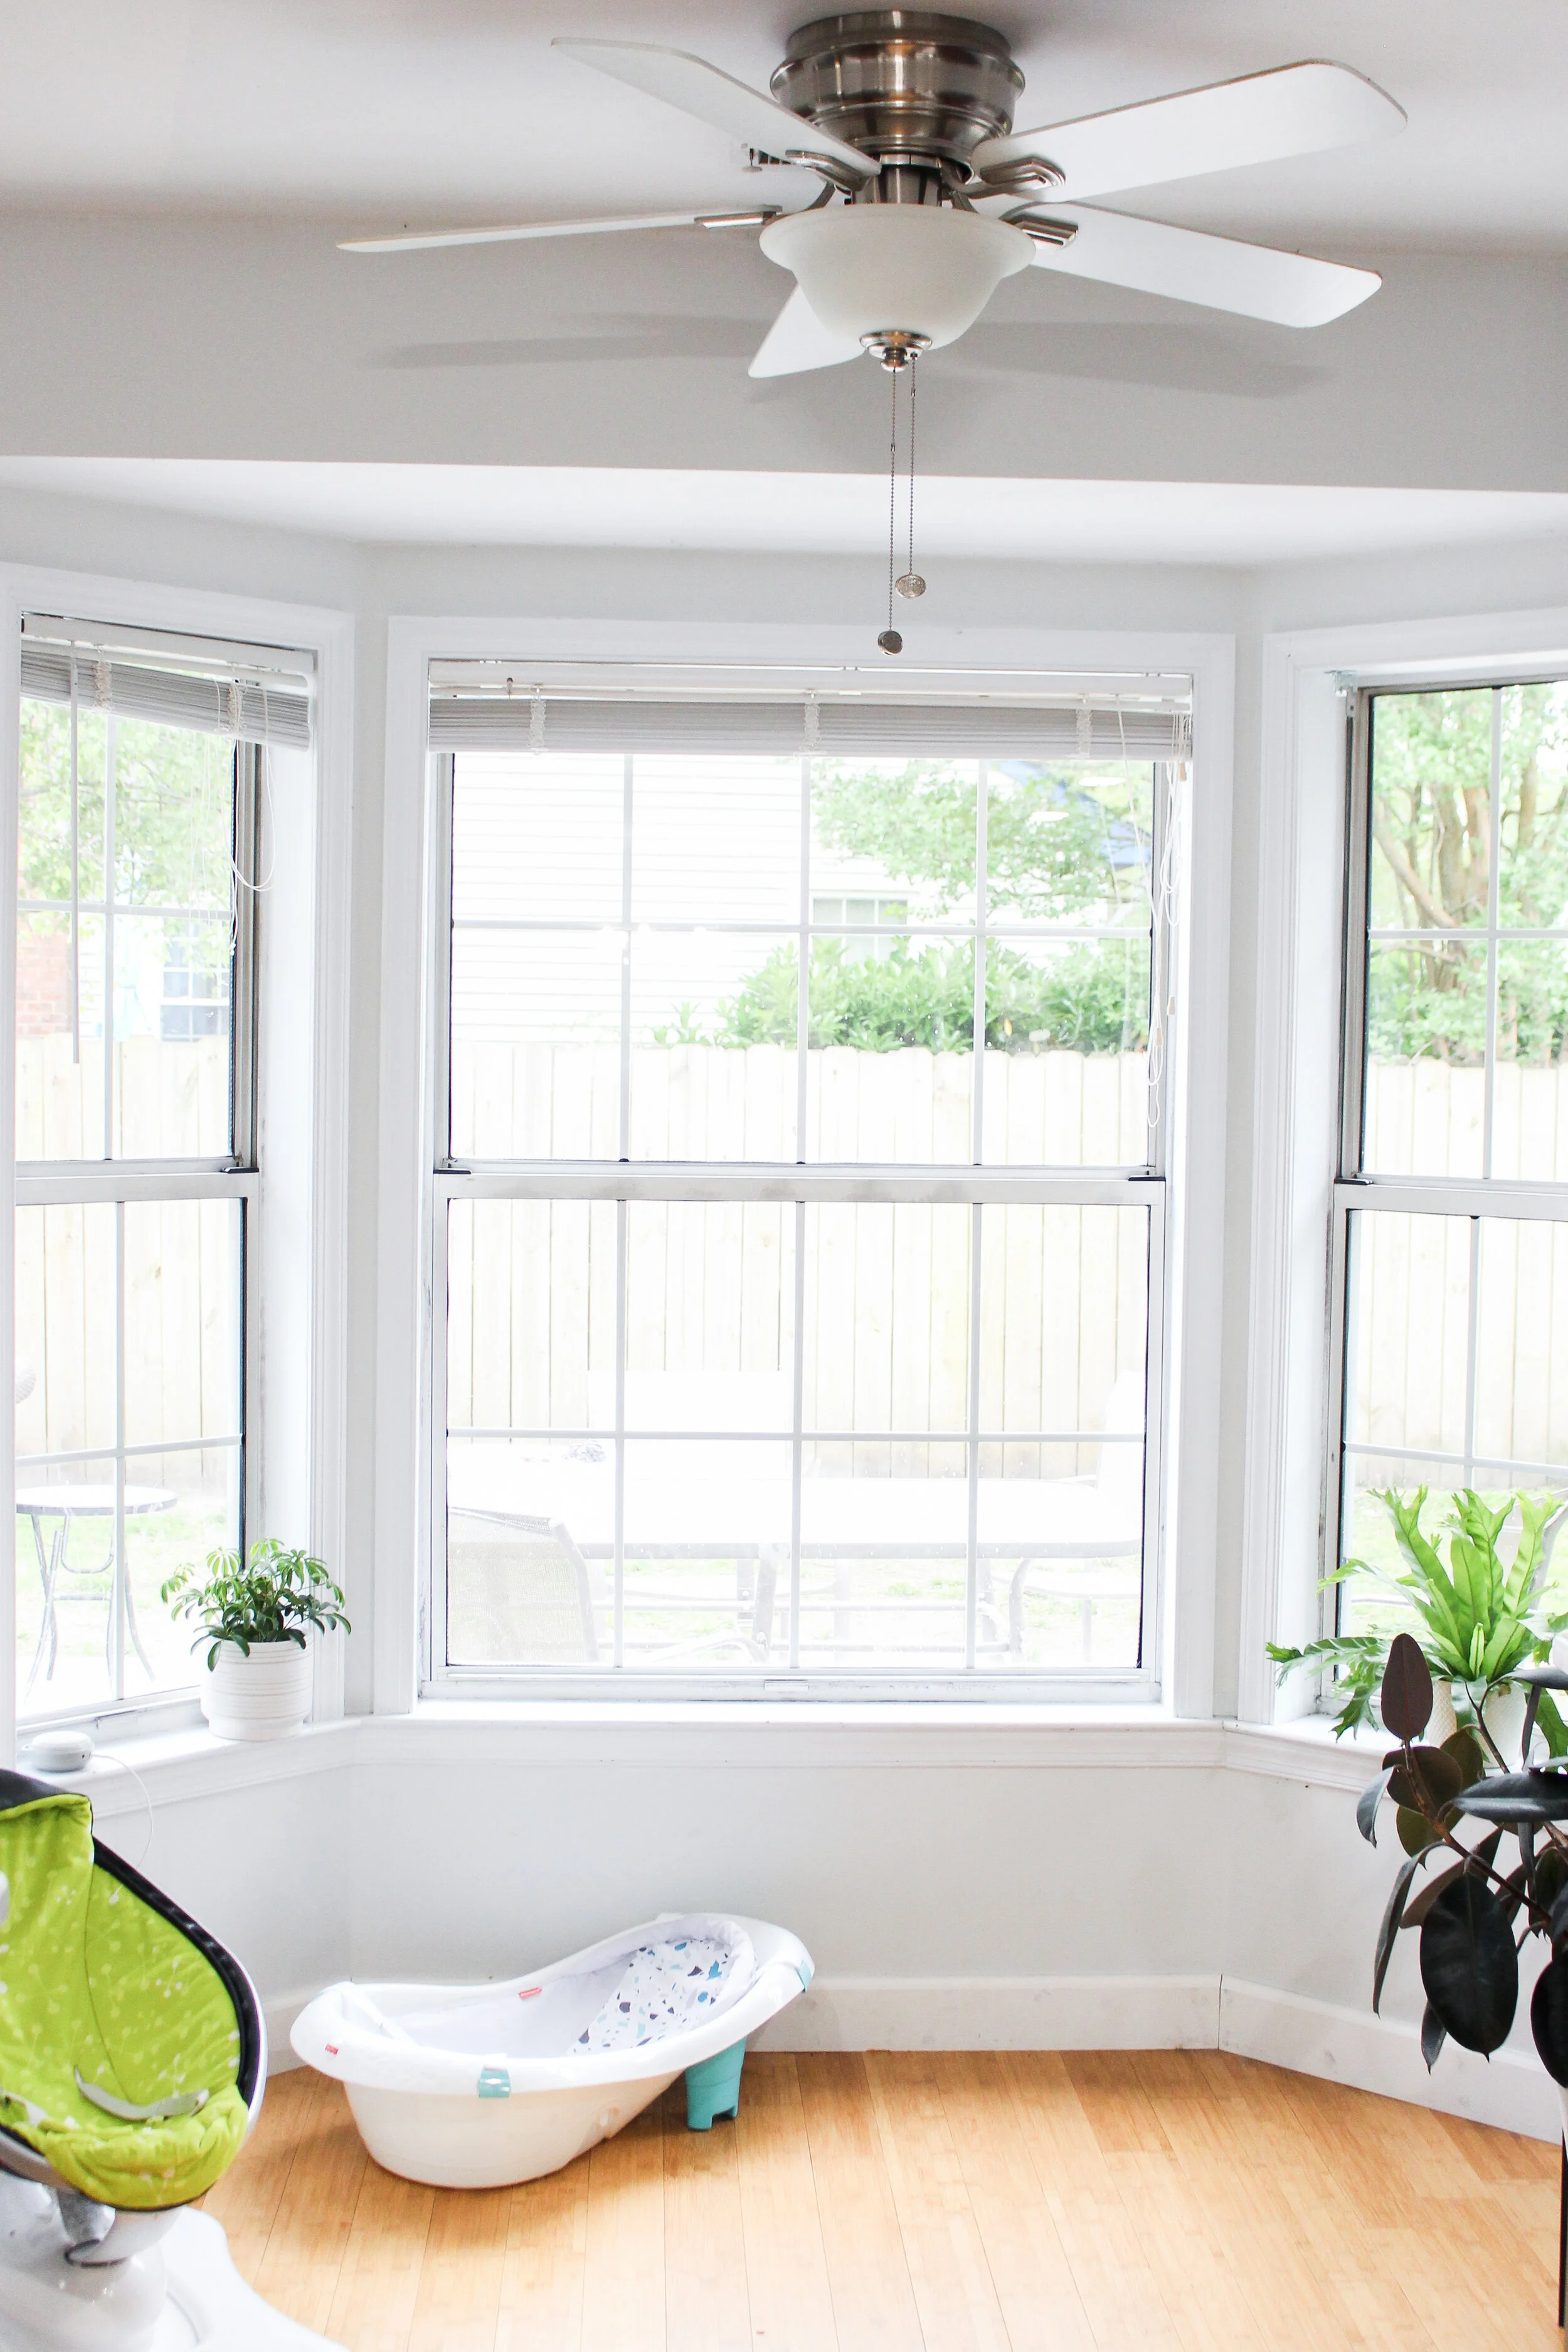
BEFORE
Here we are! Finally, after almost two years the breakfast nook bench seat is complete! This bench sit was one of the very first things that Sean and I both thought would be a fun idea to install when we first moved into our Virginia Beach Flip House. Let’s start like most renovators do, with a fun “before and after” shot.

DURING
You might be planning to recreate a similar bench seat in your own home. We have a little tutorial on how we actually planned and executed the seat here. Maybe you just like to check out pretty spaces. We’re pretty proud of this one.
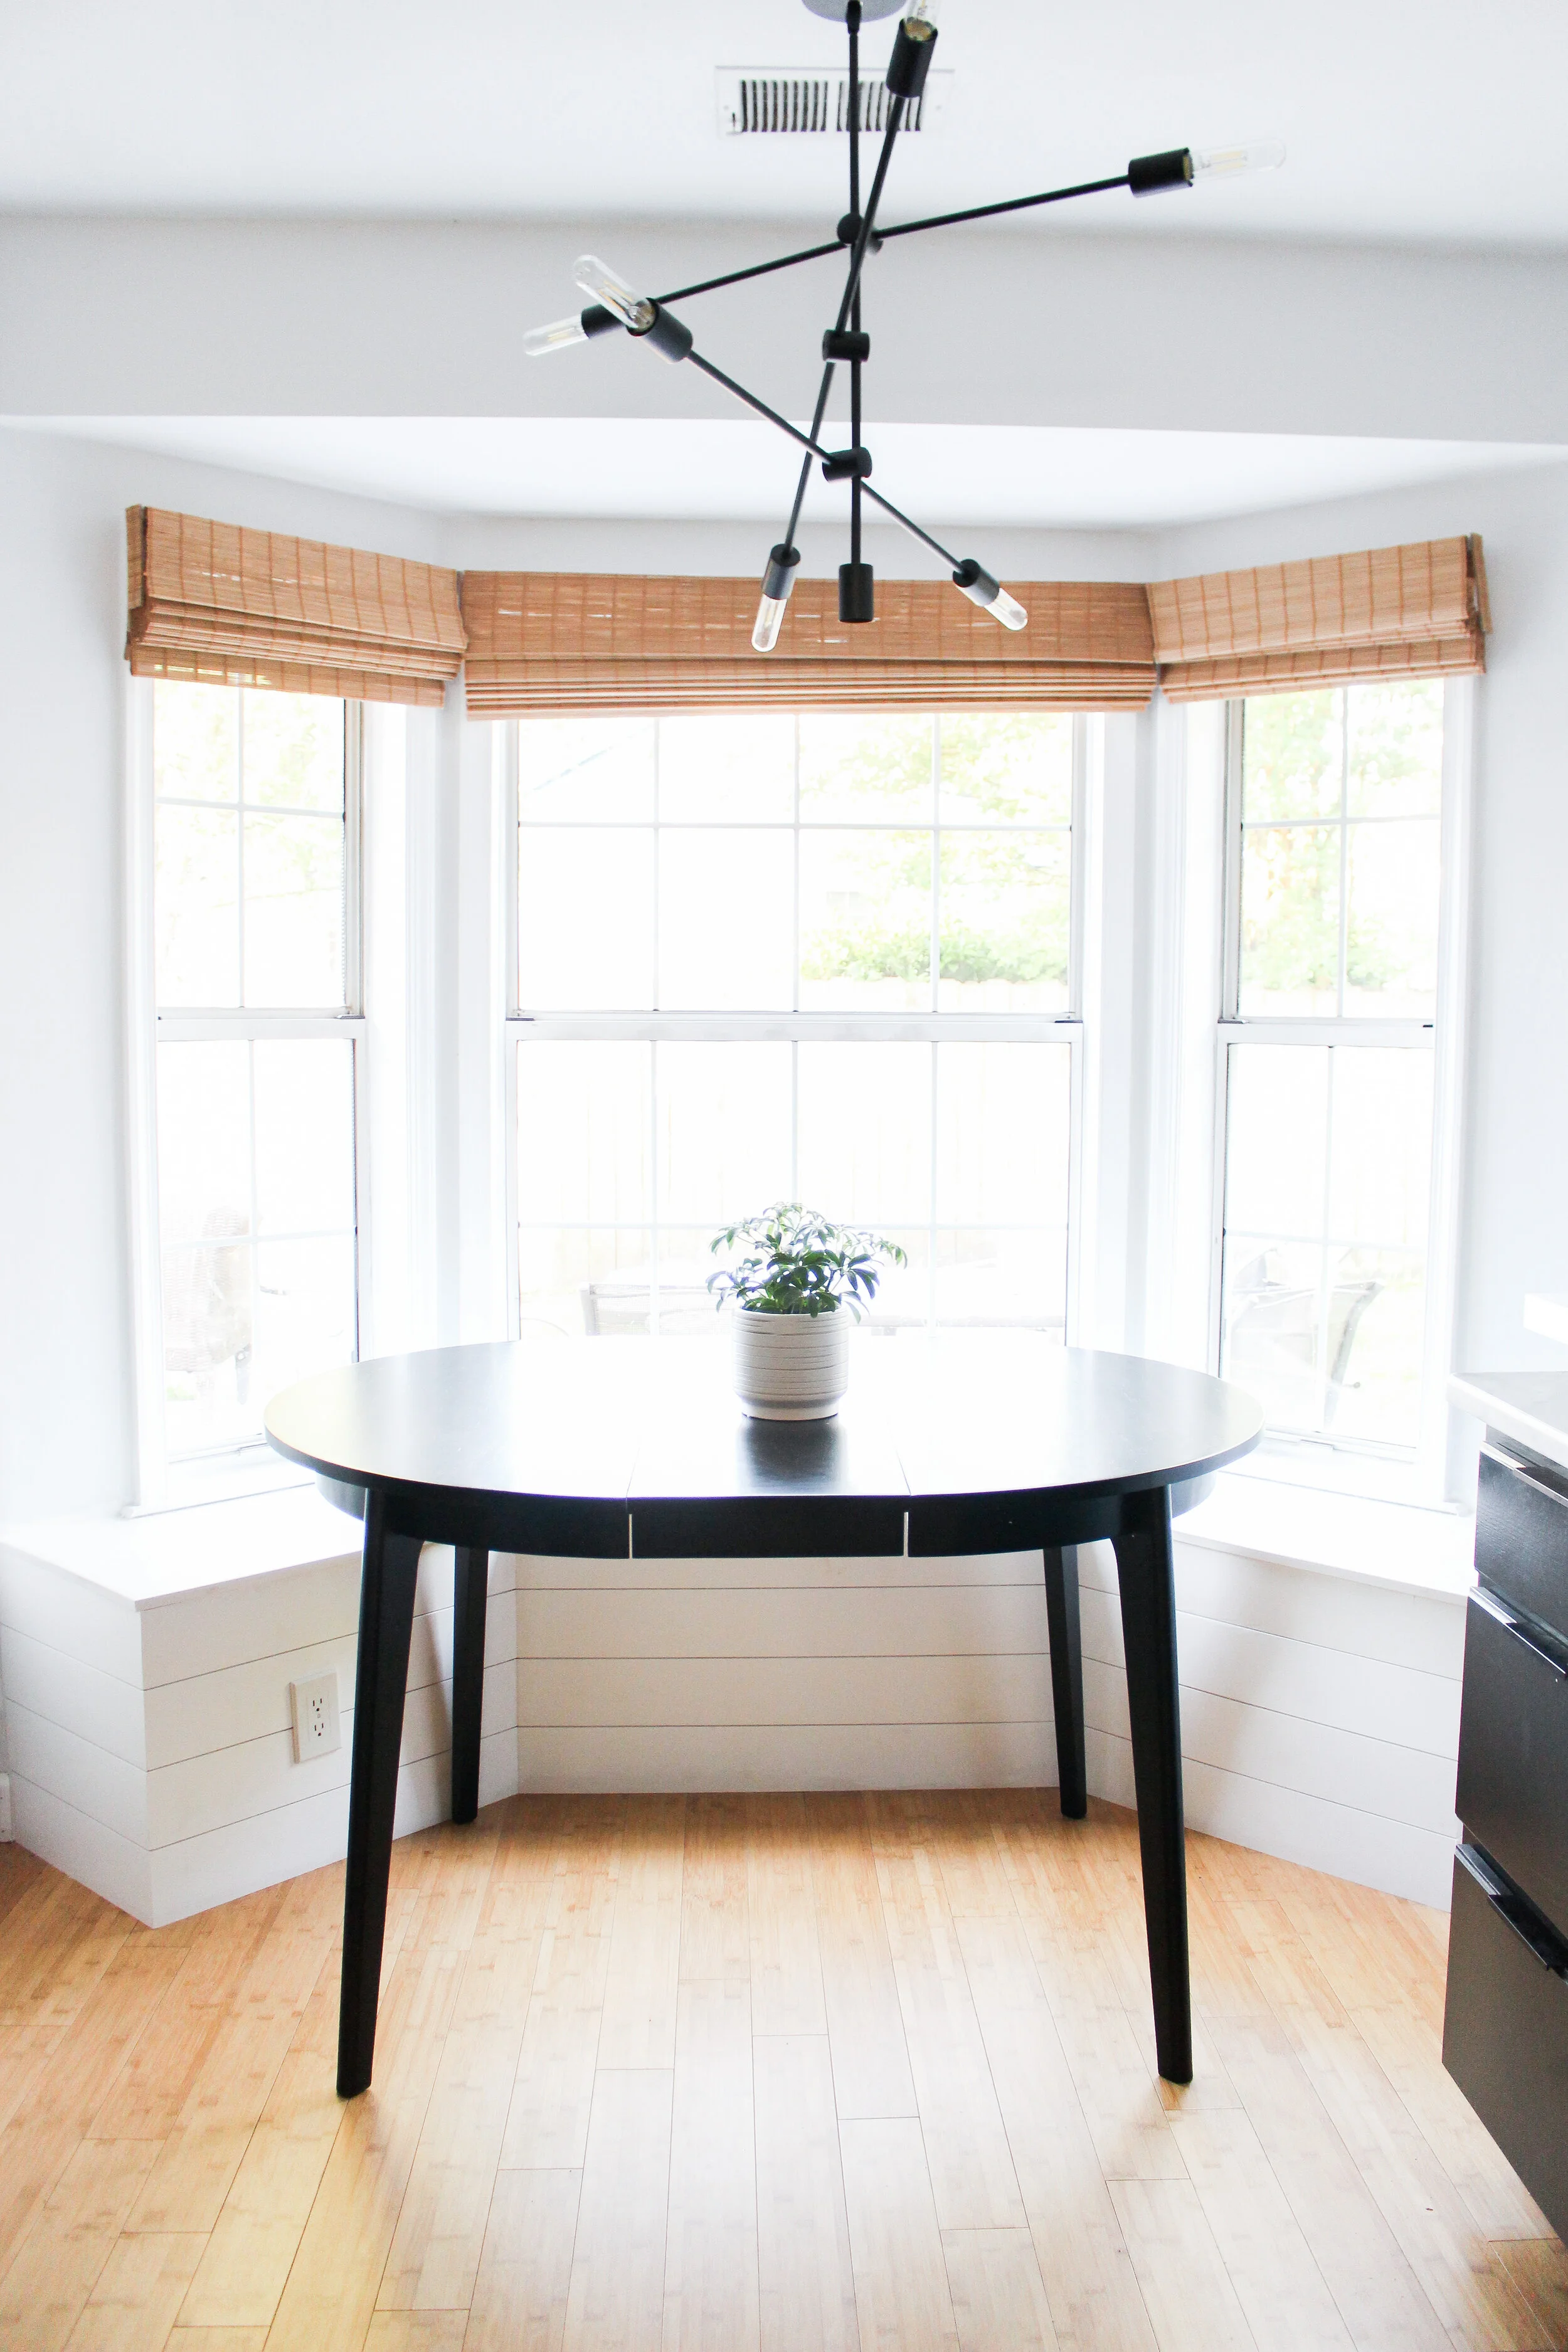
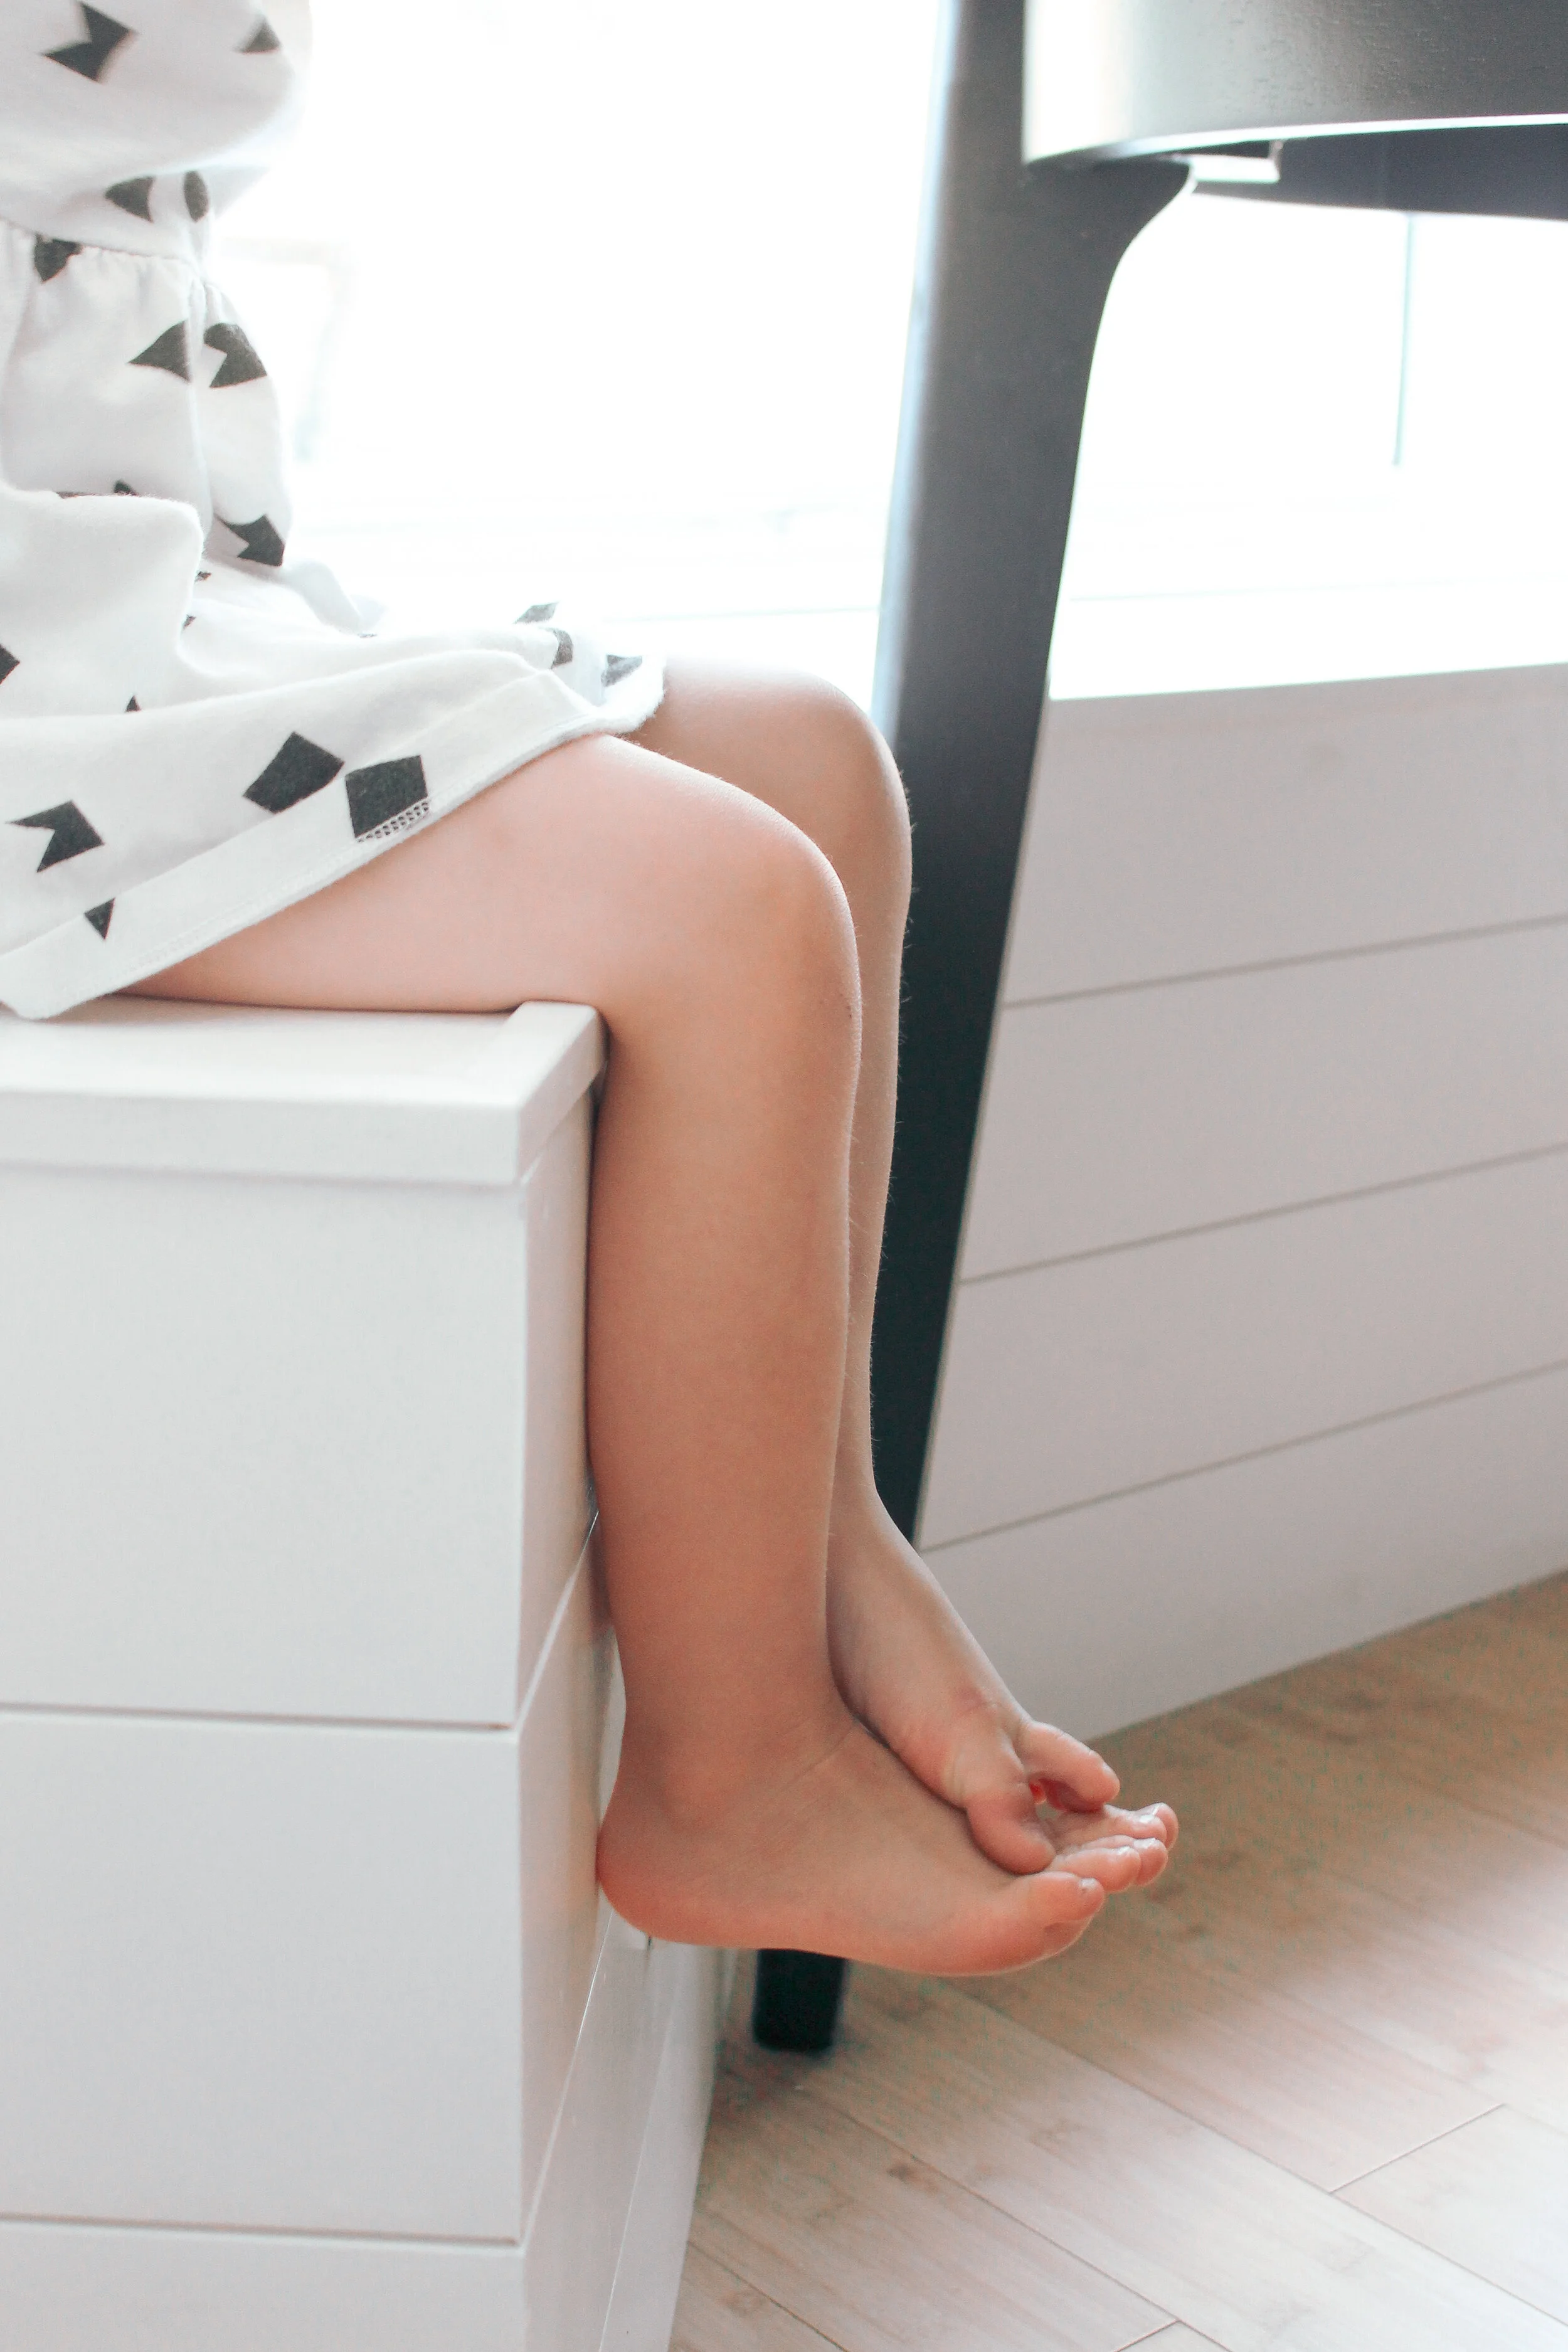
AFTER
In the DIY Tutorial, I talk about how at first, Sean was not excited to fumble his way through this seat creation. He had never built a bench or any kind of built-in before. Thank God we waited to tackle this project after 10 flip houses because all the knowledge he has acquired on the job sites has helped him to learn so much about wood working.

The original plan was to use flat faced plywood for a simple look but after talking it through, we decided that shiplap would give the bench texture and also be easier to install in some cases. He wouldn’t have to make sure that the larger plywood faces lined up perfectly. Somehow in his mind, using self-spacing shiplap was easier then trying to line up plywood.
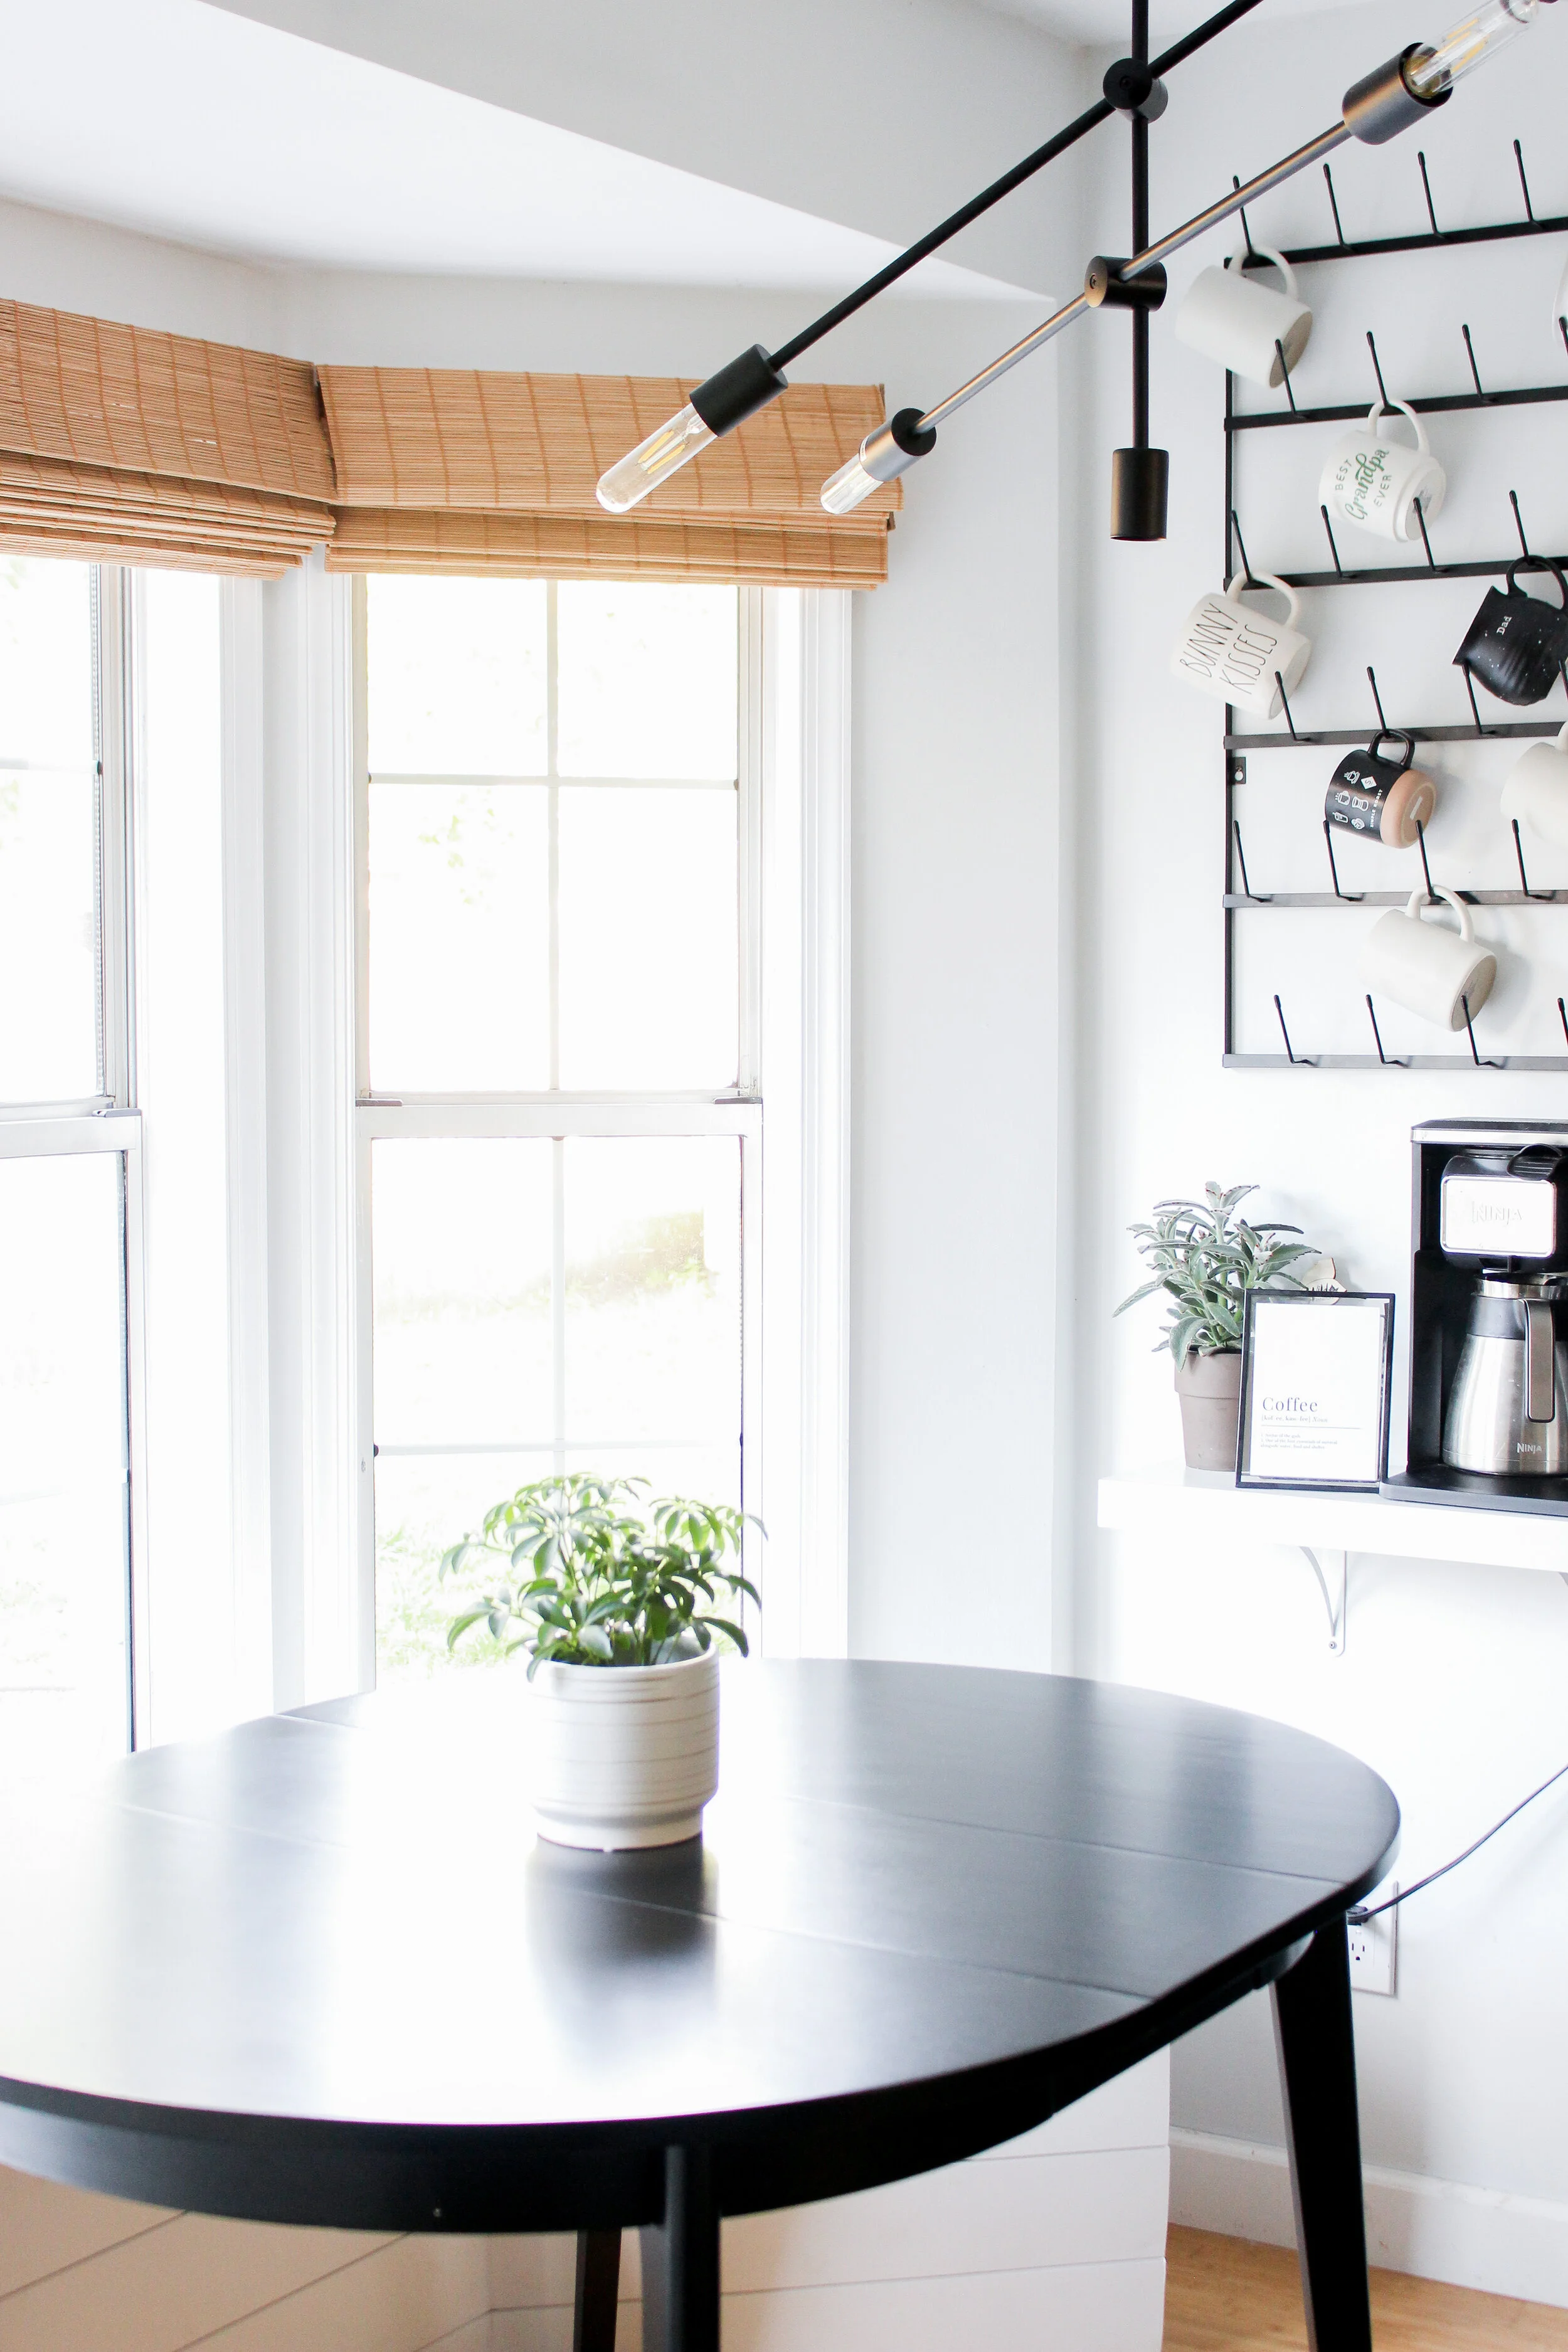
After the bench was complete, we needed a table to fit the space. All other breakfast nook tables were too small for the area. I love this one from Target that we landed because it has a leaf and can be expanded and shortened. The four legs are not totally ideal (we find we have to maneuver around them) but it was the best price and best size for the space.
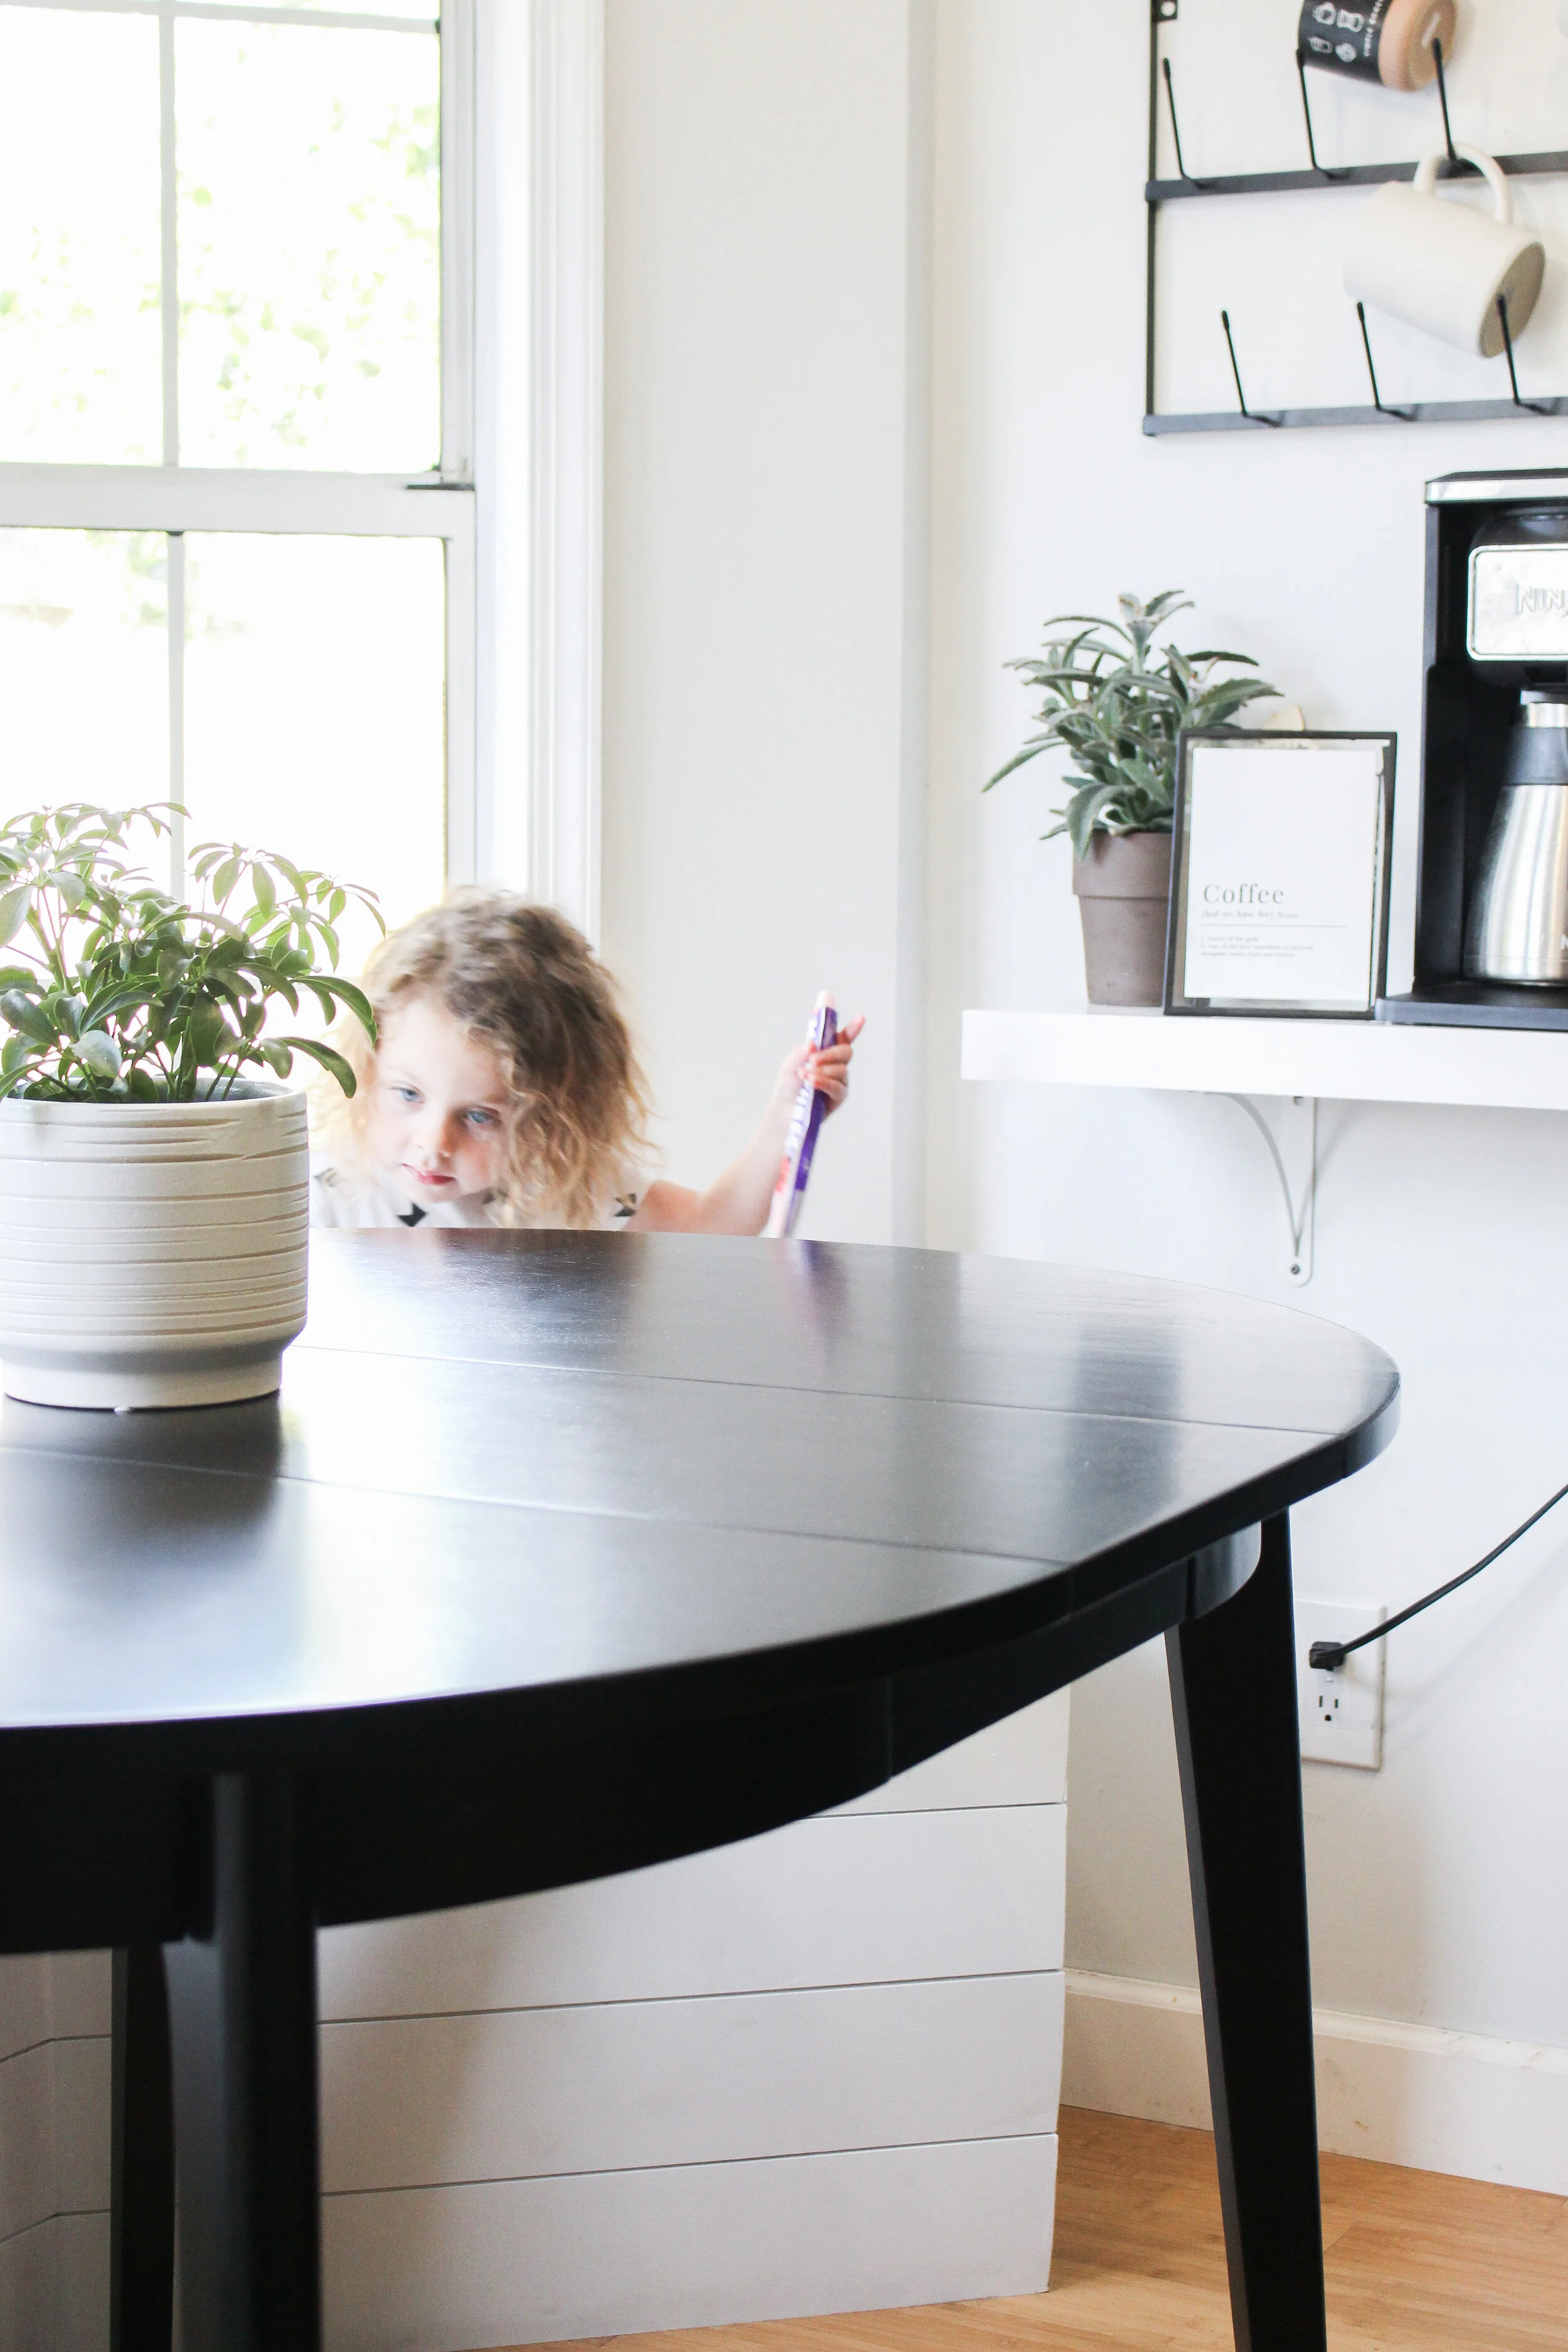
I love the little coffee bar we added before we built this seat. It sits in the corner and is perfect for early morning coffee sessions and just a short reach away for a refill during breakfast. The shelf and coffee mug wall rack are both from amazon here and here. We added white brackets to the bottom of the floating shelf because we didn’t want a Little hanging from it and tearing it out of the wall. We called in the reinforcements for that one because it was placed low.
I want to make sure I talk about cleaning here. The semi-gloss paint finish we used from Sherwin Williams is a MUST. It’s trim paint so it cleans AMAZING. I use a multi-purpose cleaner that is gentle enough for marble on it and it cleans like a gem! Warning: if you paint with white, it shows crumbs and spills so make sure you clean almost every other day. I give it a brush down with the broom and a spray clean after dinner.
I thought about buying a cushion for the bench but washing it every week sounded worse than a daily wipe down. Besides, if you look at it like another countertop, you end up spraying it down more than you think.

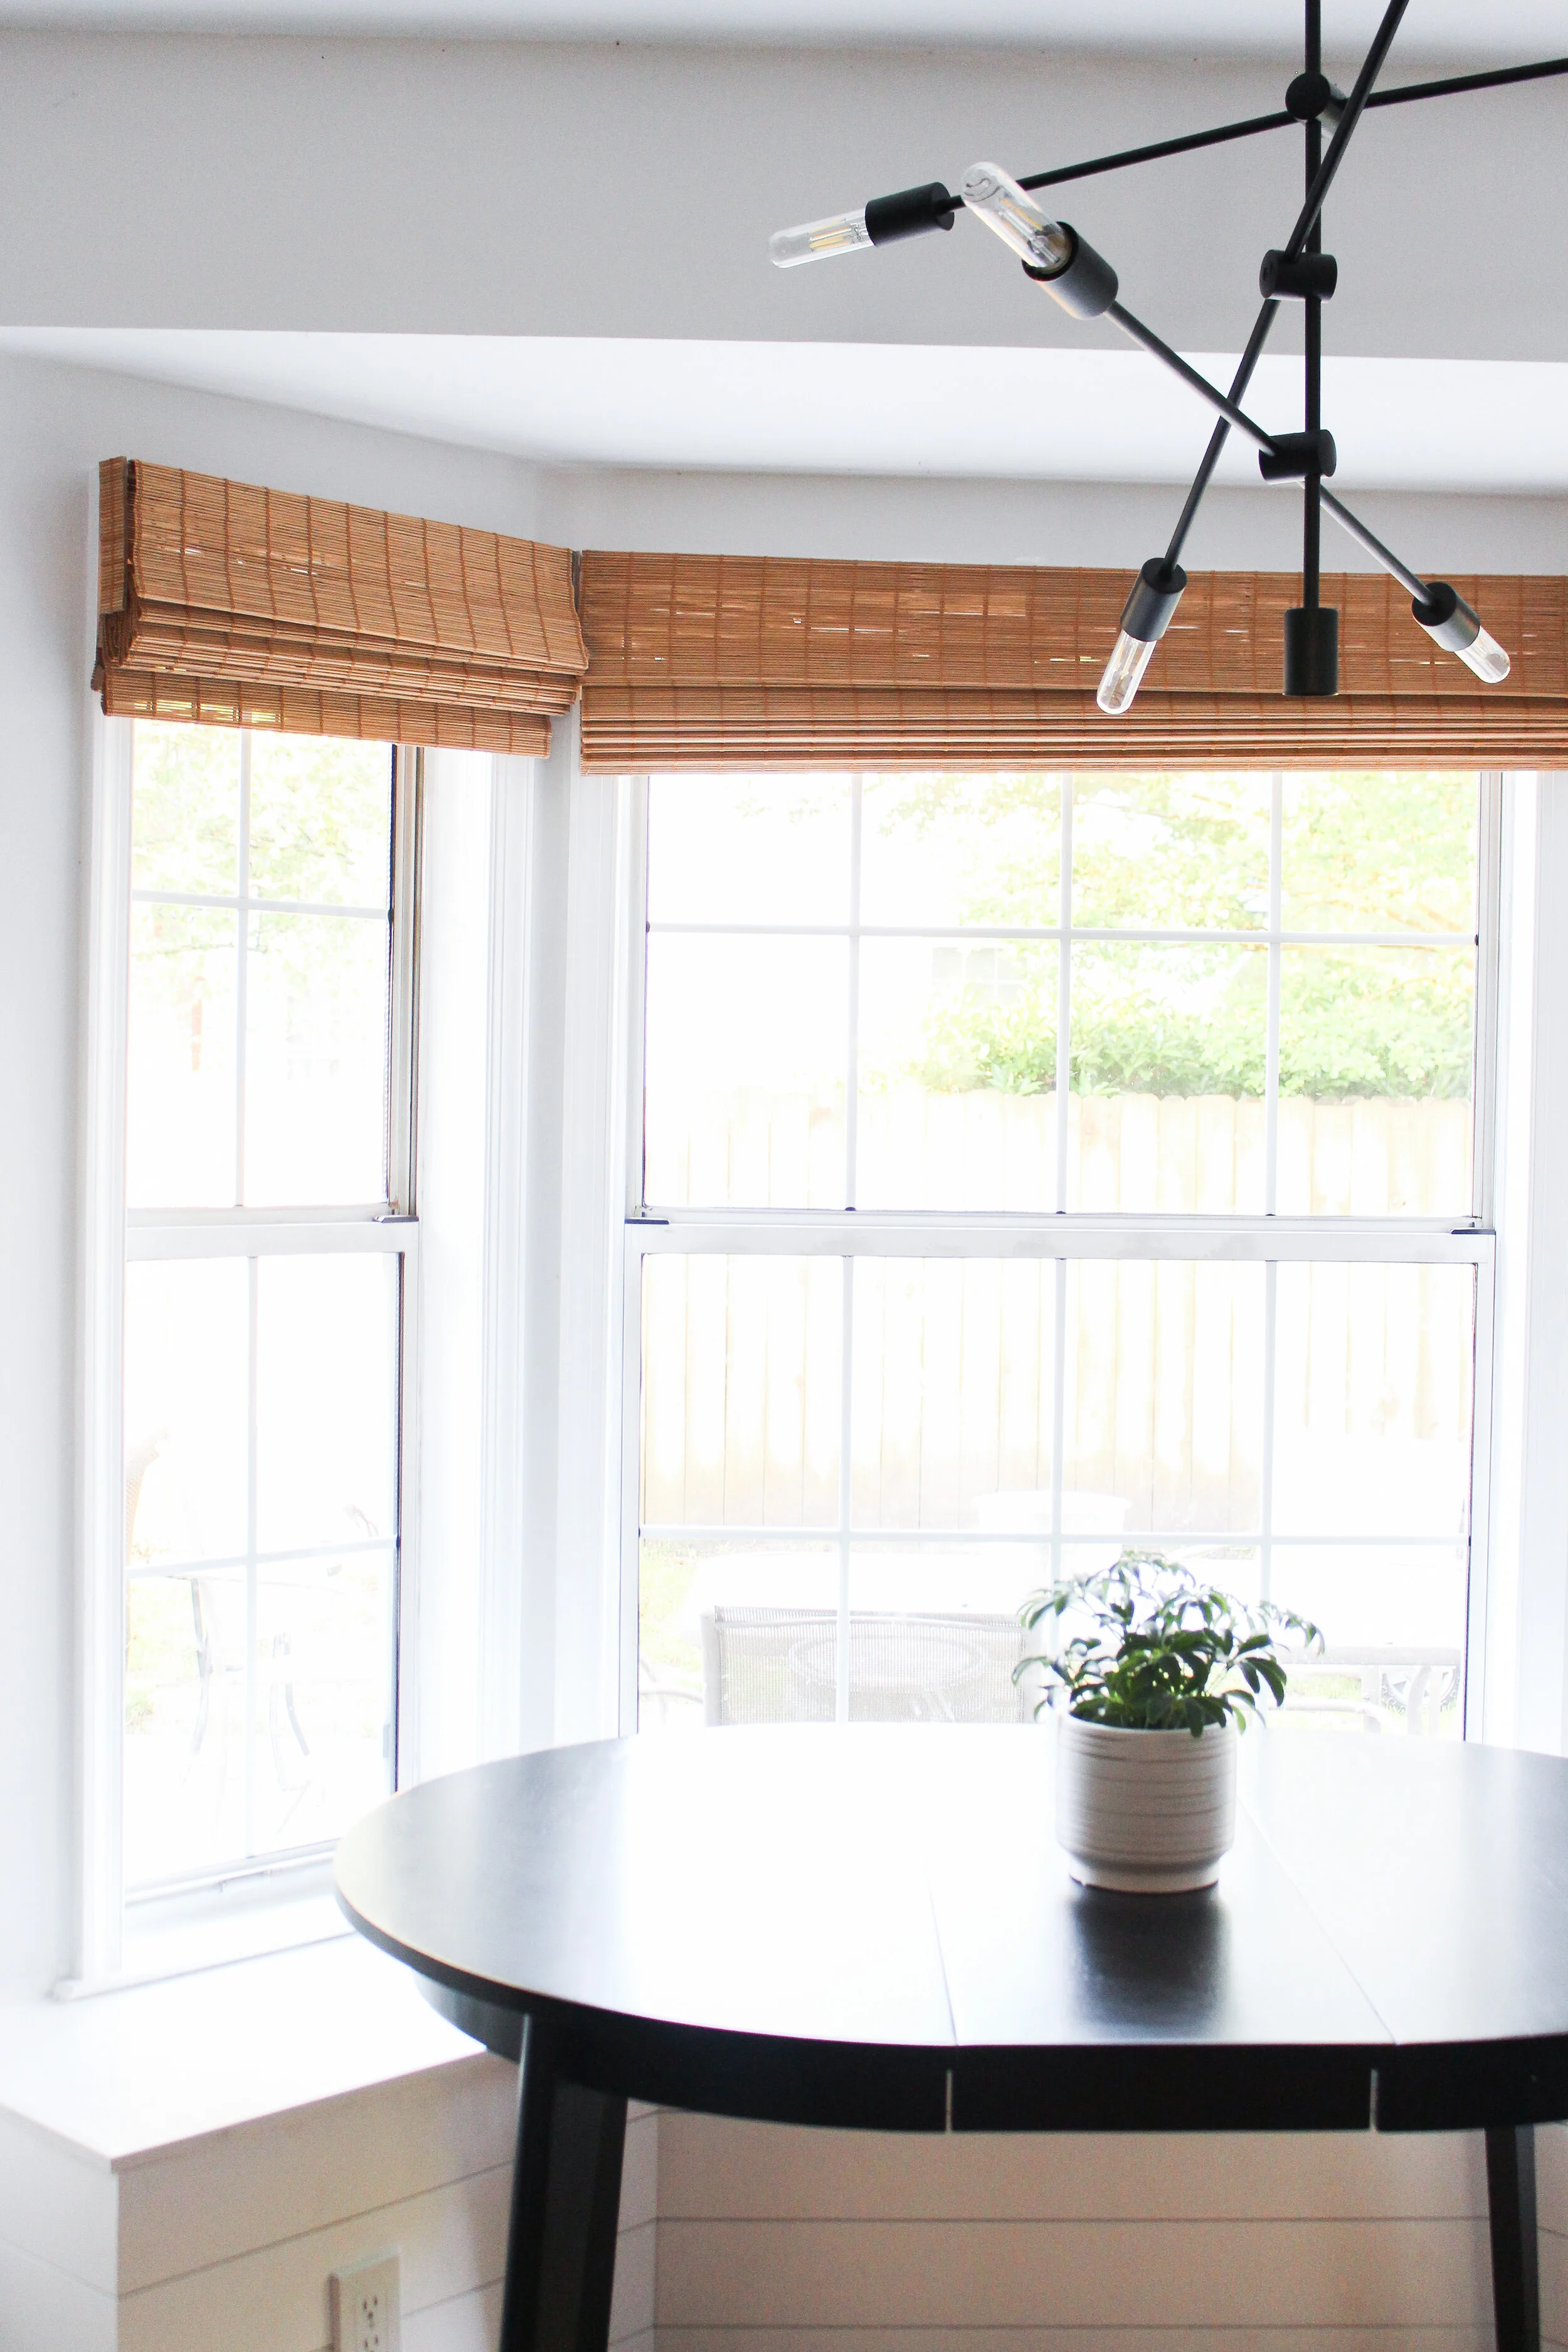
It’s time to talk about my claim to fame: the Natural Wood Bamboo Roman Shades from Select Blinds that I installed BY MYSELF. I was so tired of waiting for Sean to install them that I asked for his tools and did it myself. Don’t worry, he was playing Madden in the other room so if I had any questions he came running… or walking… I needed a little warmth in the space to break up the monotone black and whites and the warm wood did exactly that.

I’m so perfectly happy with how they turned out and even more proud of myself! They were easy to install with the right coach and I would order them again and again. All I had to do was choose inside or outside mount and measure the windows based on the website’s instructions. They showed up at my door in about 2-3 weeks.
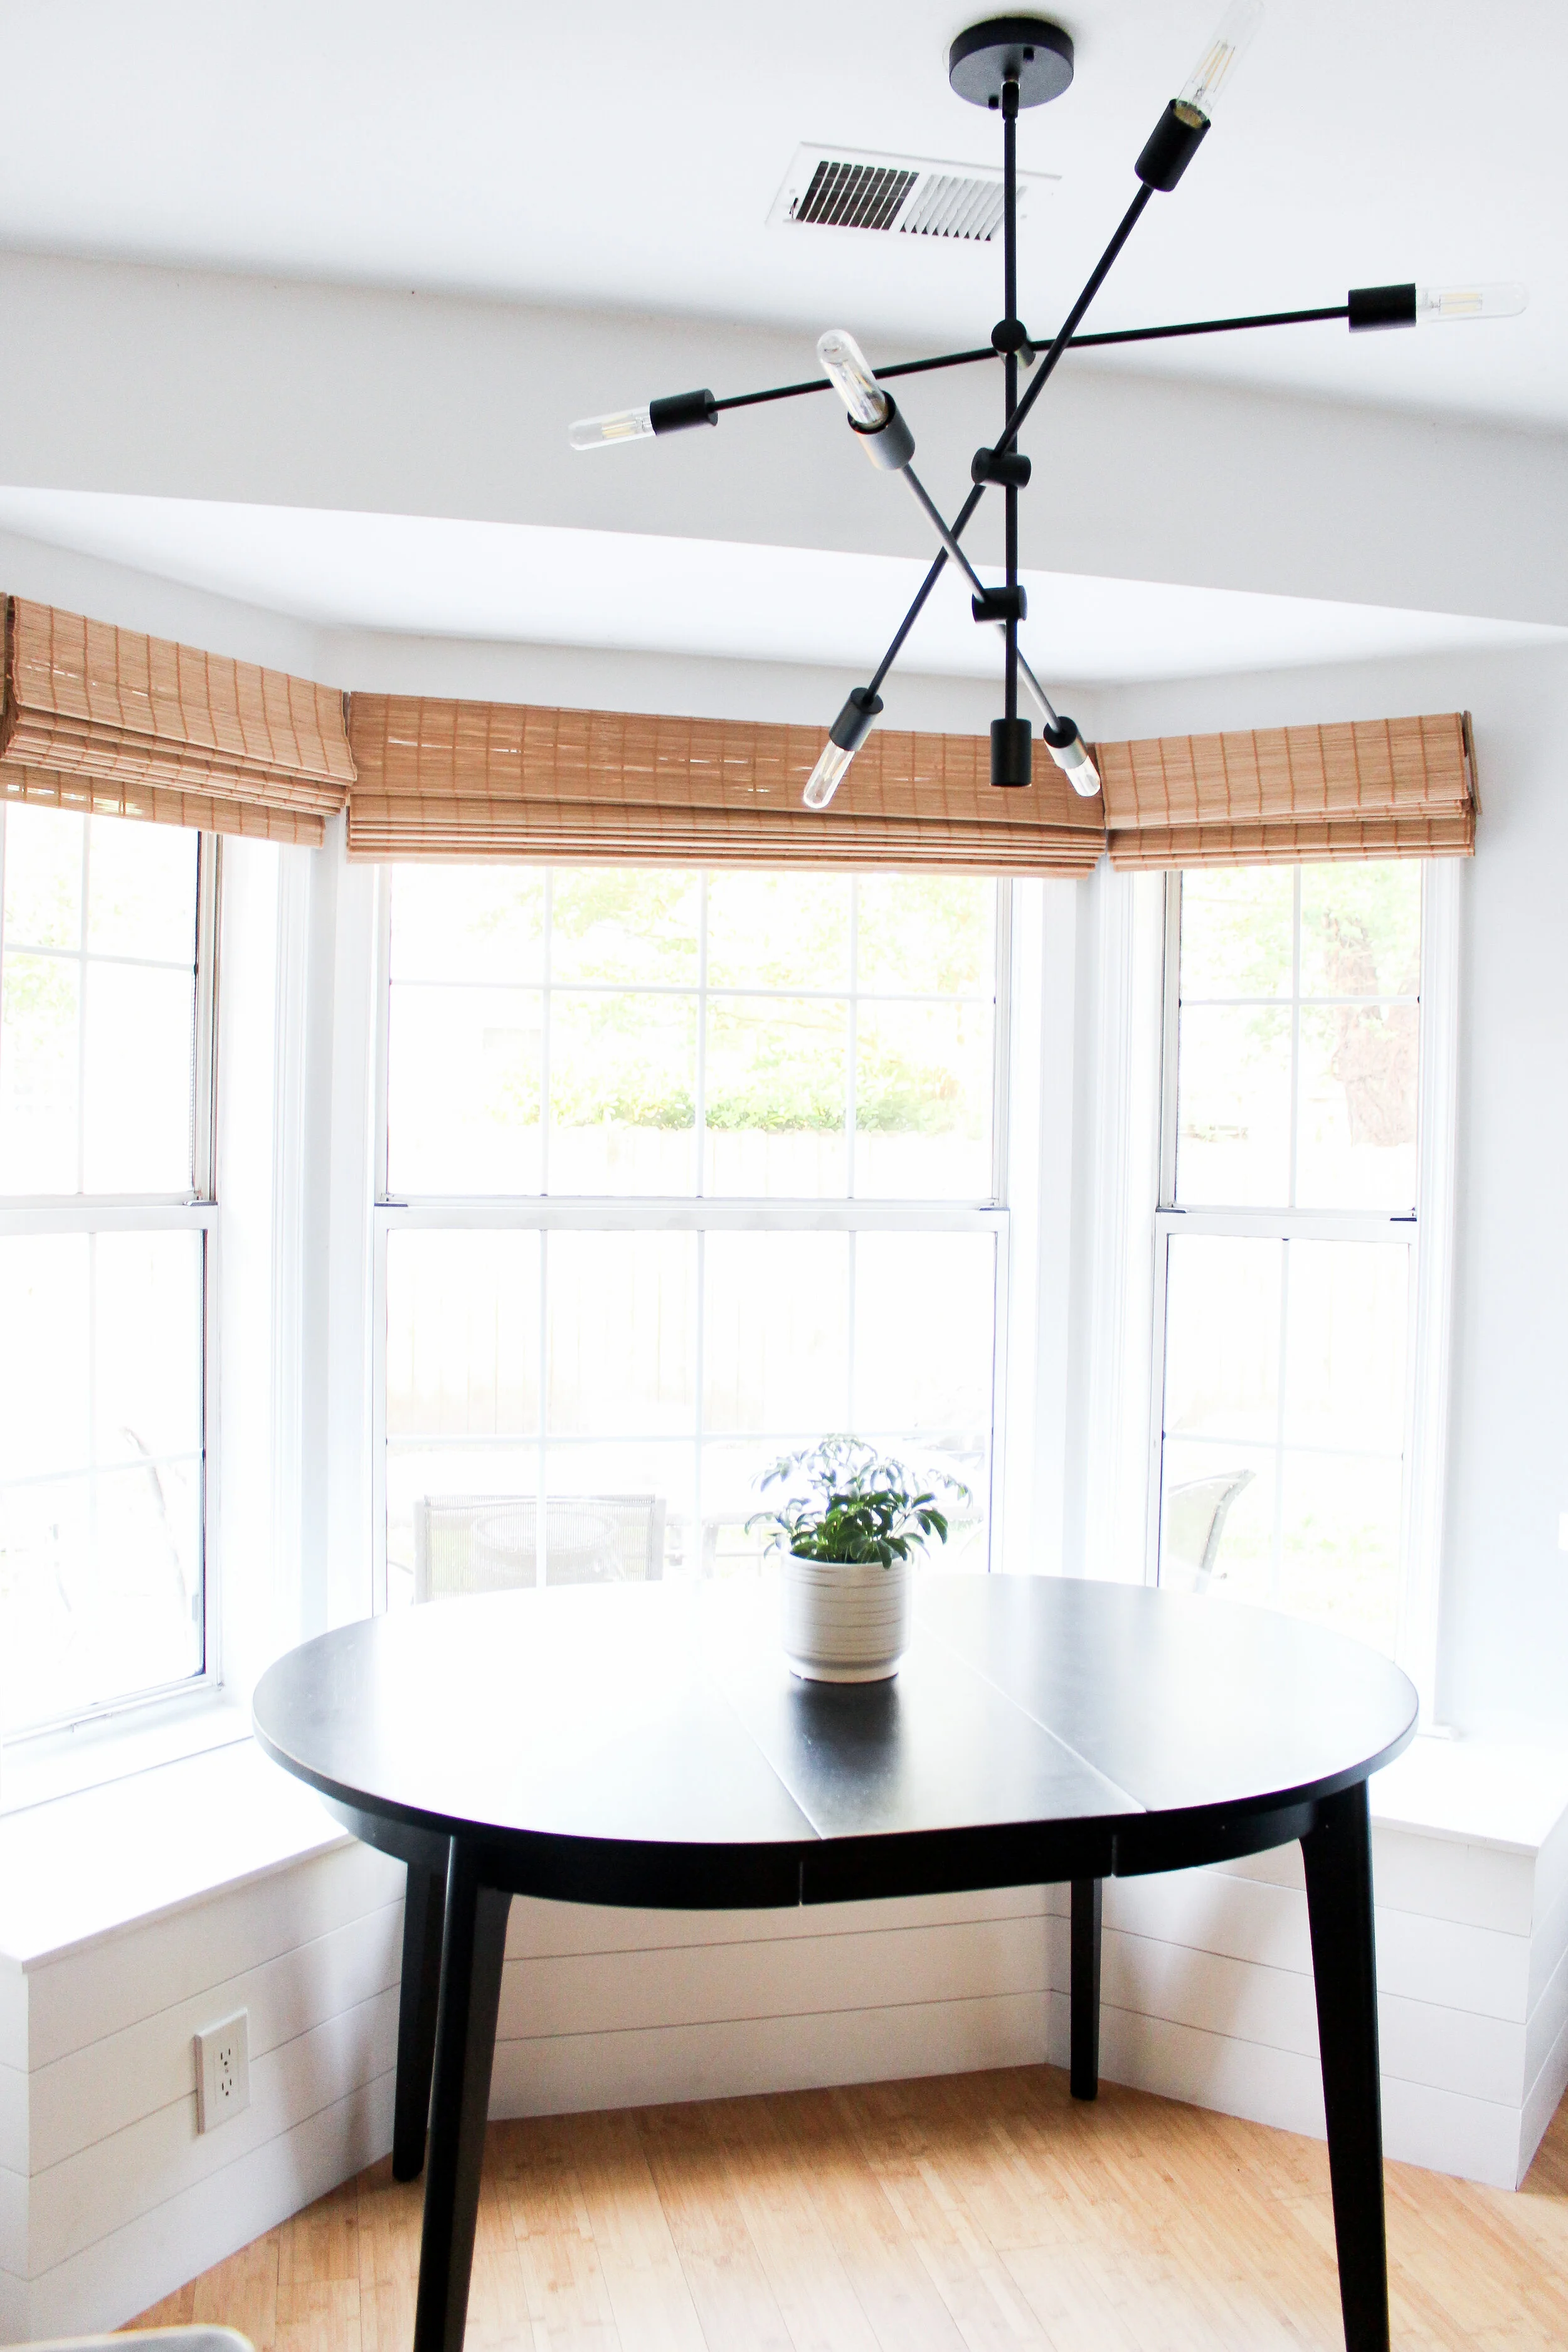
The light fixture in this space was a fun debate. At first, Sean wanted a simple globe pendant (we decided to put it in the new laundry room - reveal coming soon) and I wanted this fun Sputnik intricate light to go over the table in the breakfast nook. He ended up loving it after it came and we both are happy with the character it adds to the kitchen.

We end up sitting in our new area of the kitchen almost every meal. Looking even at these pictures makes me a little sad that one day we will leave our tiny home and grow into a new one. The fun part of being a house flipper … maybe I should say curse… is that you finish a project and you’re all ready for the next one. At least we get to enjoy this one while it lasts because it’s in our house now.

I promise to make as many memories as possible right here in this spot. I promise to share as many meals as I can with my husband, daughter, two sons, and friends here in Virginia Beach as long as we’re blessed to be here. I promise to try my best to be present, not look to the next thing coming down the pike, to be grateful for the projects we’ve completed, and enjoy them as long as we can.
Ann | DESIGN