DIY Coffee Table Makeover
Virginia Beach, Virginia
The story behind our silly coffee table makeover is that my Dad gave this piece to us right before a trip to the dump. He said, “Hey, remember when you used to flip furniture? Want this coffee table?” I wish I had a before picture of it when it first arrived. It was a dark beat up dark wood that had seen much better days. This little number had been collecting dust in my parents basement for years before my Mom forced my dad to clear it out.
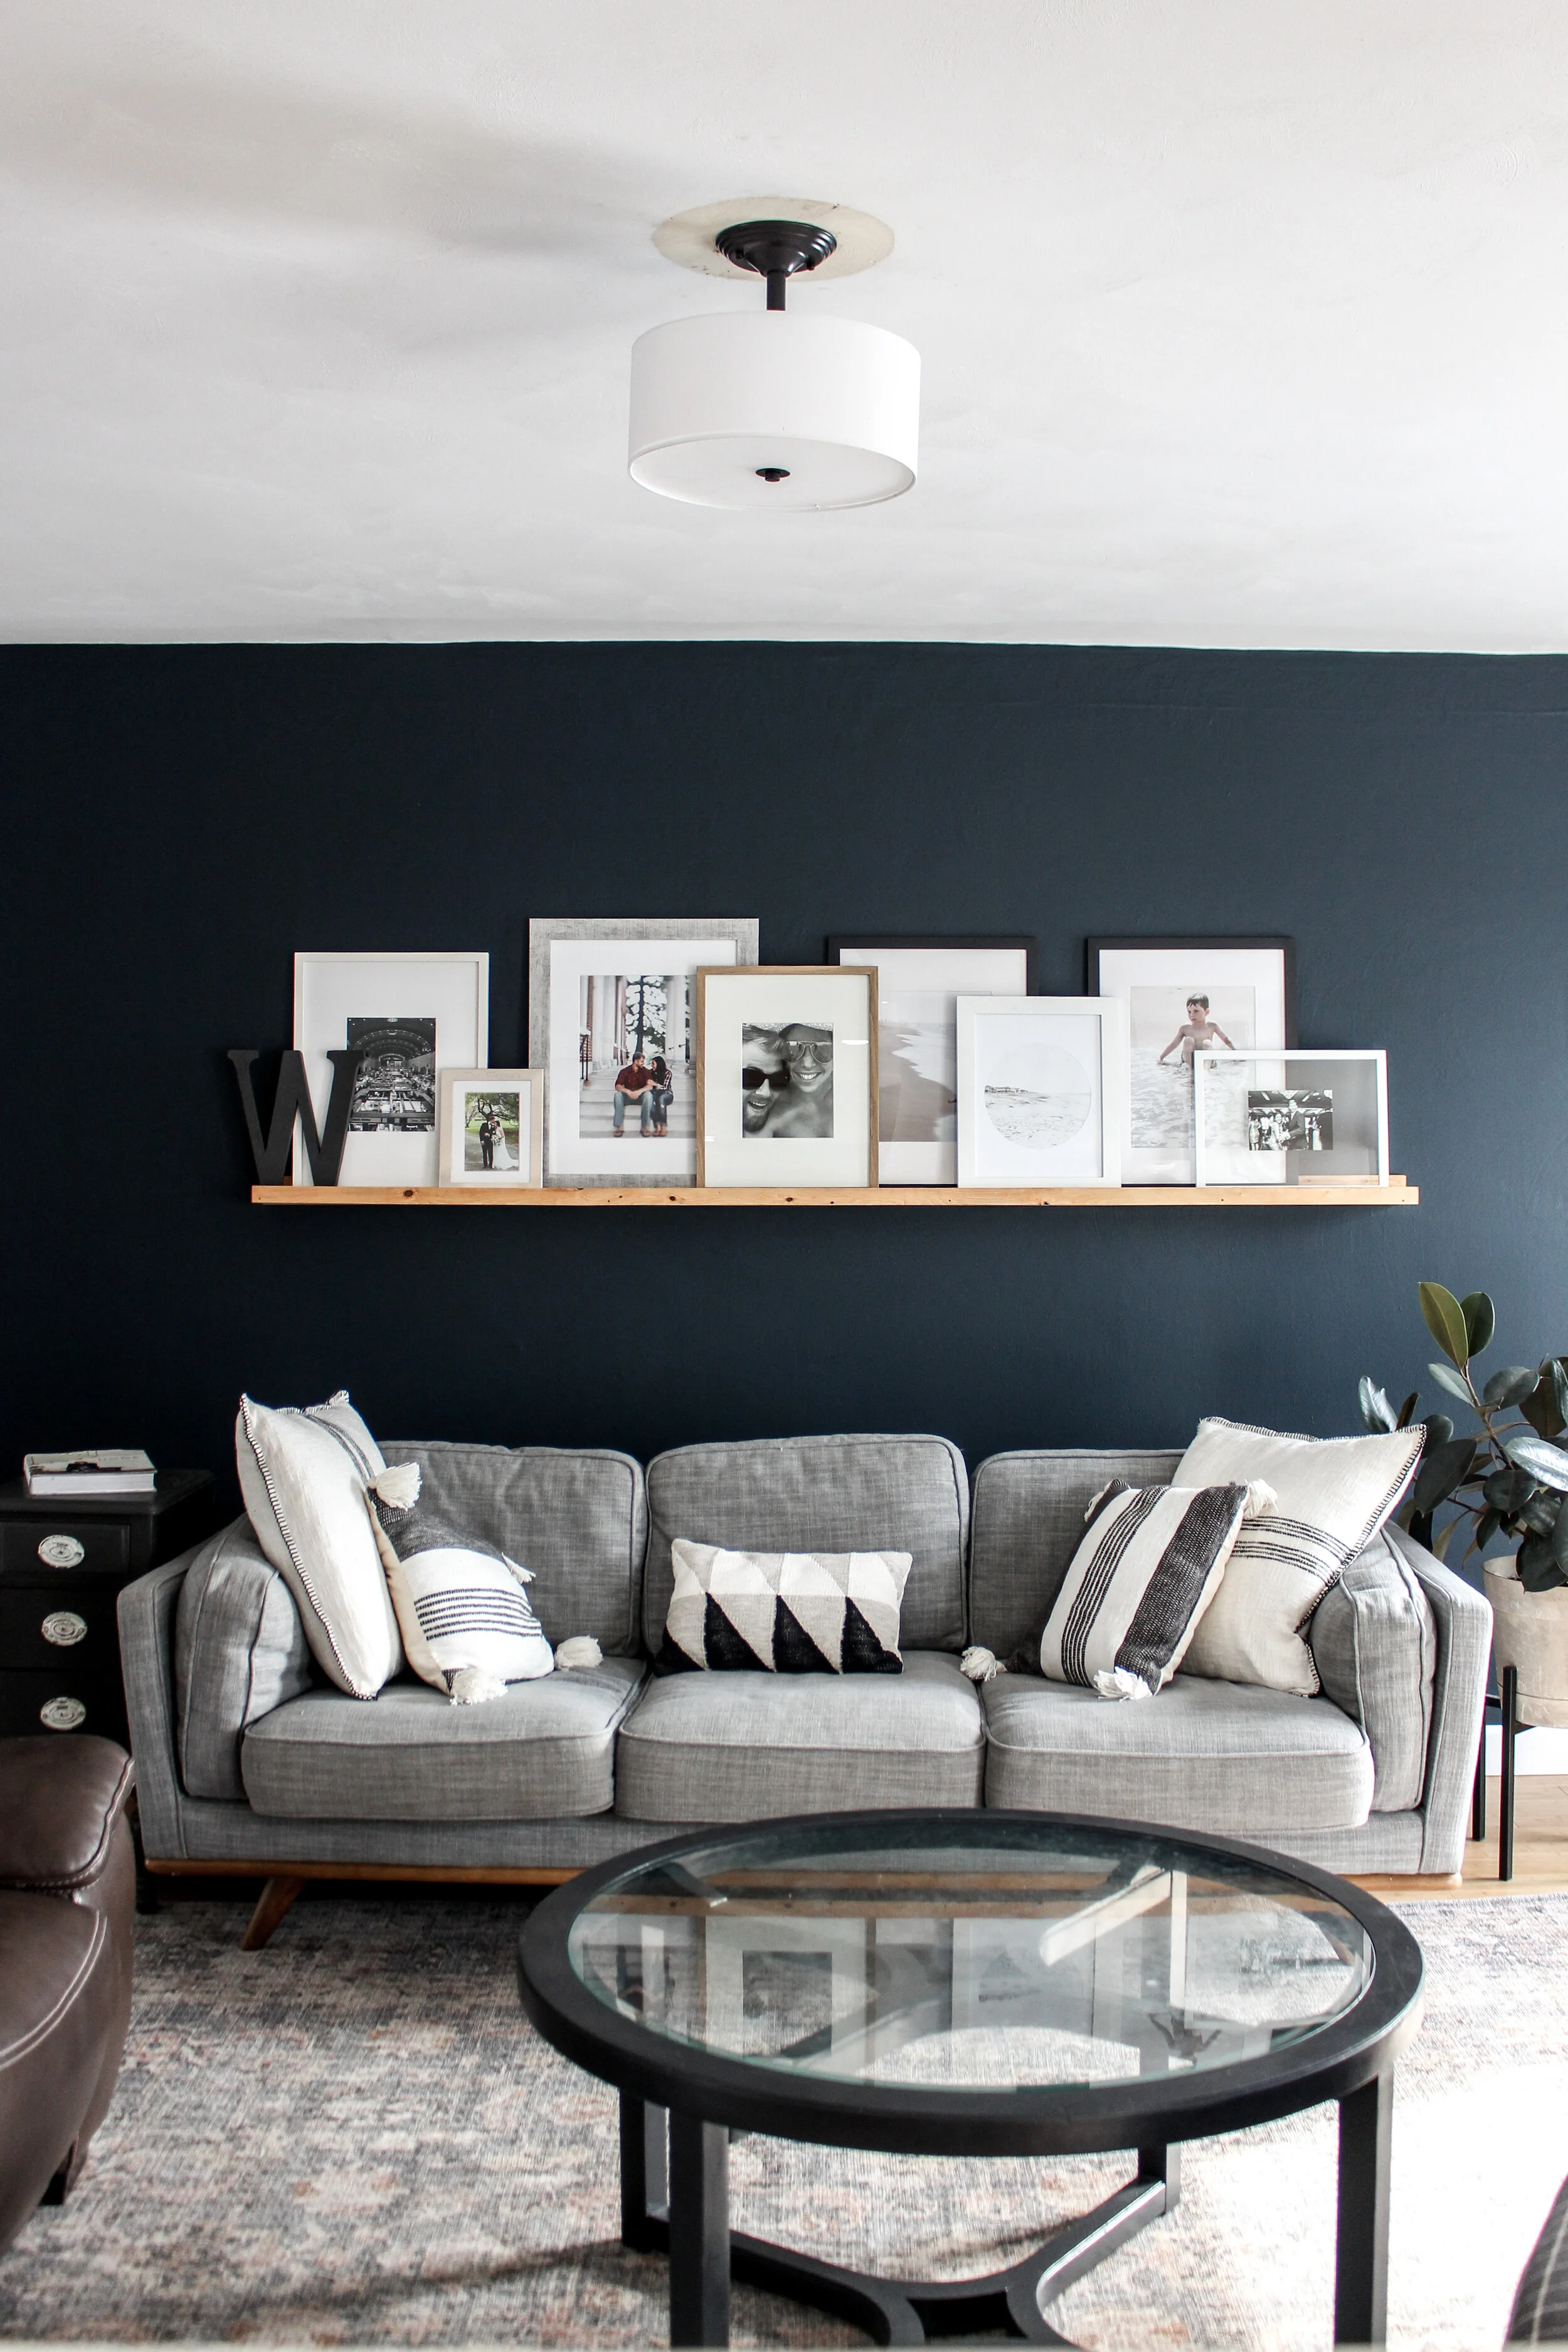
If you read about our journey with our Home Base Living Room you might remember seeing this table’s first debut as a glass top piece. Well. clearly from this picture, you can see all the little fingerprints, possible yogurt smudges, and potential near death glass shattering episodes enough to understand clearly why we needed a makeover.
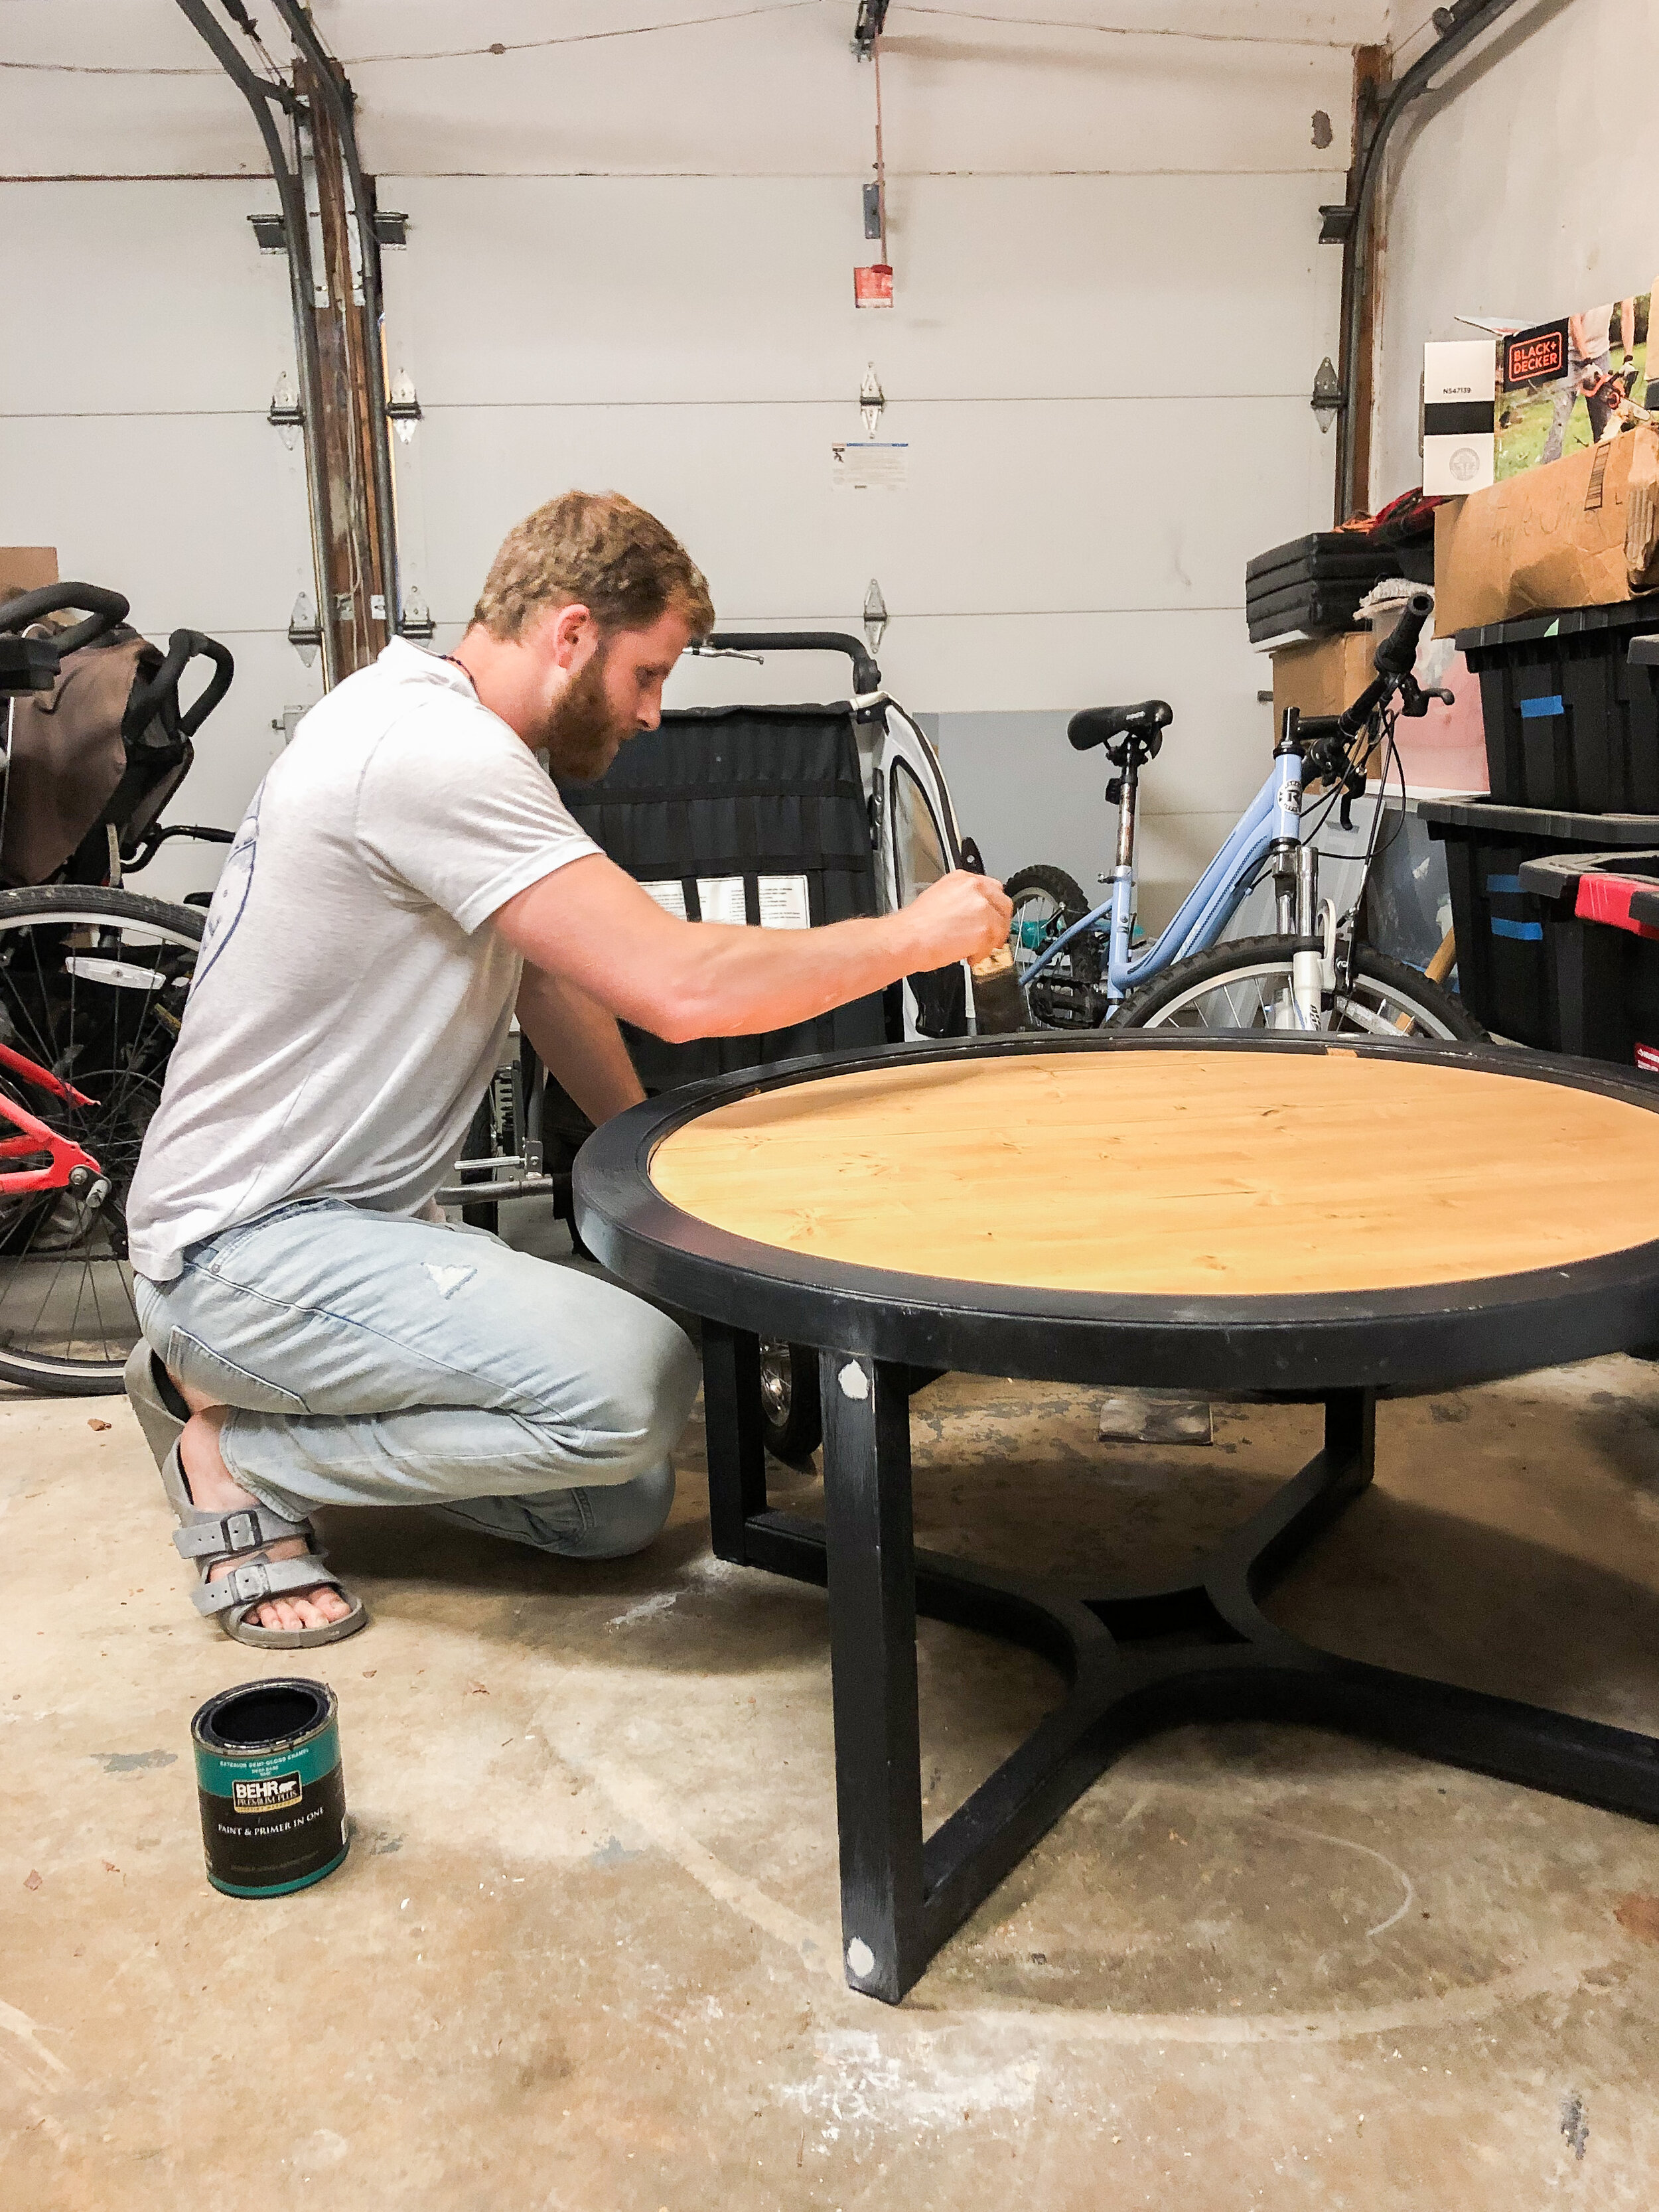
Sean and Declan helped out with the labor of the transformation. After a few coats of paint, some stain, and some jute rope, this little table became brand new.
Materials:
Circle pre-cut pine board
Wood stain (I mixed natural and Ipswich pine by Varathane)
Hot glue or a permanent glue adhesive
Paint and brushed
Polyurethane
Screws and/or nails
Palm Sander
Step 1 : Fit the circular piece into the slot
My dad visited a few weeks ago and lovingly spent hours measuring the table top for the right dimensions for the new wood top. He used the table as a template and bought a pre-cut circle pine board (you can find them at any Lowes or Home Depot). He had to cut only a few inches off both sides and sanded it down with a hand sander to make sure it fit perfectly. He sanded down the whole circular board and attached it by screwing it into the wood boards that already lay across the original tables middle section. NOTE: if you have a table that does not have boards that lay across the middle, I would recommend flat or straight brackets to attach the circular wood top to the side of the table base.
Step 2: Stain
I poured a custom mix of natural and Ipswich Pine wood stains together. The natural stain gave the wood it’s base and I added a touch of Ipswich Pine to give it a yellow-y almost bamboo type glow. I’d guess and say the ratio was 3:1 of natural to Ipswich Pine.
Step 3: Adding the Jute
My original plan was to use liquid nails as the adhesive for the table but hot glue was a much more feasible option. The liquid nails would have worked if I had clamps on hand which I did not. So, hot glue it was. After the hot glue dried and held the jute rope in place, I went back with brown liquid nails and used a small amount as a reinforcer and almost like caulk.
Step 4: Polyurethane
I have recently discovered spray on Polyurethane and boy do I love it. There are no streaks or discoloration to worry about. I used a spray poly to finish off the piece once the glue was dry. Be sure to not to stand too far away from the table when spraying (about 6 inches away) and move in slow and steady horizontal strokes.
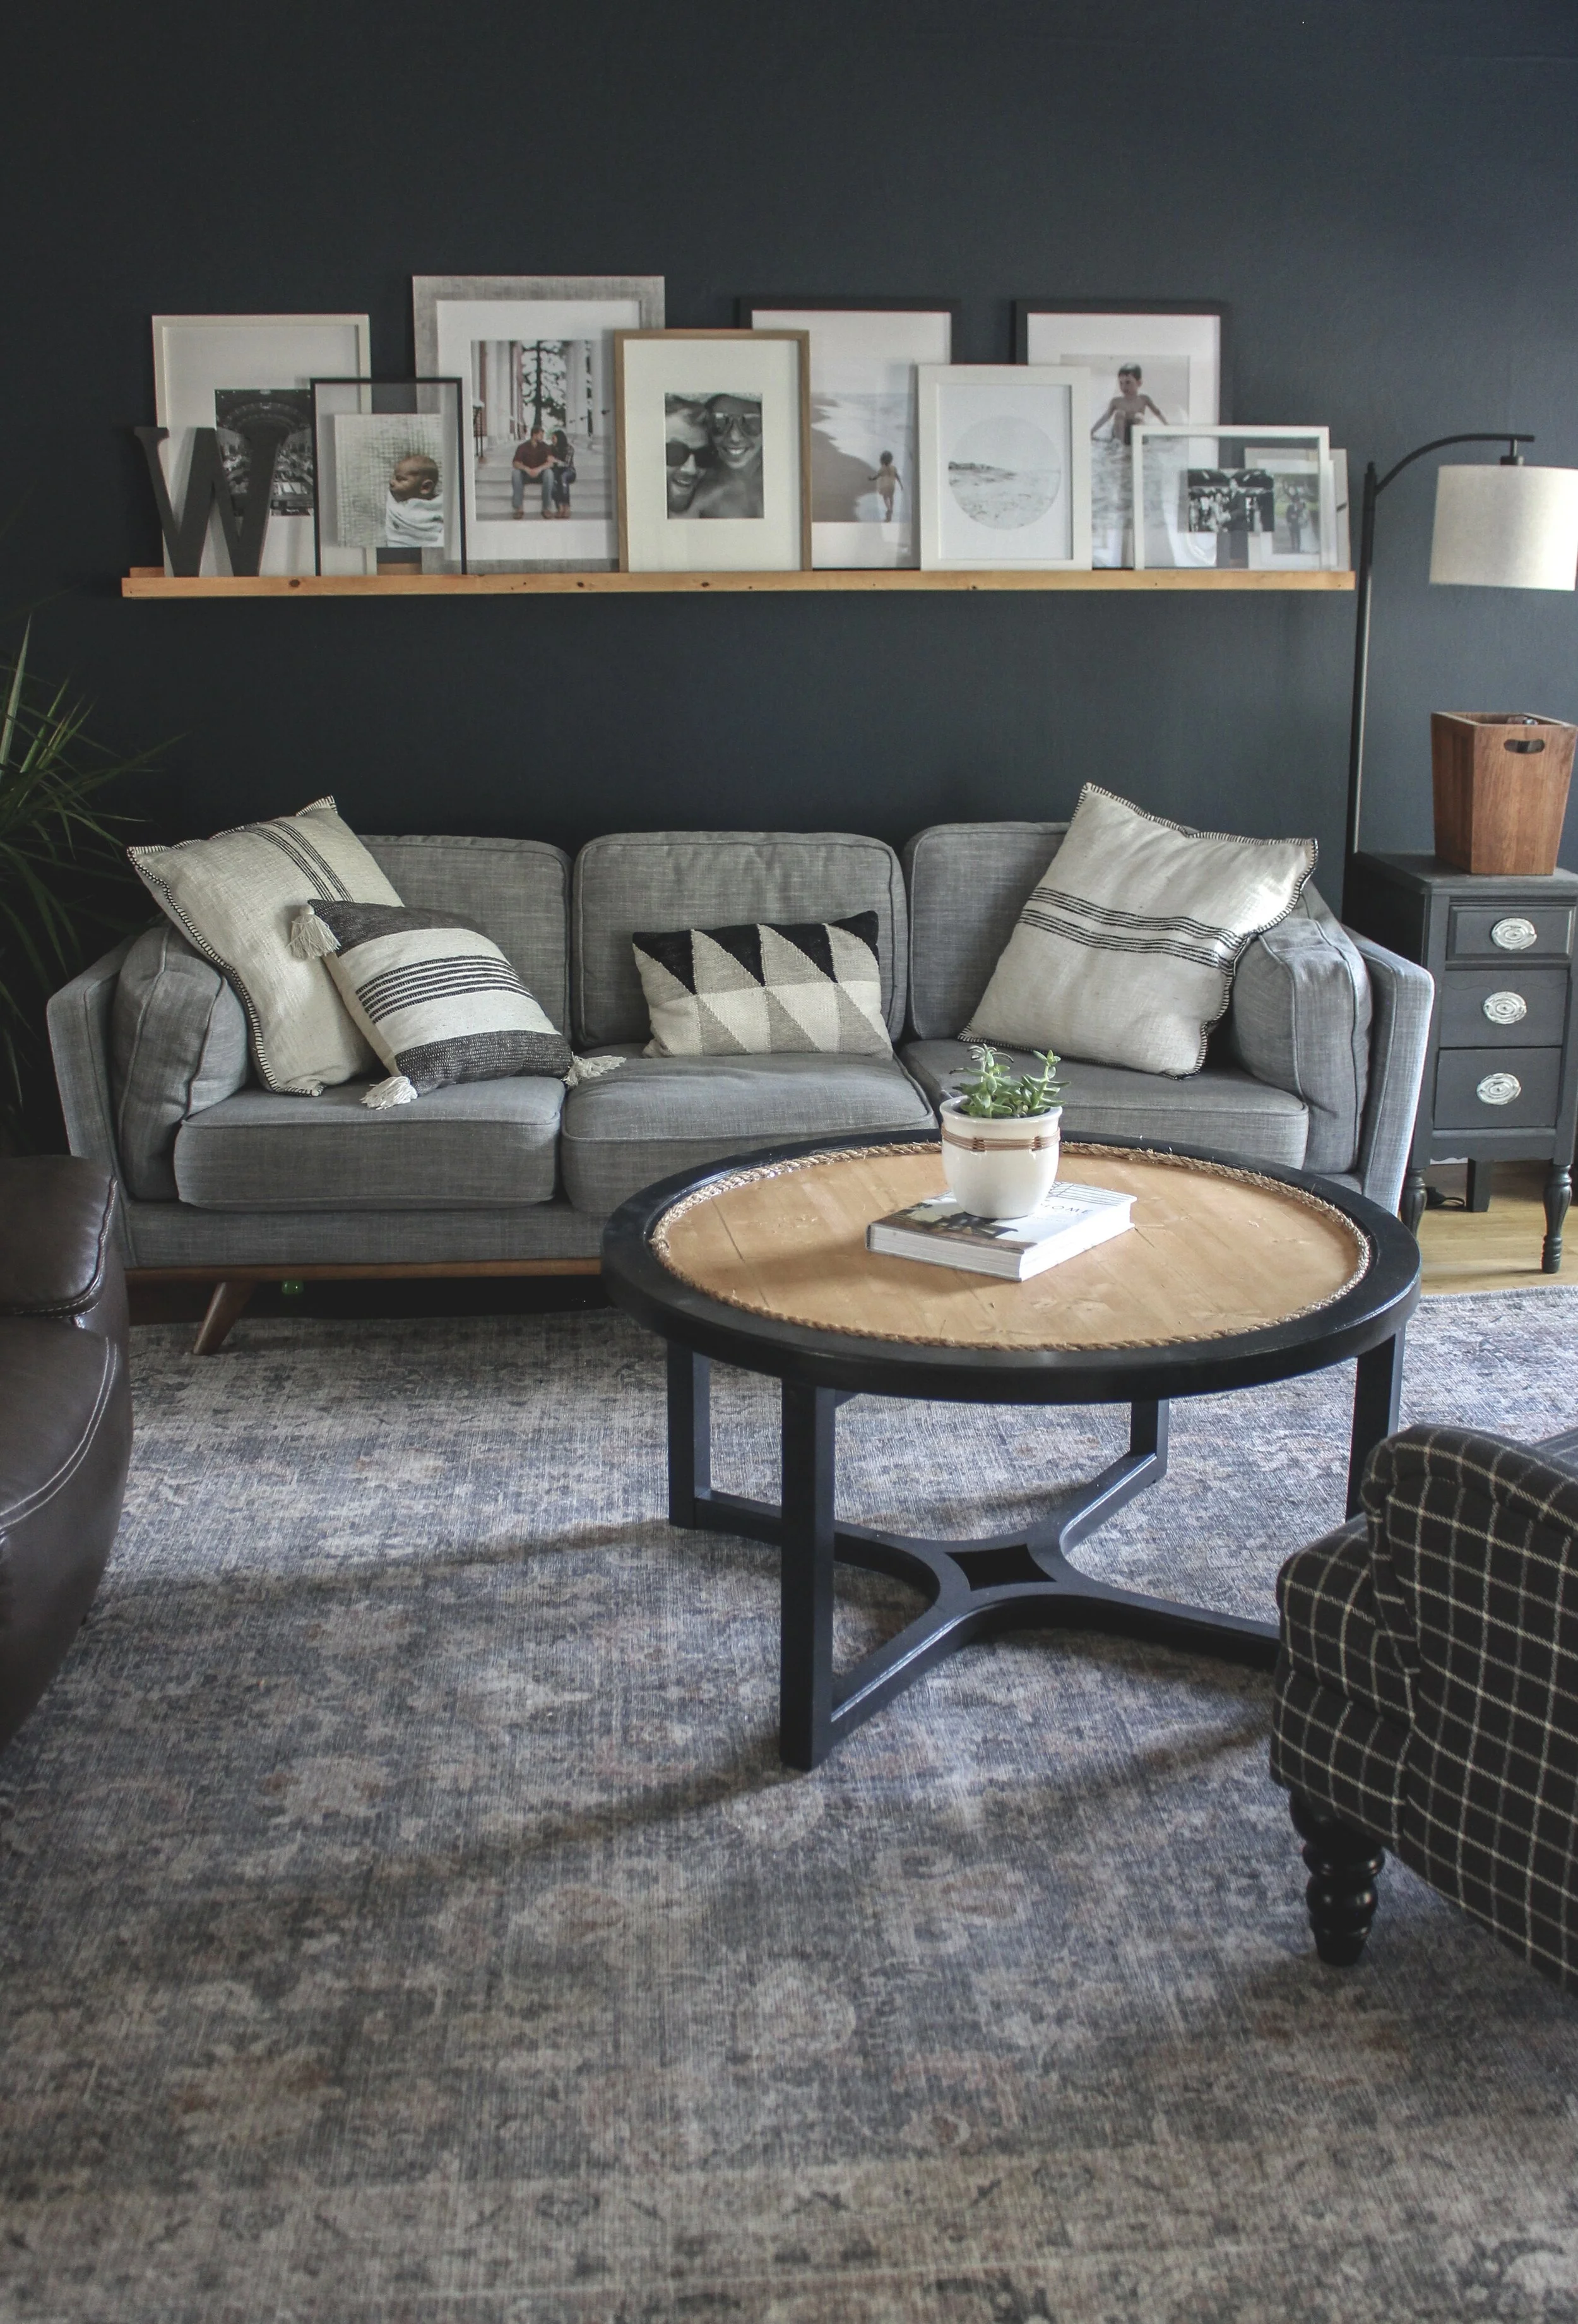
After only a few hours, the table was complete - fingerprint free and safe as can be! Well, until my toddlers jump off it of course. At least broken bones are the extent of my worry and not shards of glass.
This table came out exactly like I pictured. I love the warm wood that goes perfectly with my bamboo floors. I love how the jute is natural and nautical at the same time. The jute also brings texture to the table (literally!).
Because it has been polyurethaned, the fingerprints don’t show up and the yogurt won’t stain - mom victories, am I right.
I think if I didn’t have kids I would have continued the jute around the table around and around until it was a swirly jute table top. But because #children, I didn’t want to worry about crumbs in the cracks and you can’t wipe jute down to well. This compromise was worth it.
I hope you like the new table as much as we do! I hope we inspired you to refinish a furniture project, redo a coffee table of your own, or you just love watching someone else do it from afar. Either way, we love doing it and documenting the journey for you. Until next time, we will be soaking up all the snuggles. Feel free to peruse Nolan Del’s birth story or his little bed room/guest room.
Ann | DESIGN


