
Rogers Project: Part 1
Norfolk, Virginia
In the words of Declan, we are so incredibly happy to announce that our tenth house we have “made beautiful” is under contract! It never gets old hearing people ask Declan what his mommy and daddy do and he responses with, “they make houses beautiful.” I mean, what a humbling career to call ours.
The Rogers Project from start to finish ran us 10 weeks long. It was a cute 1222 square foot house that was in desperate need of TLC. From outdoor help to a vary needed garage renovation, we flipped this house top to bottom and put some personality mixed with practicality into it’s old bones.
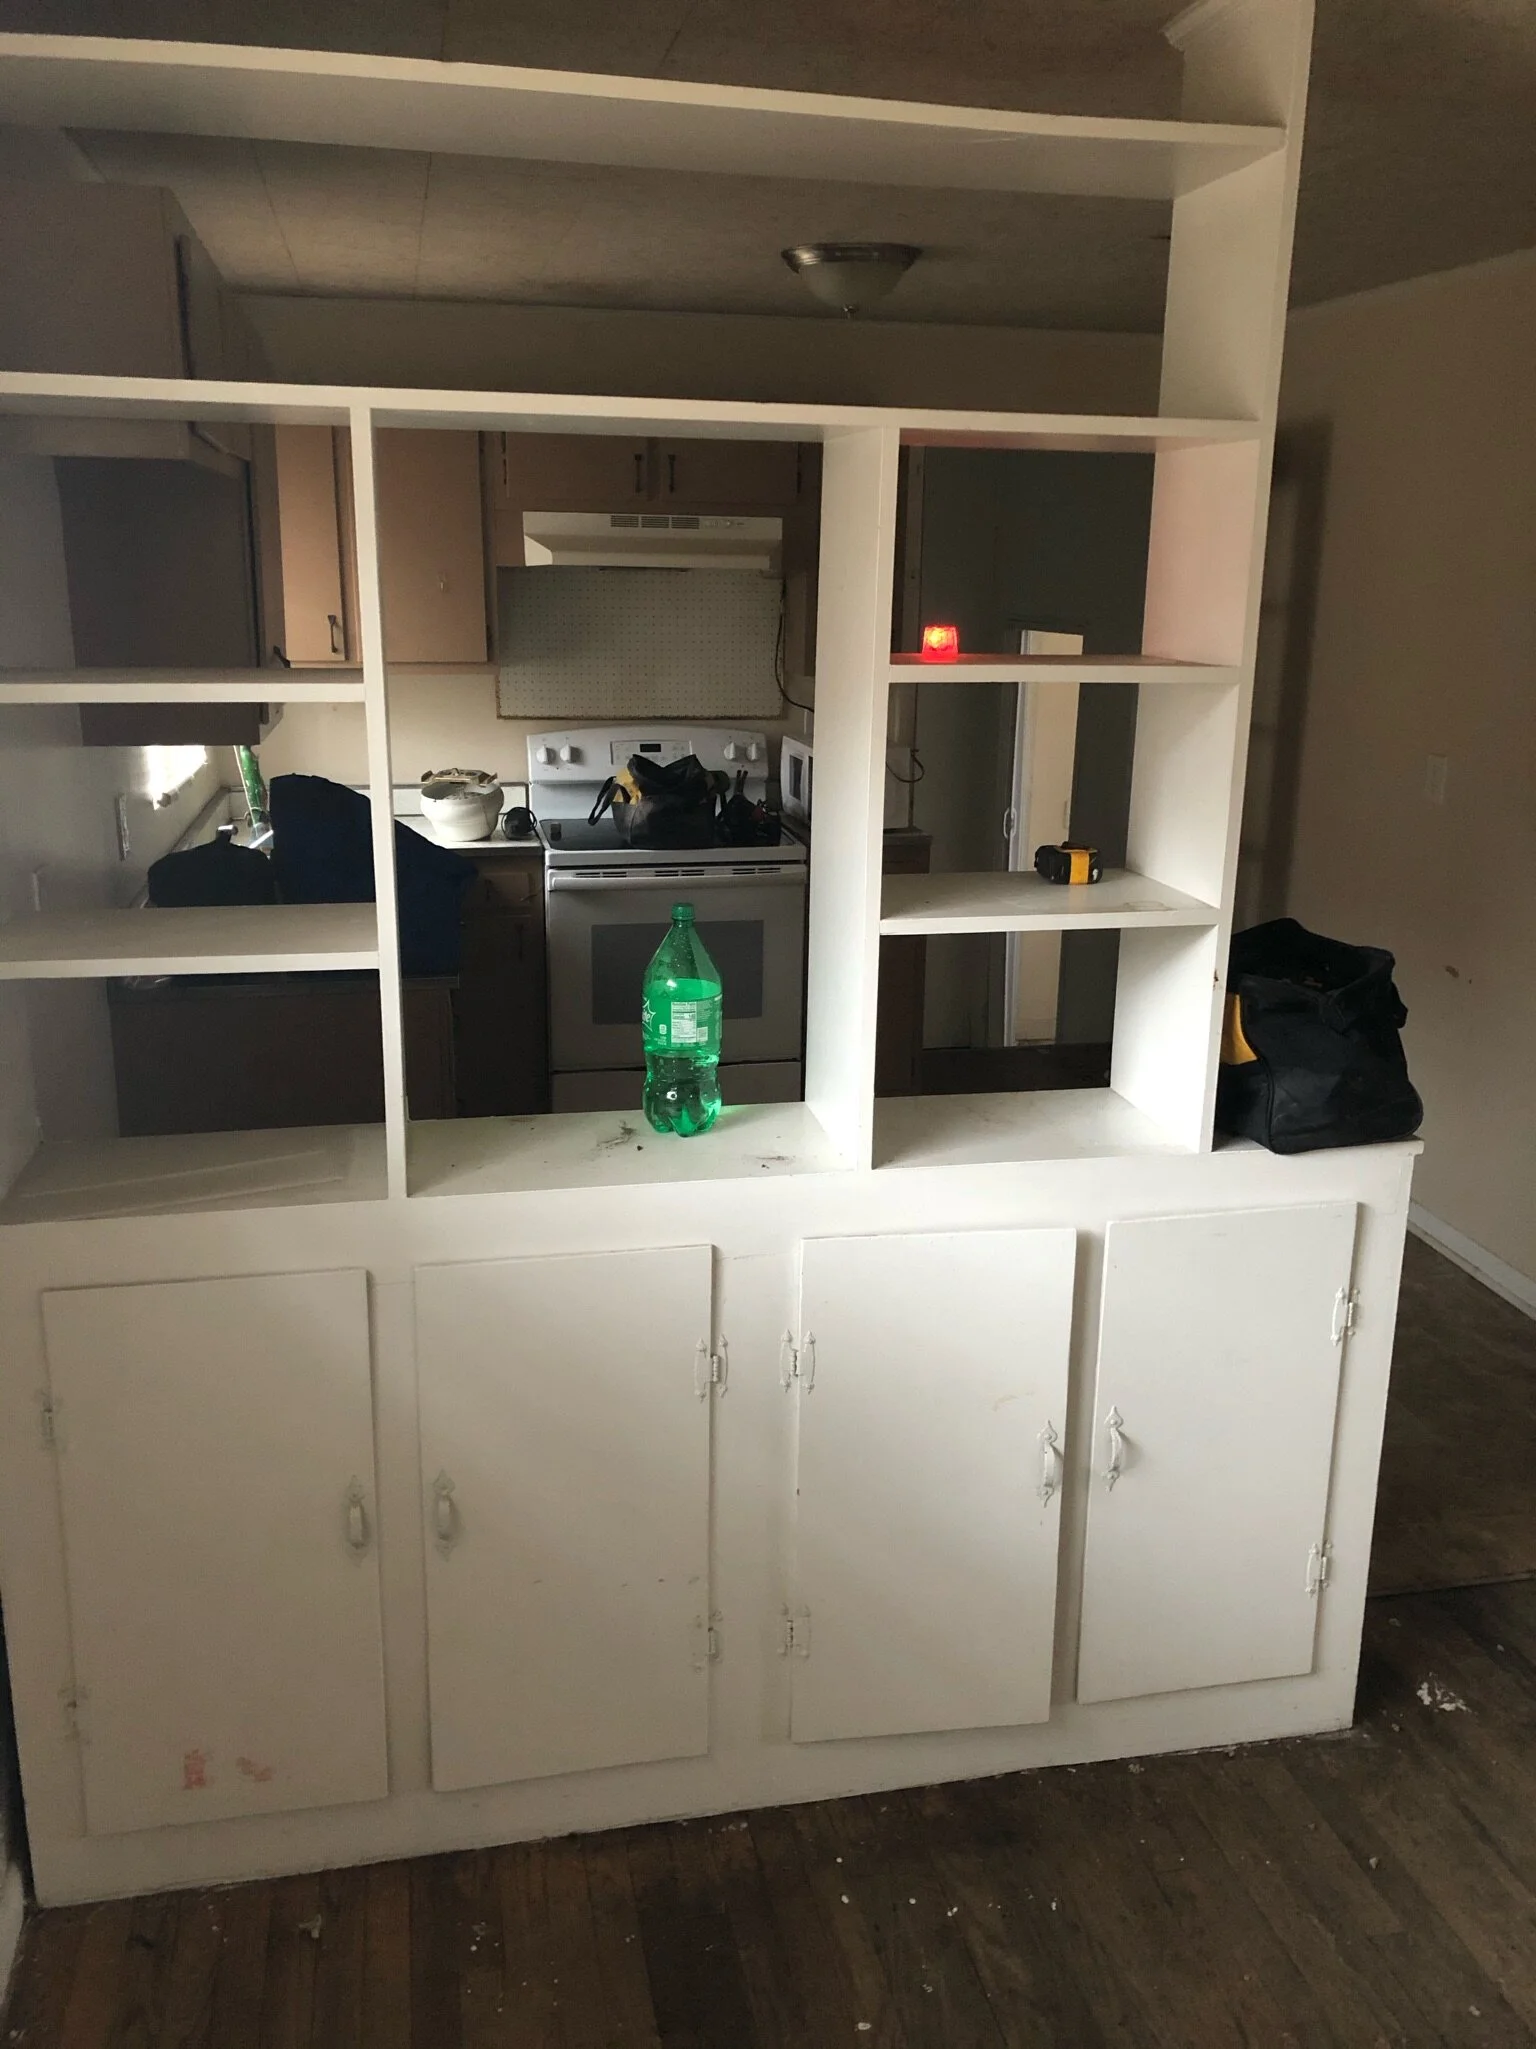
Looking back in this before pictures leaves me with all the emotions! We started with a clean slate in the kitchen and gutted the whole space. The built-ins from the before photos had promise but needed to come out in order to make room for new flooring. Taking them out also made for more of an open concept feeling. Also peep the folding pantry door :D
A big goal was saving money in this project (isn’t it always) but not sacrificing personality.
We did that in 5 ways.


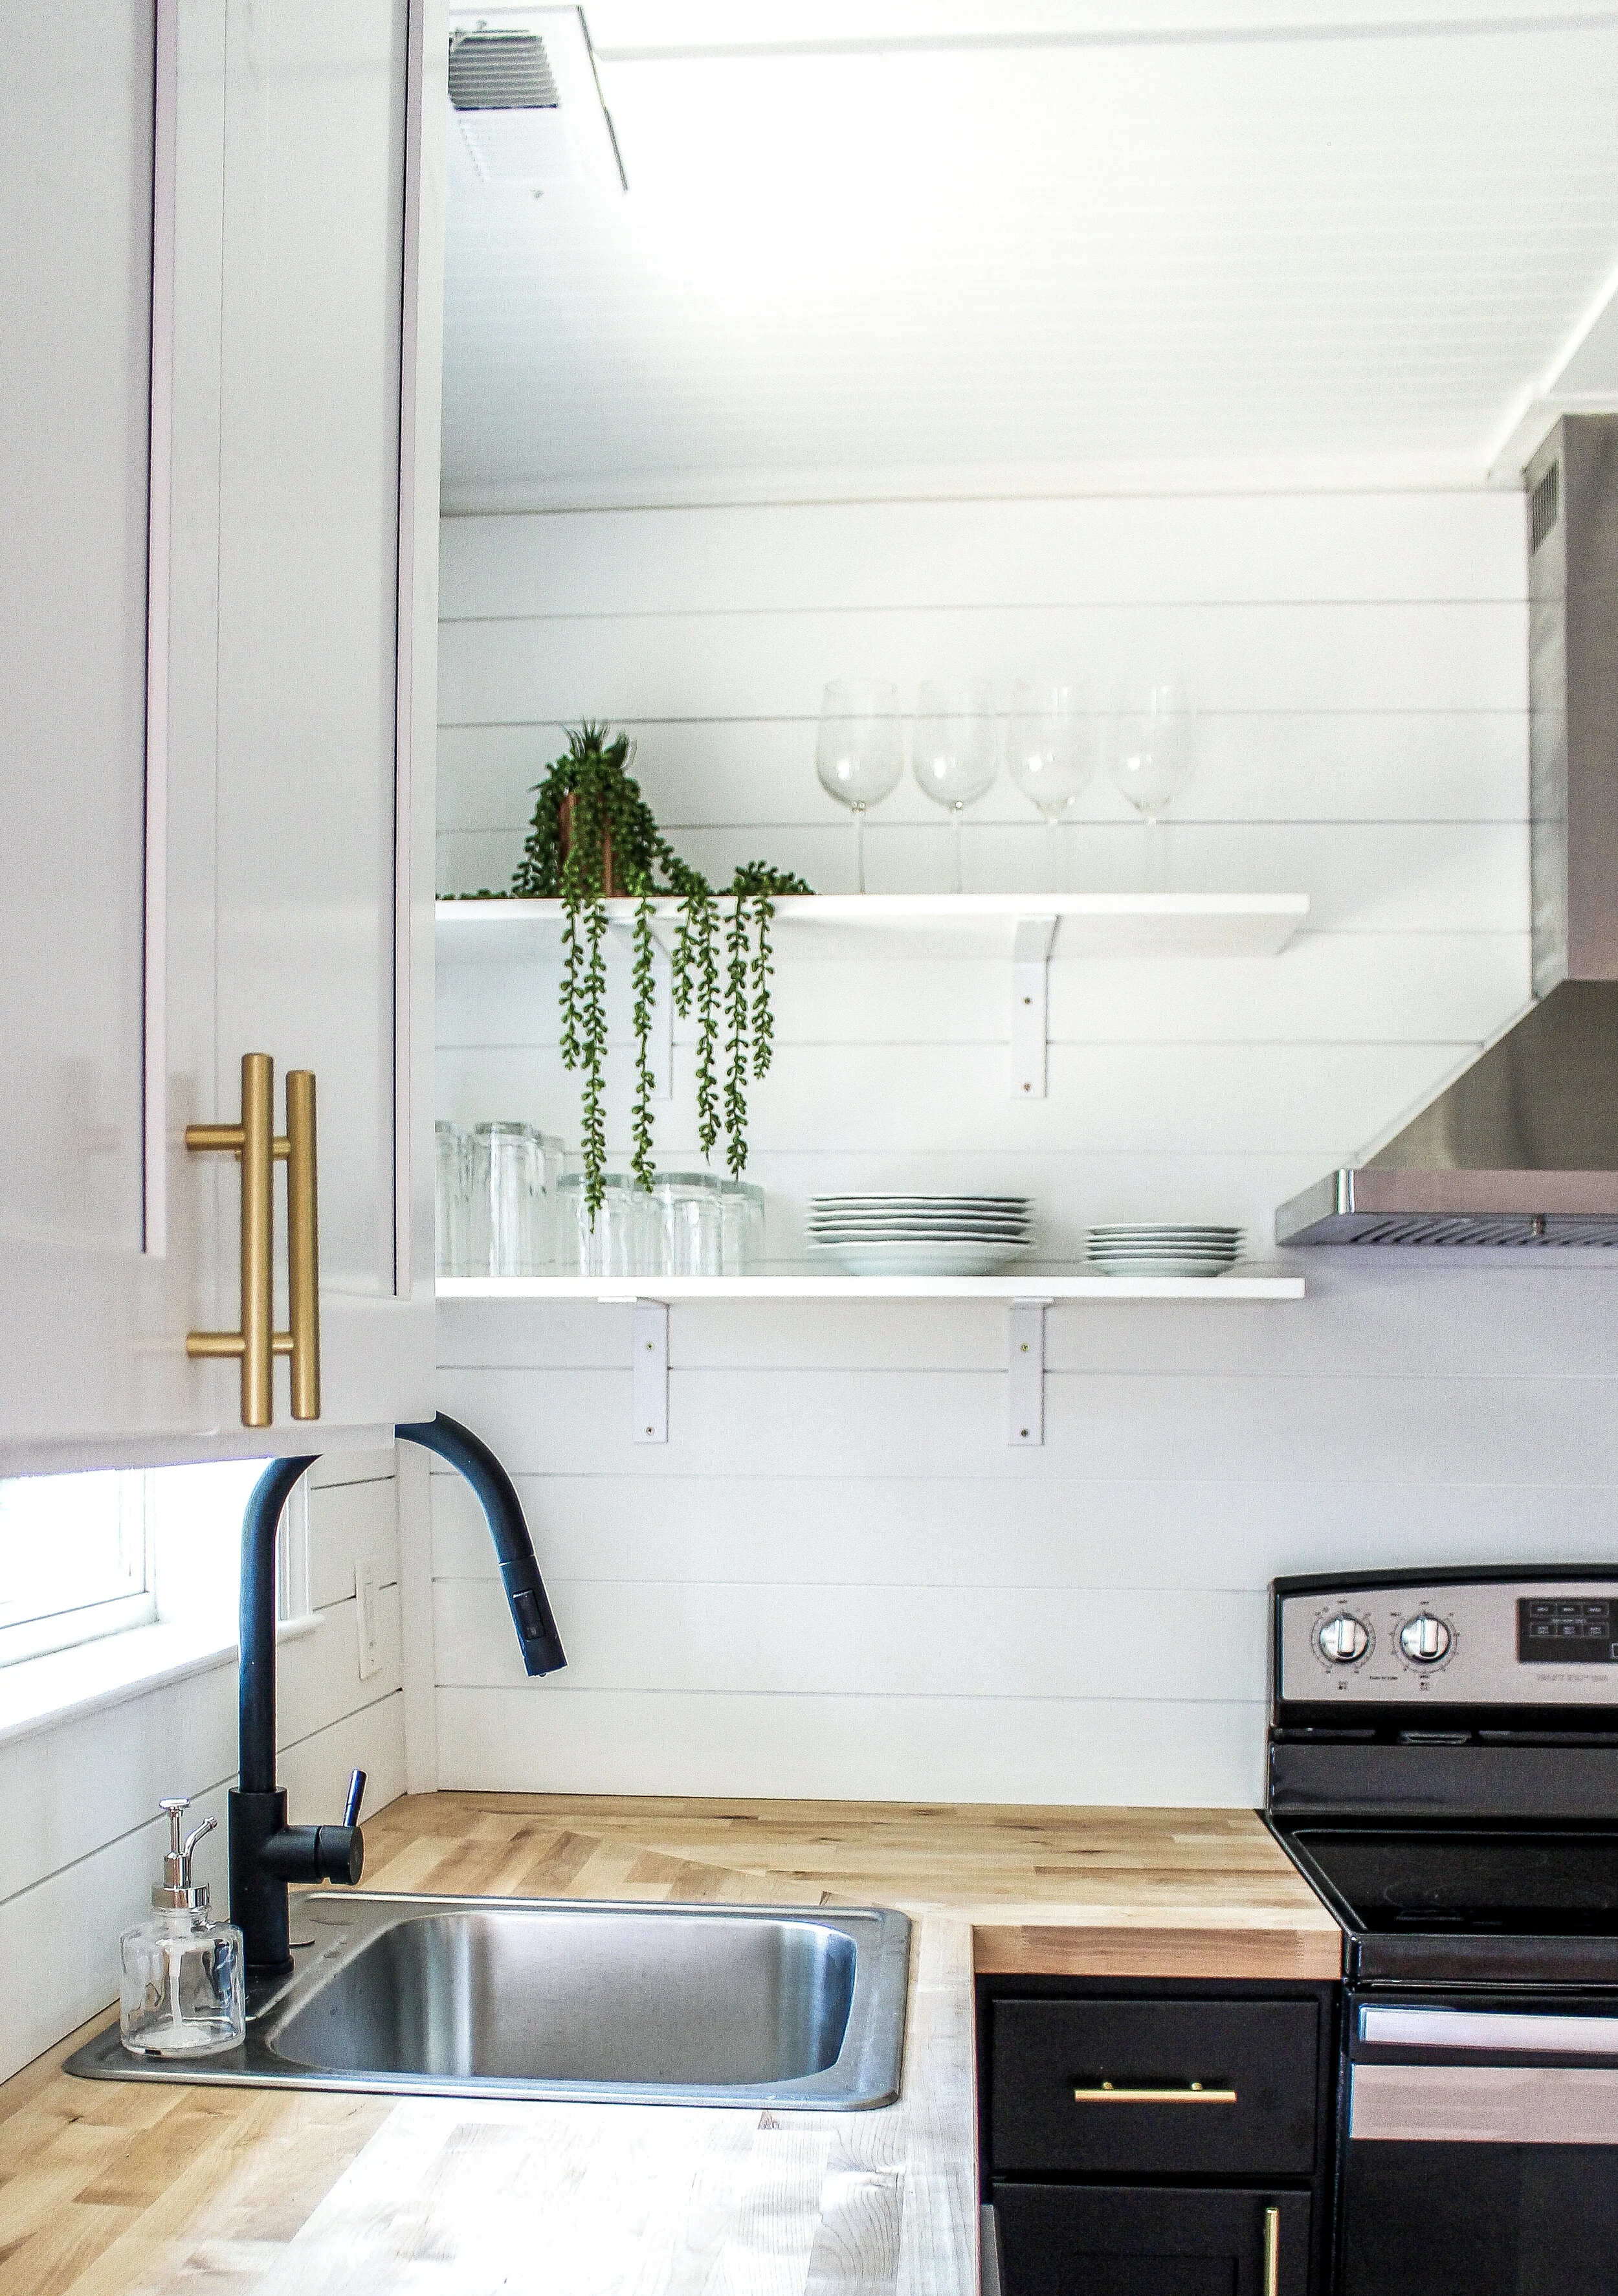
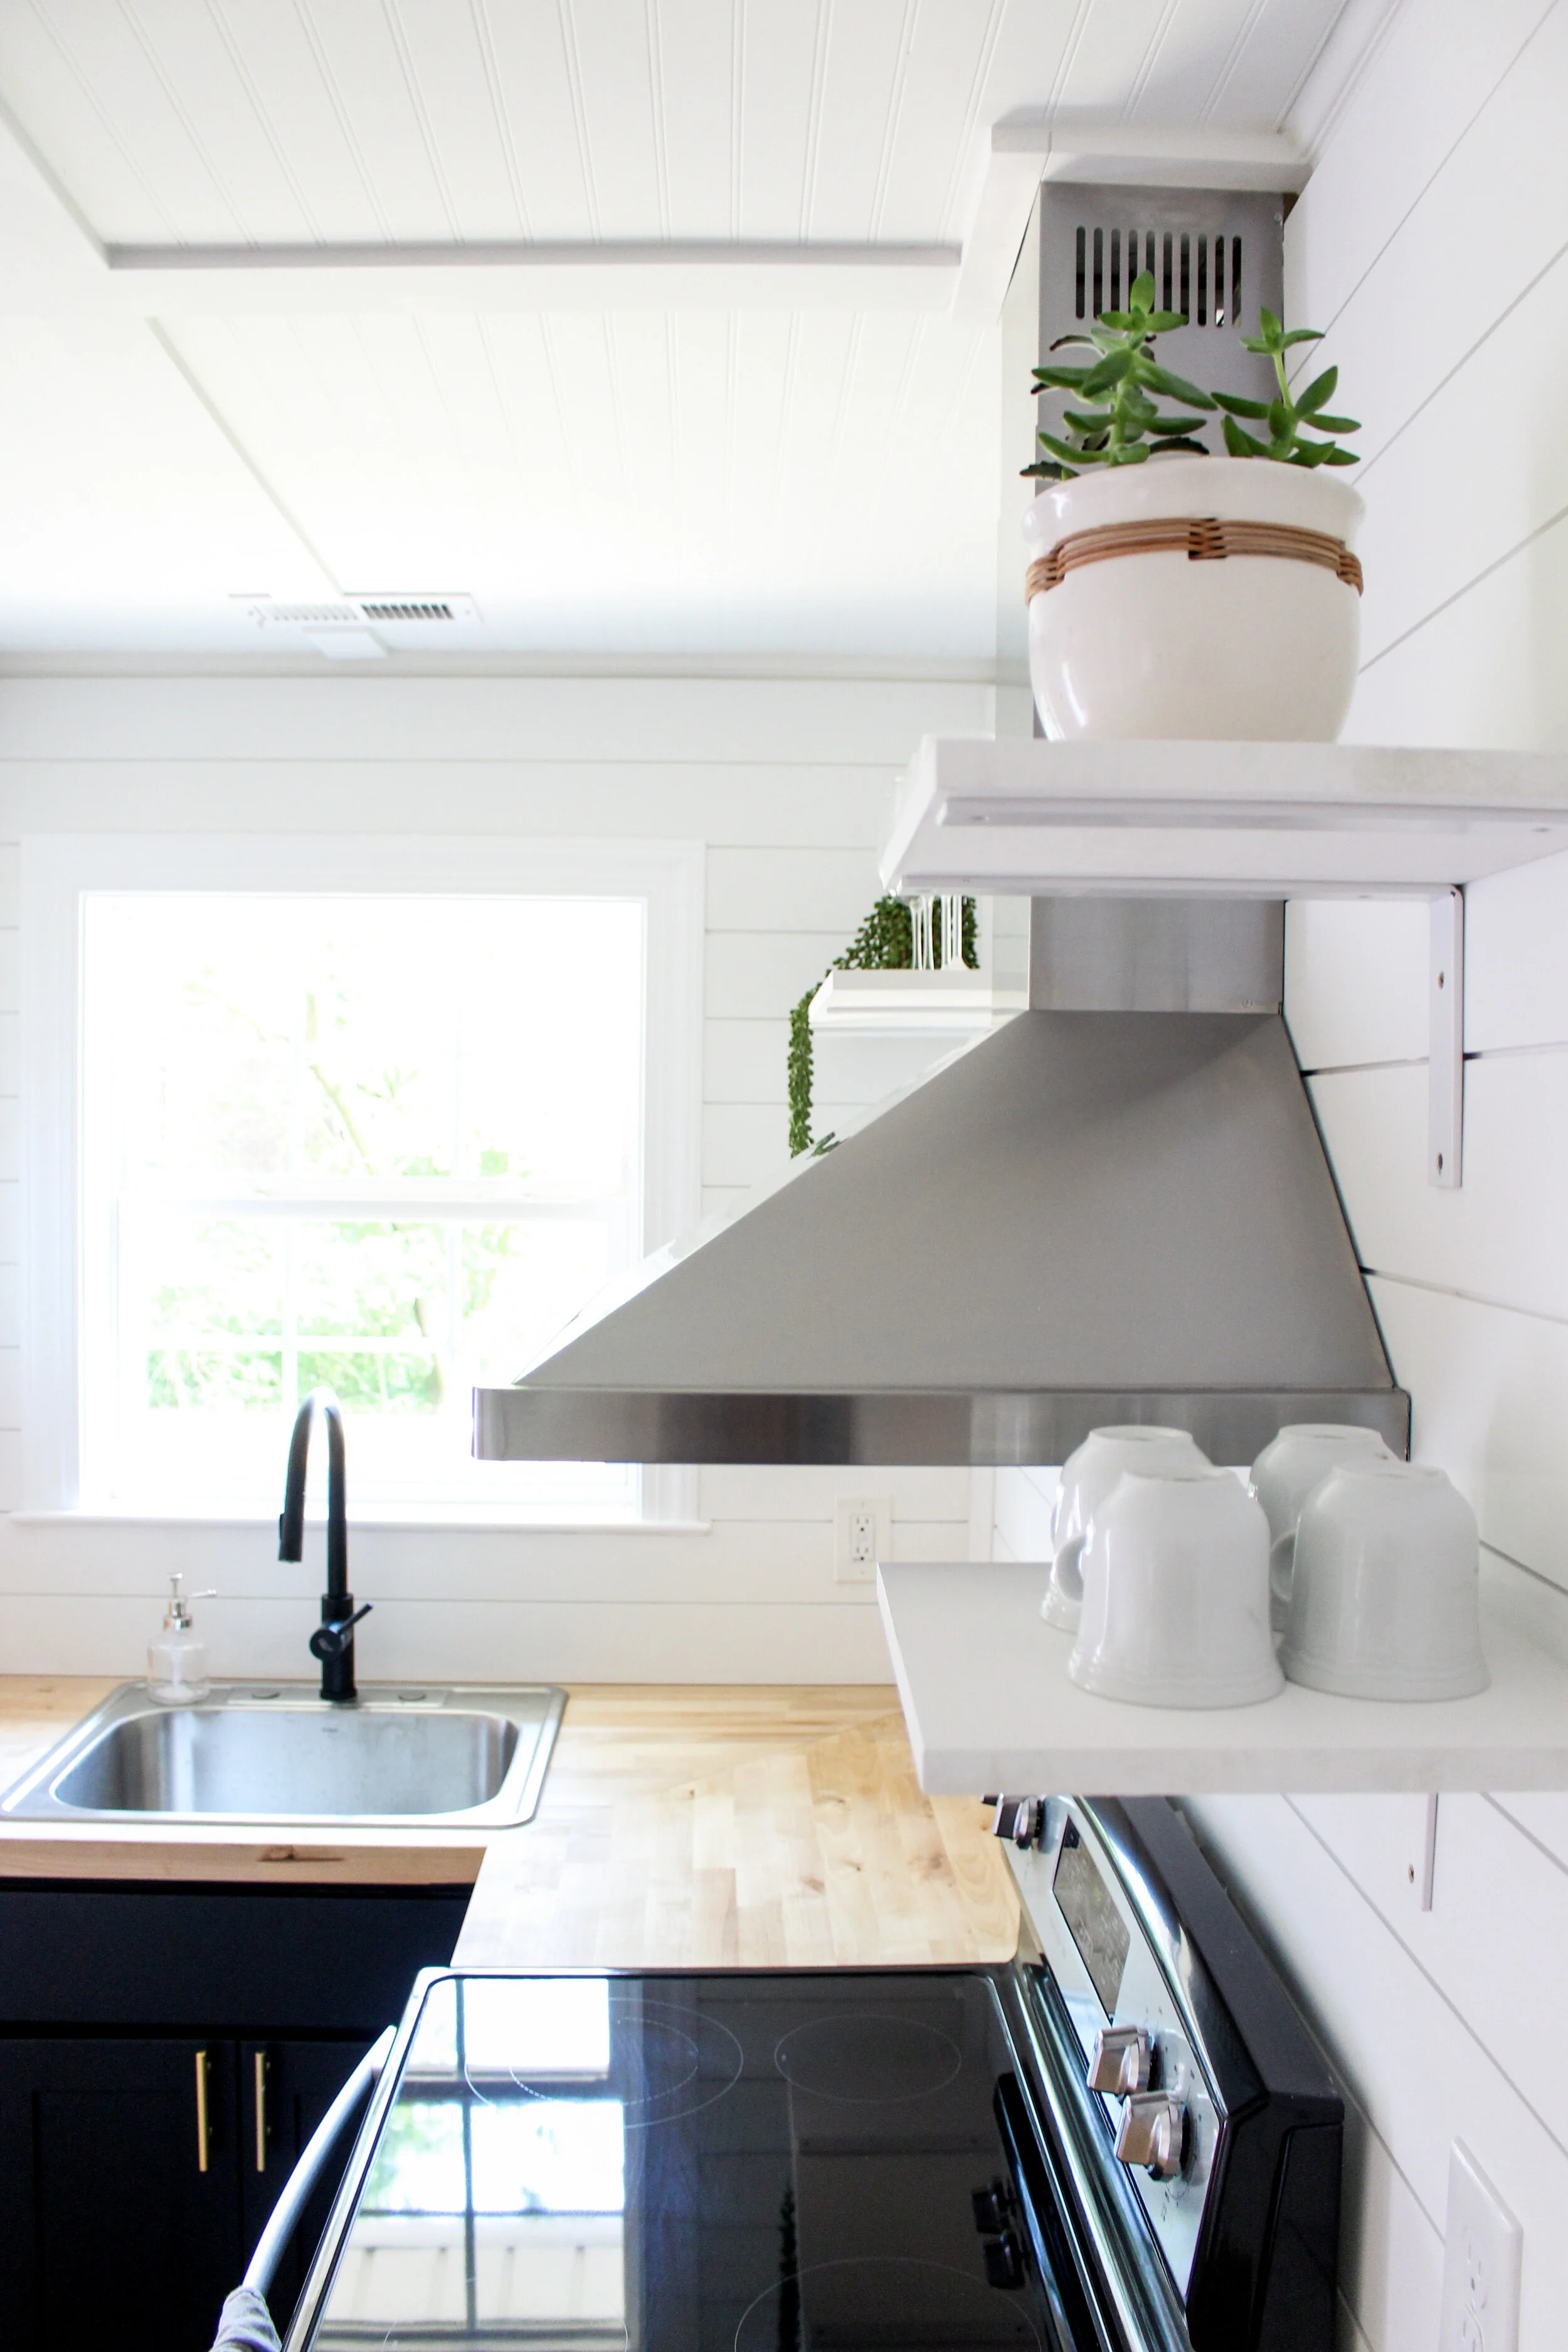
Open shelves
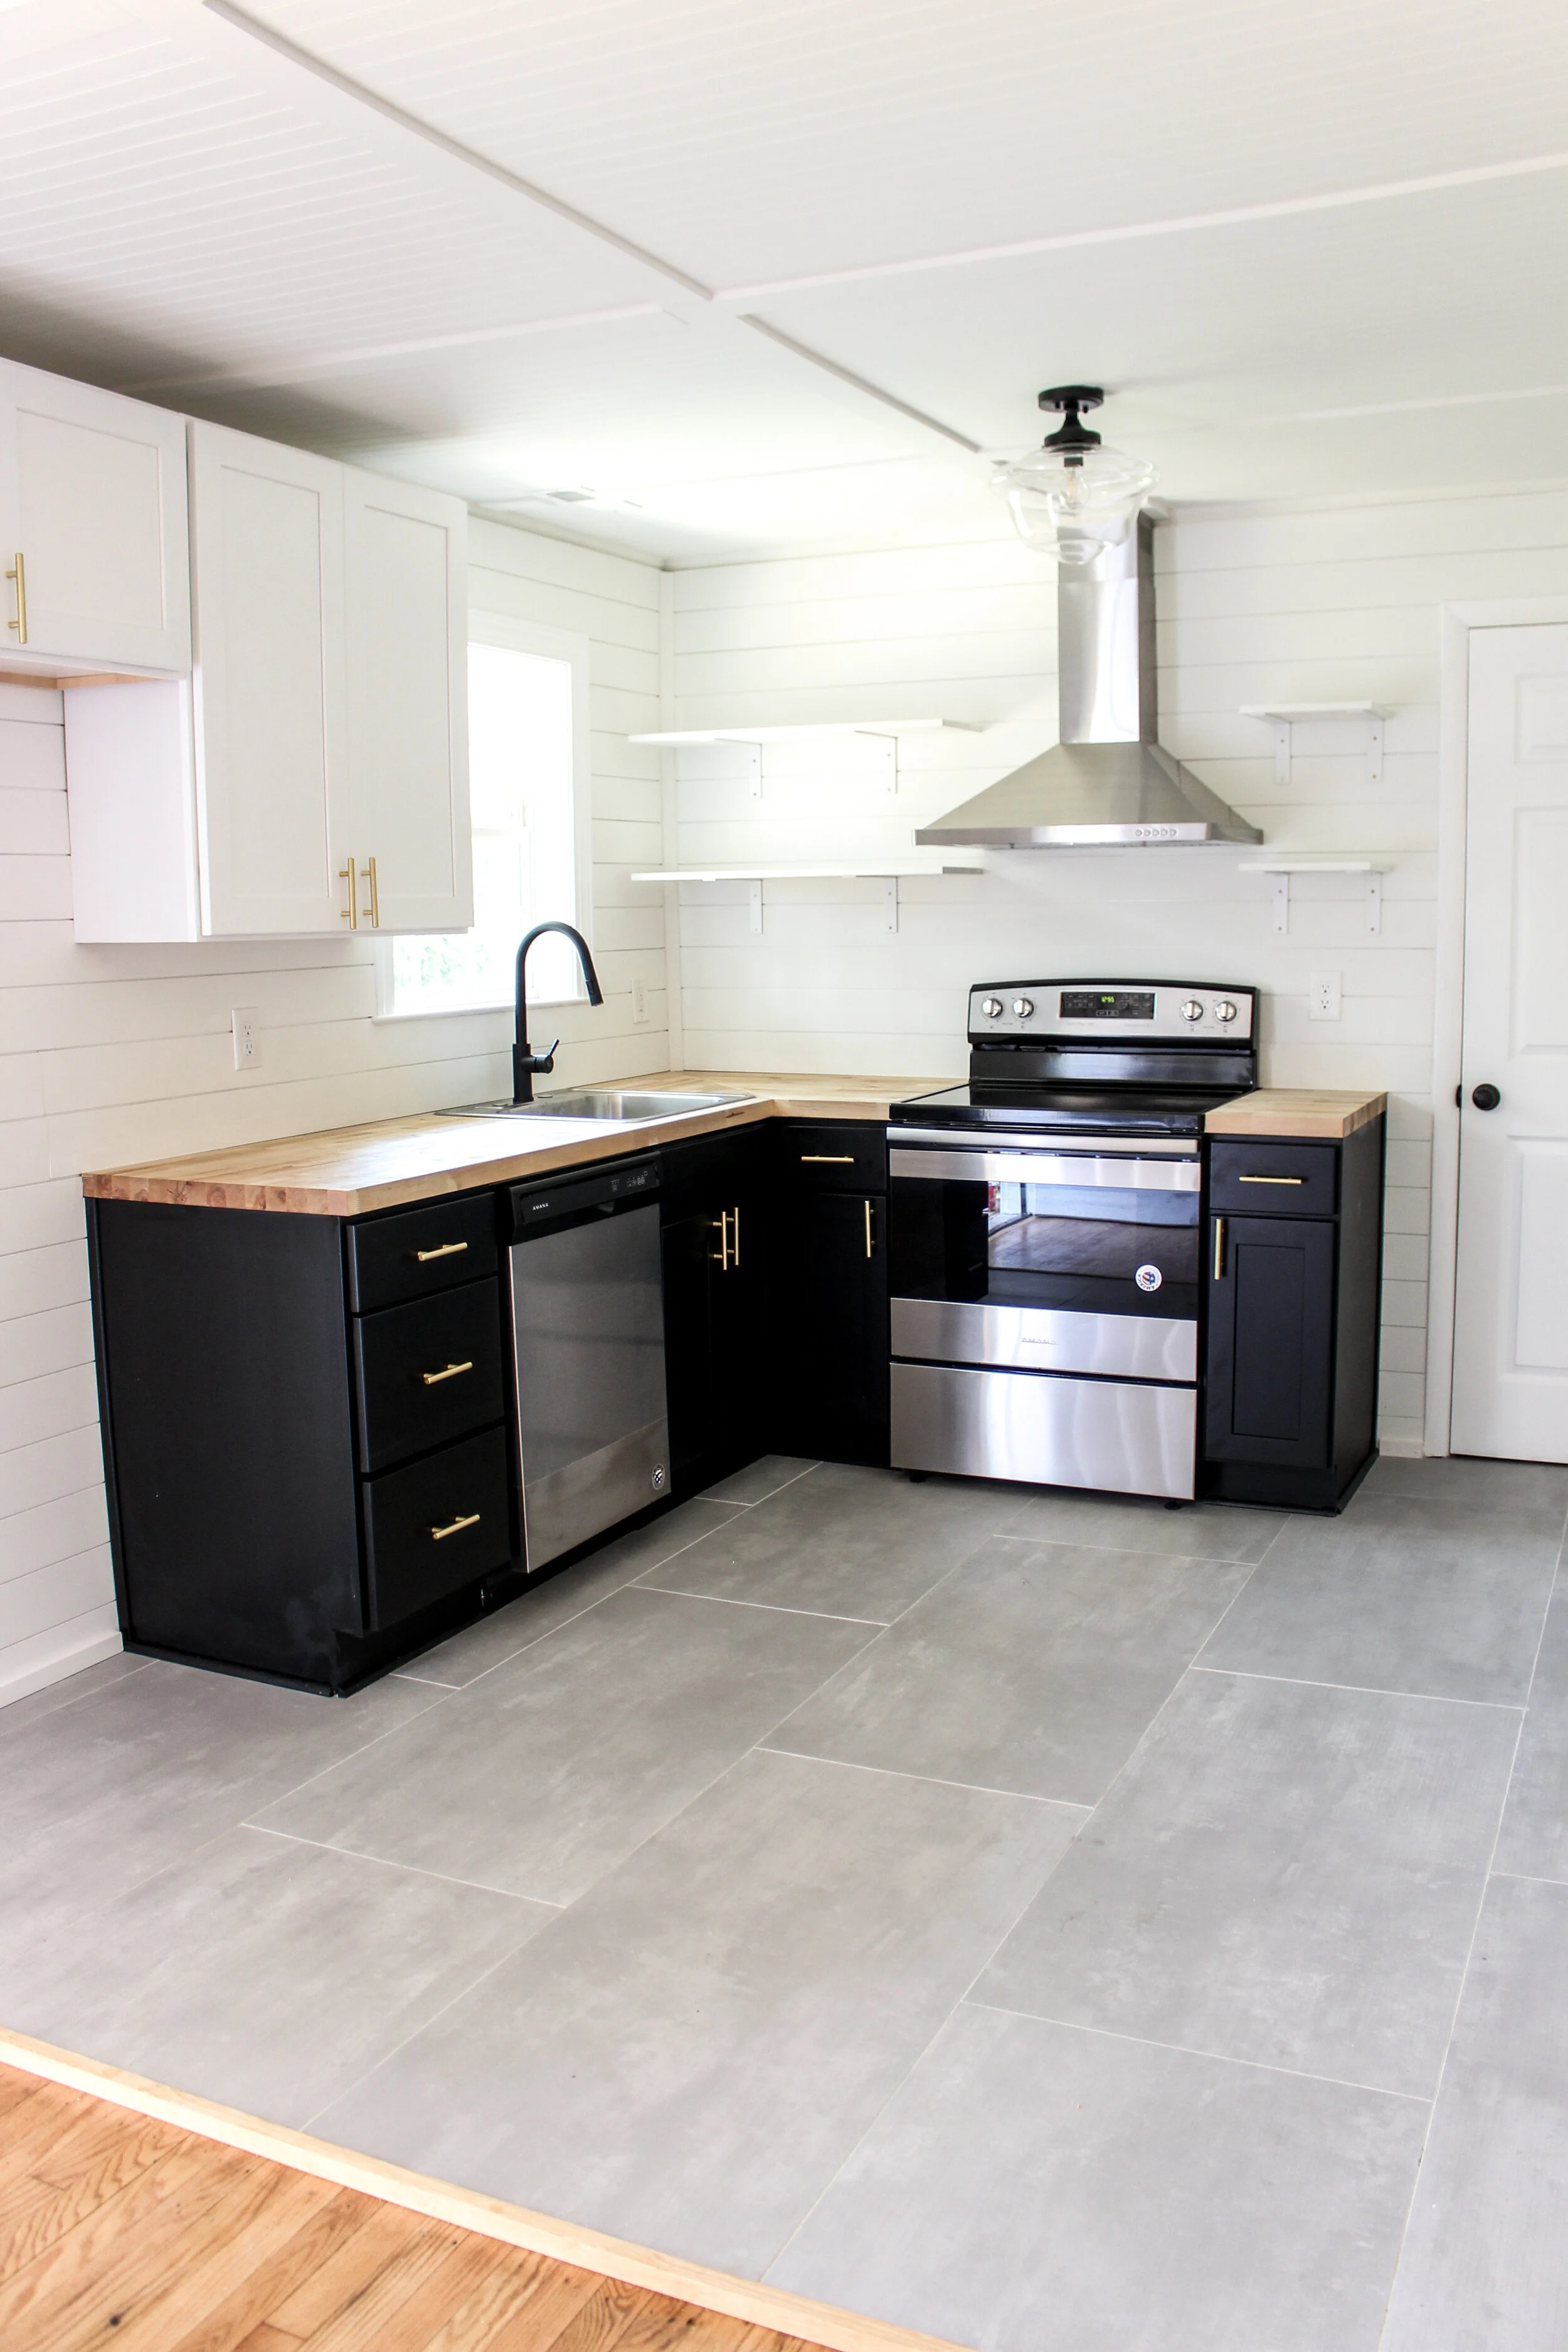
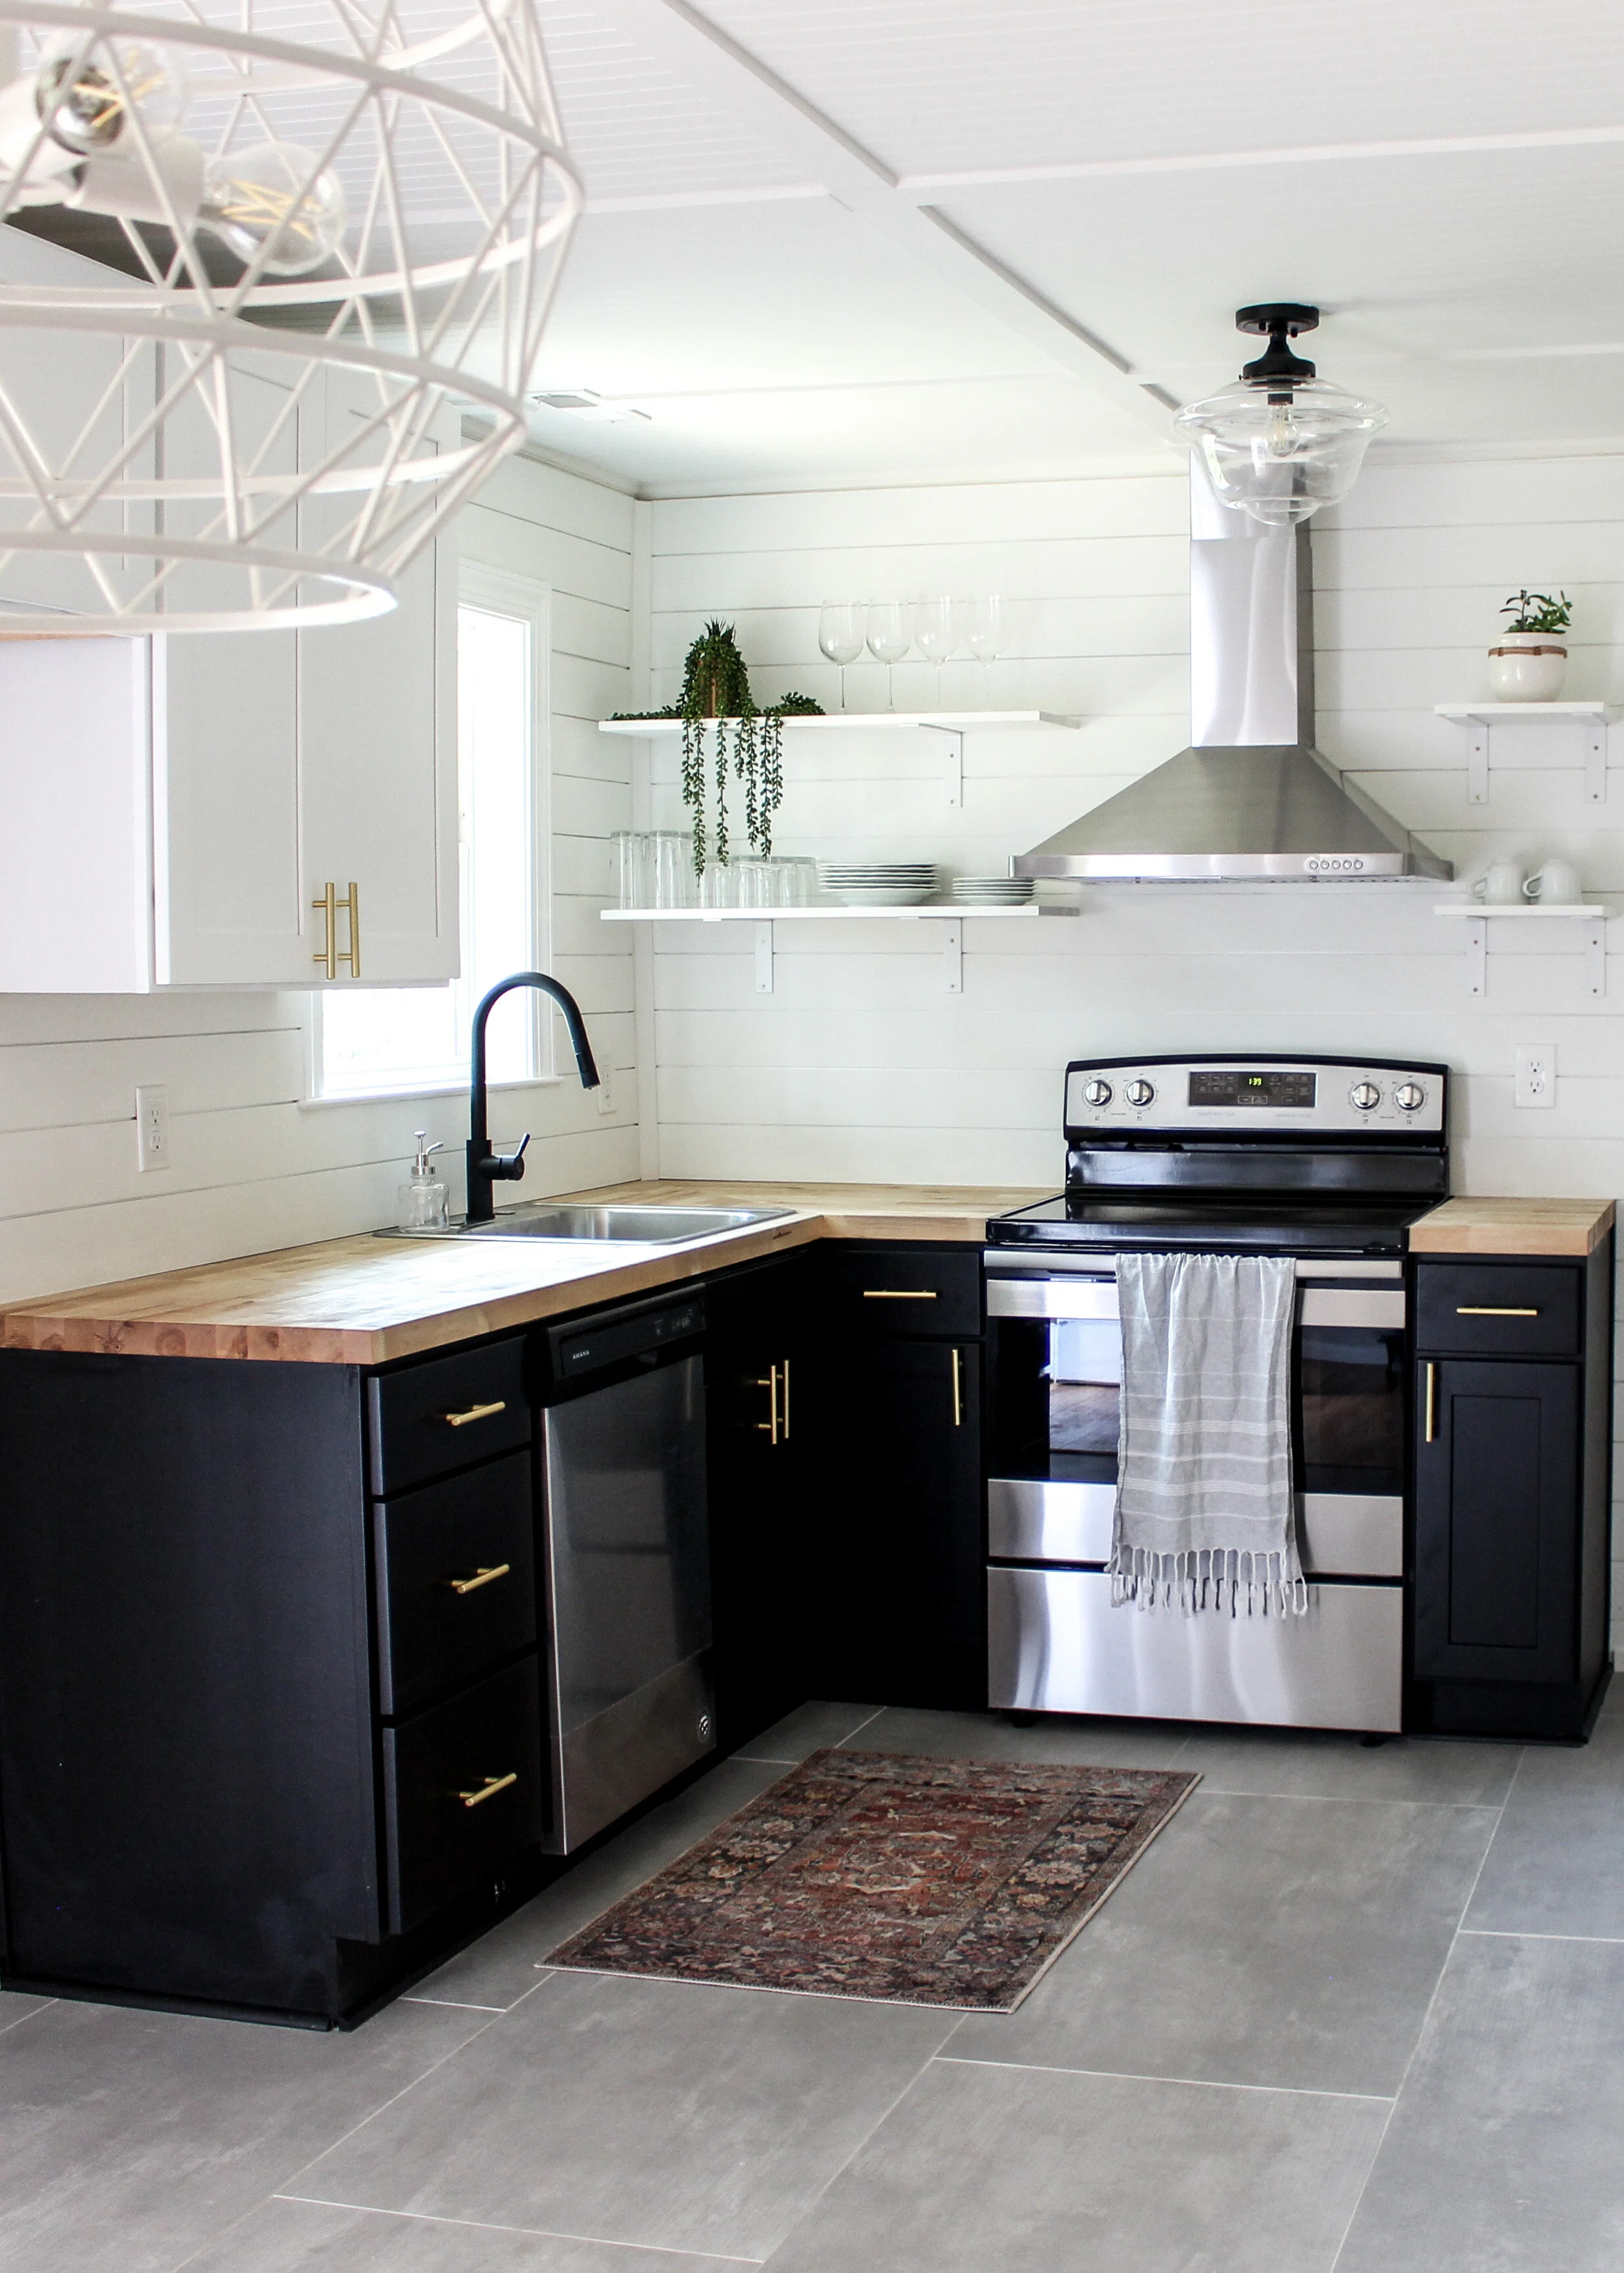
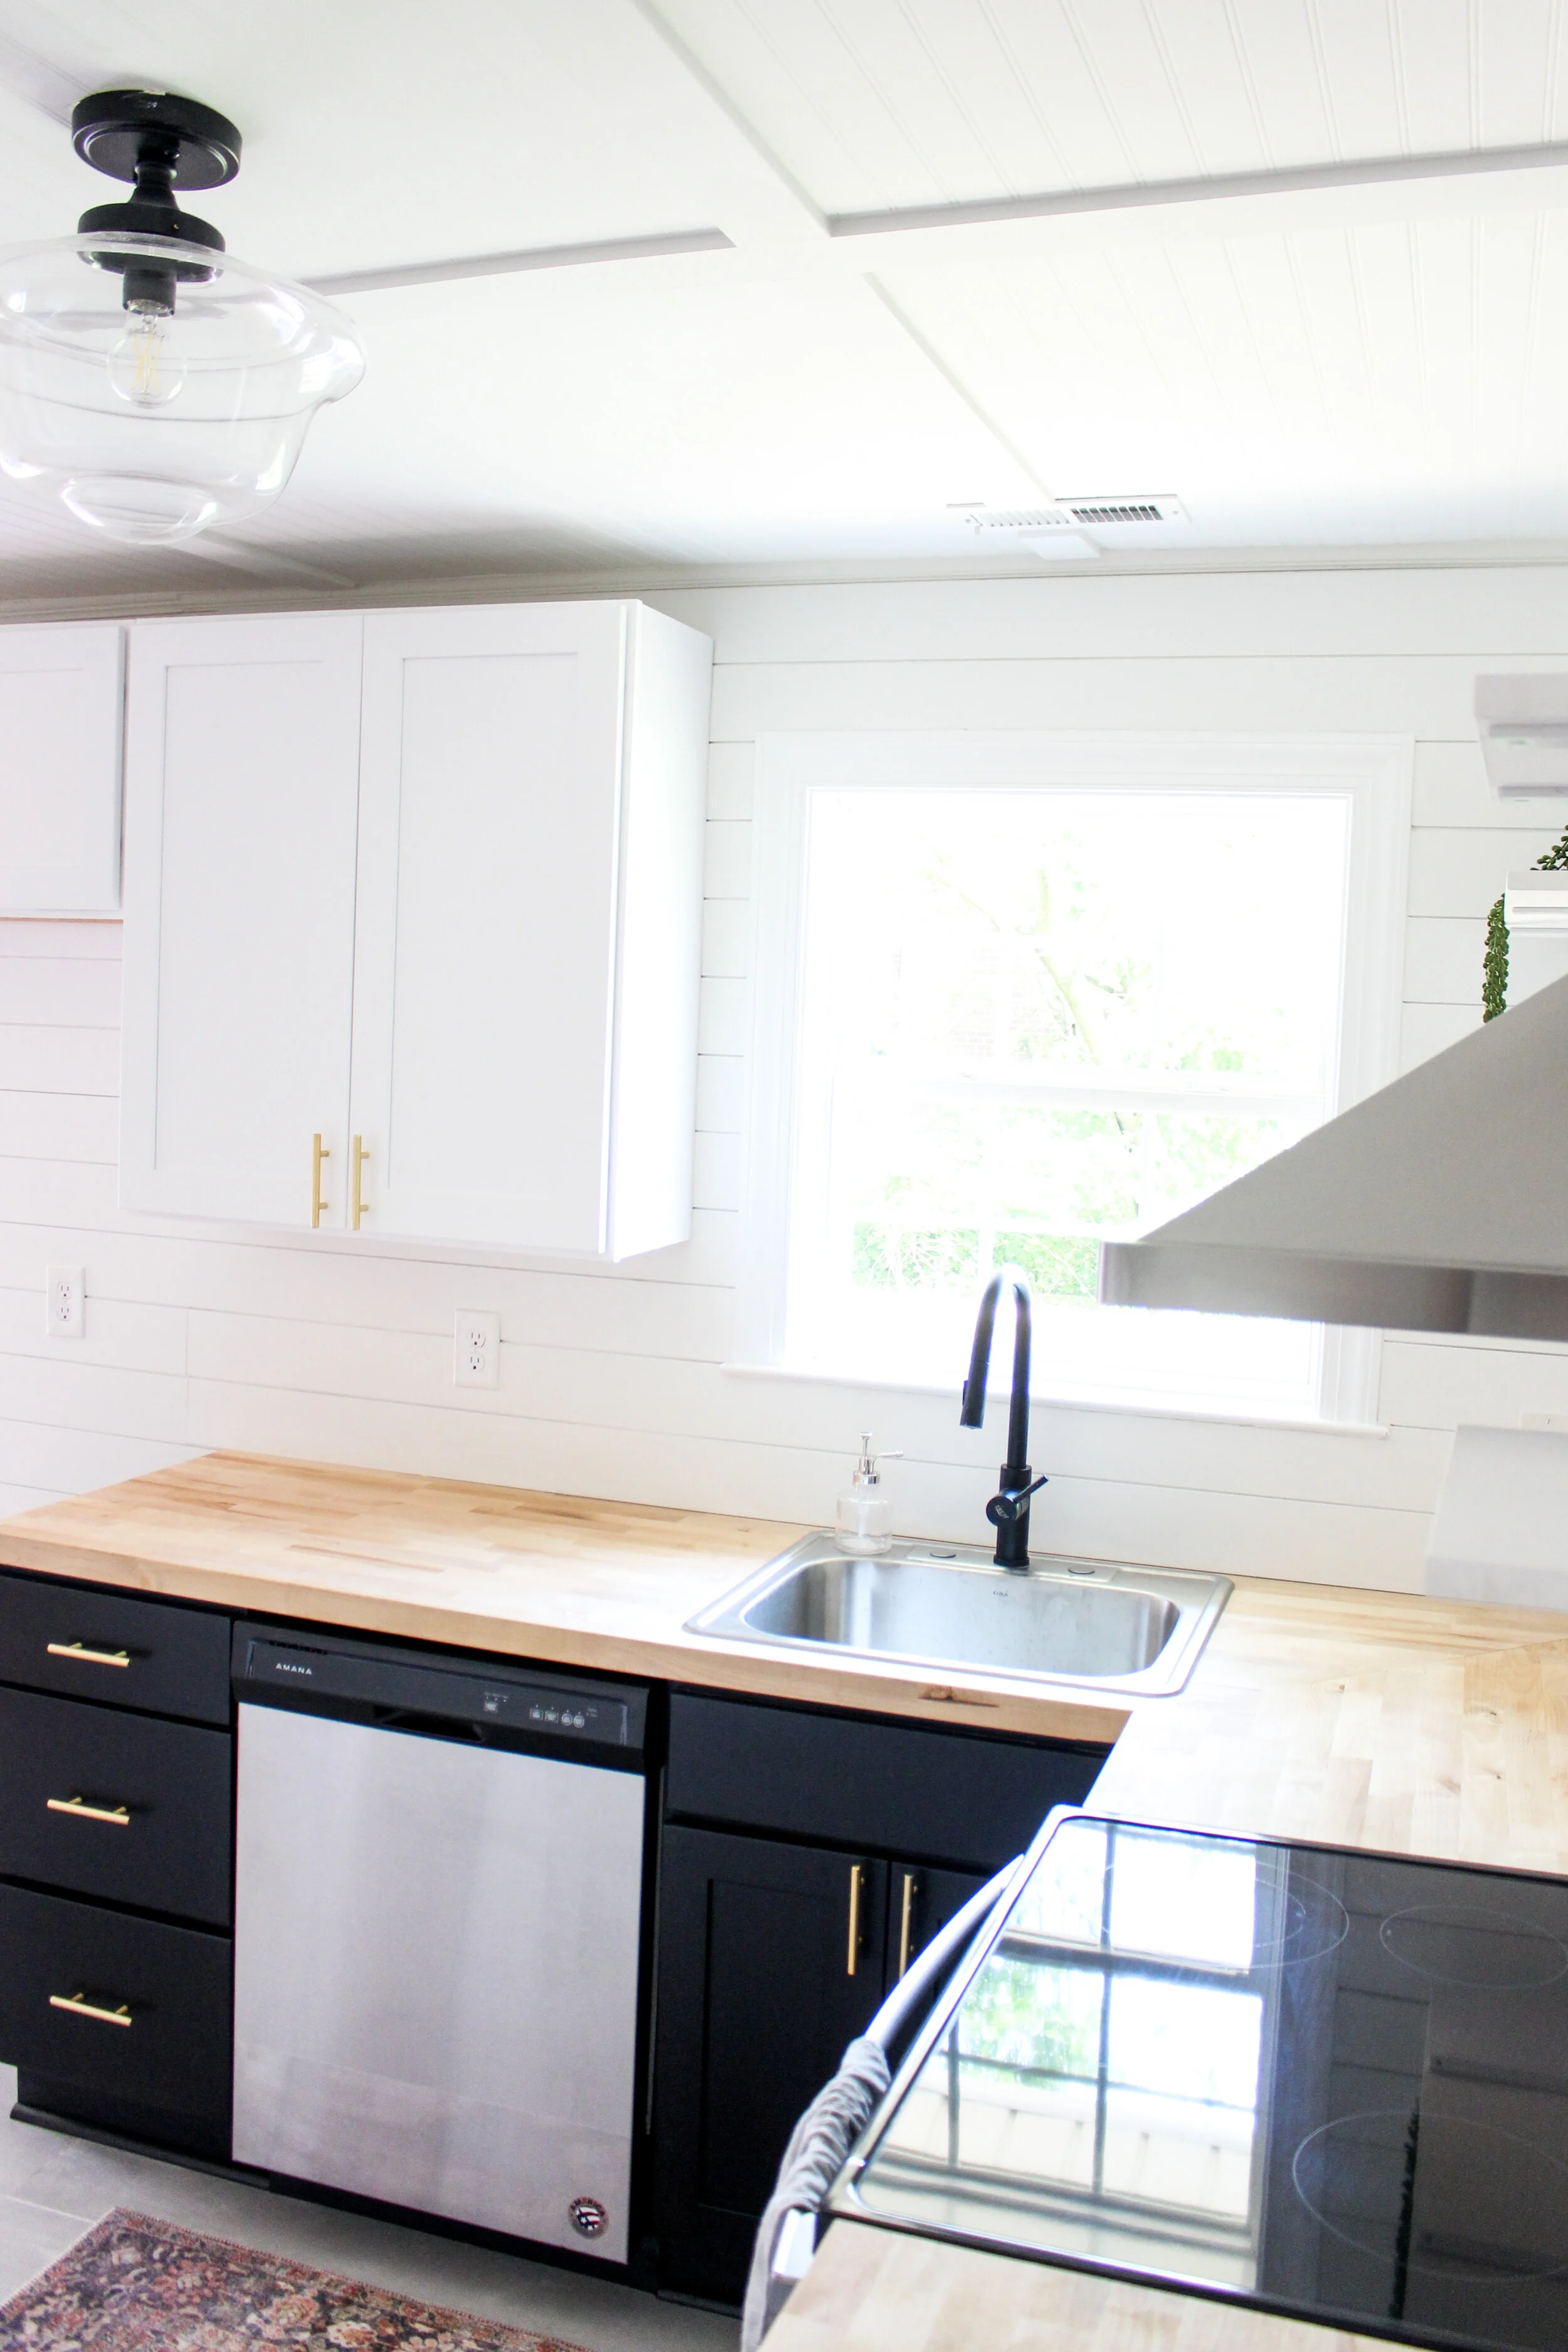
We knew we were working with a smaller kitchen right away. In order to keep things open and airy, I opted for open shelves for uppers and white shiplap for back splash. The shiplap added texture and personality. And also… it’s shiplap. Don’t fight it…we all love it. The white in the kitchen allowed for more light and the black lowers added contrast and a pop. Open shelves saves money but also allows for pretty staging pieces. I also love open shelves because it showcases a pretty backsplash more than cabinets that cover it up.

2. Shiplap or paneling
A pretty backsplash is key sometimes in a kitchen. Lots of homeowners love a statement backsplash but I’m finding that their is another category of homeowners (like myself) that are loving more natural elements in the kitchen like stone, wood, or even cement or stucco! Both tile and natural backsplashes are beautiful but here in Rogers we chose wood. I love the texture of wood panels and in this kitchen we wanted it to say “boat” a little bit since this house is located right next to the navy base in Norfolk, Virginia. I love adding personality to our projects but also incorporating meaningful design elements while also saving money. Wood paneling can be cheaper than some mosaic or pricier tiles. Here we used real shiplap but you can also use common board and create a faux shiplap look as well.

3. Butcher Block Countertops
There is a great debate on whether butcher block is a smart investment or not. After a ton of research, I have found that, yes, butcher block requires maintenance but what in life doesn’t INCLUDING ourselves! A little conditioning every few months and you have a beautiful wood countertop that looks fabulous and also saves you money. You can also sand and retain them. It isn’t a ton less than marble counters but still, a little saving here and there adds up. Overall, if you are in the market for saving money and don’t mind a little maintenance, butcher block is an awesome choice in the kitchen.
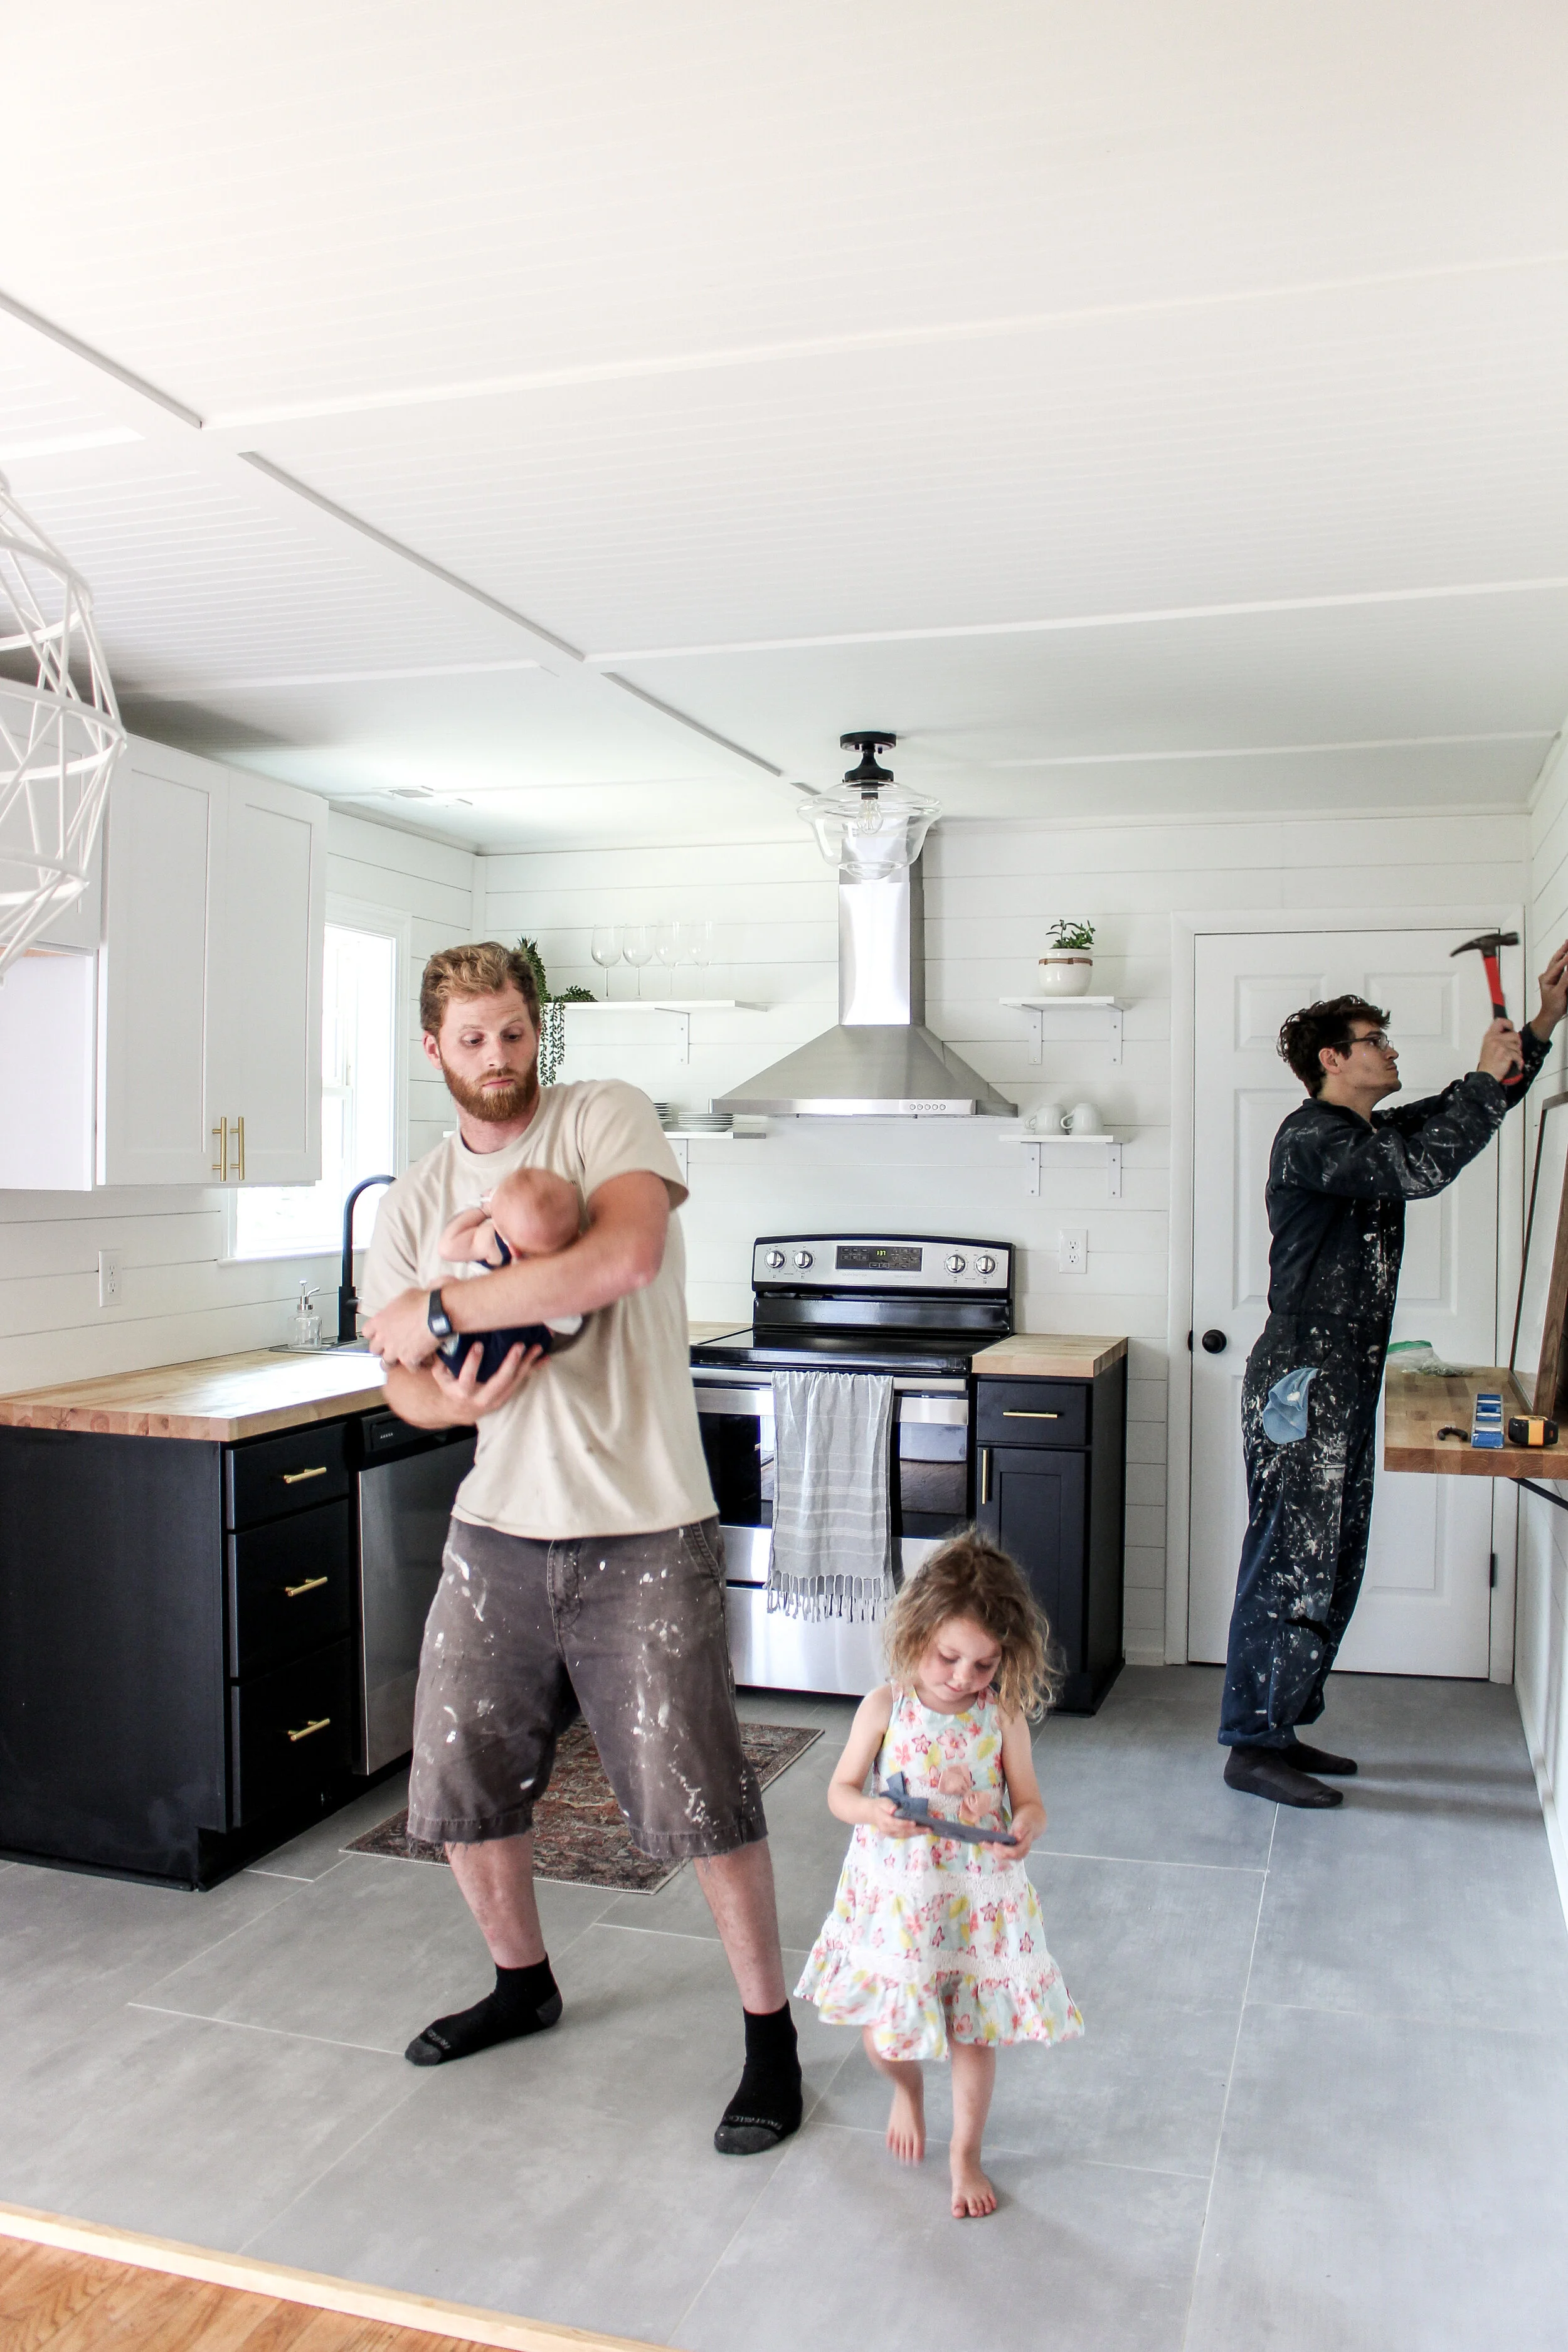
4. Skip the Island
This kitchen didn’t really have the space for an island. We debated squeezing one in and making it cramped or coming up with something more innovative: a fold up bar! I’m so pumped with how this little butcher block bar turned out! A few bar stools and voila: an eat in kitchen! It also provided more countertop space for cutting or grocery overflow. The lesson: island or great but sometimes you can save and be creative/unique instead.
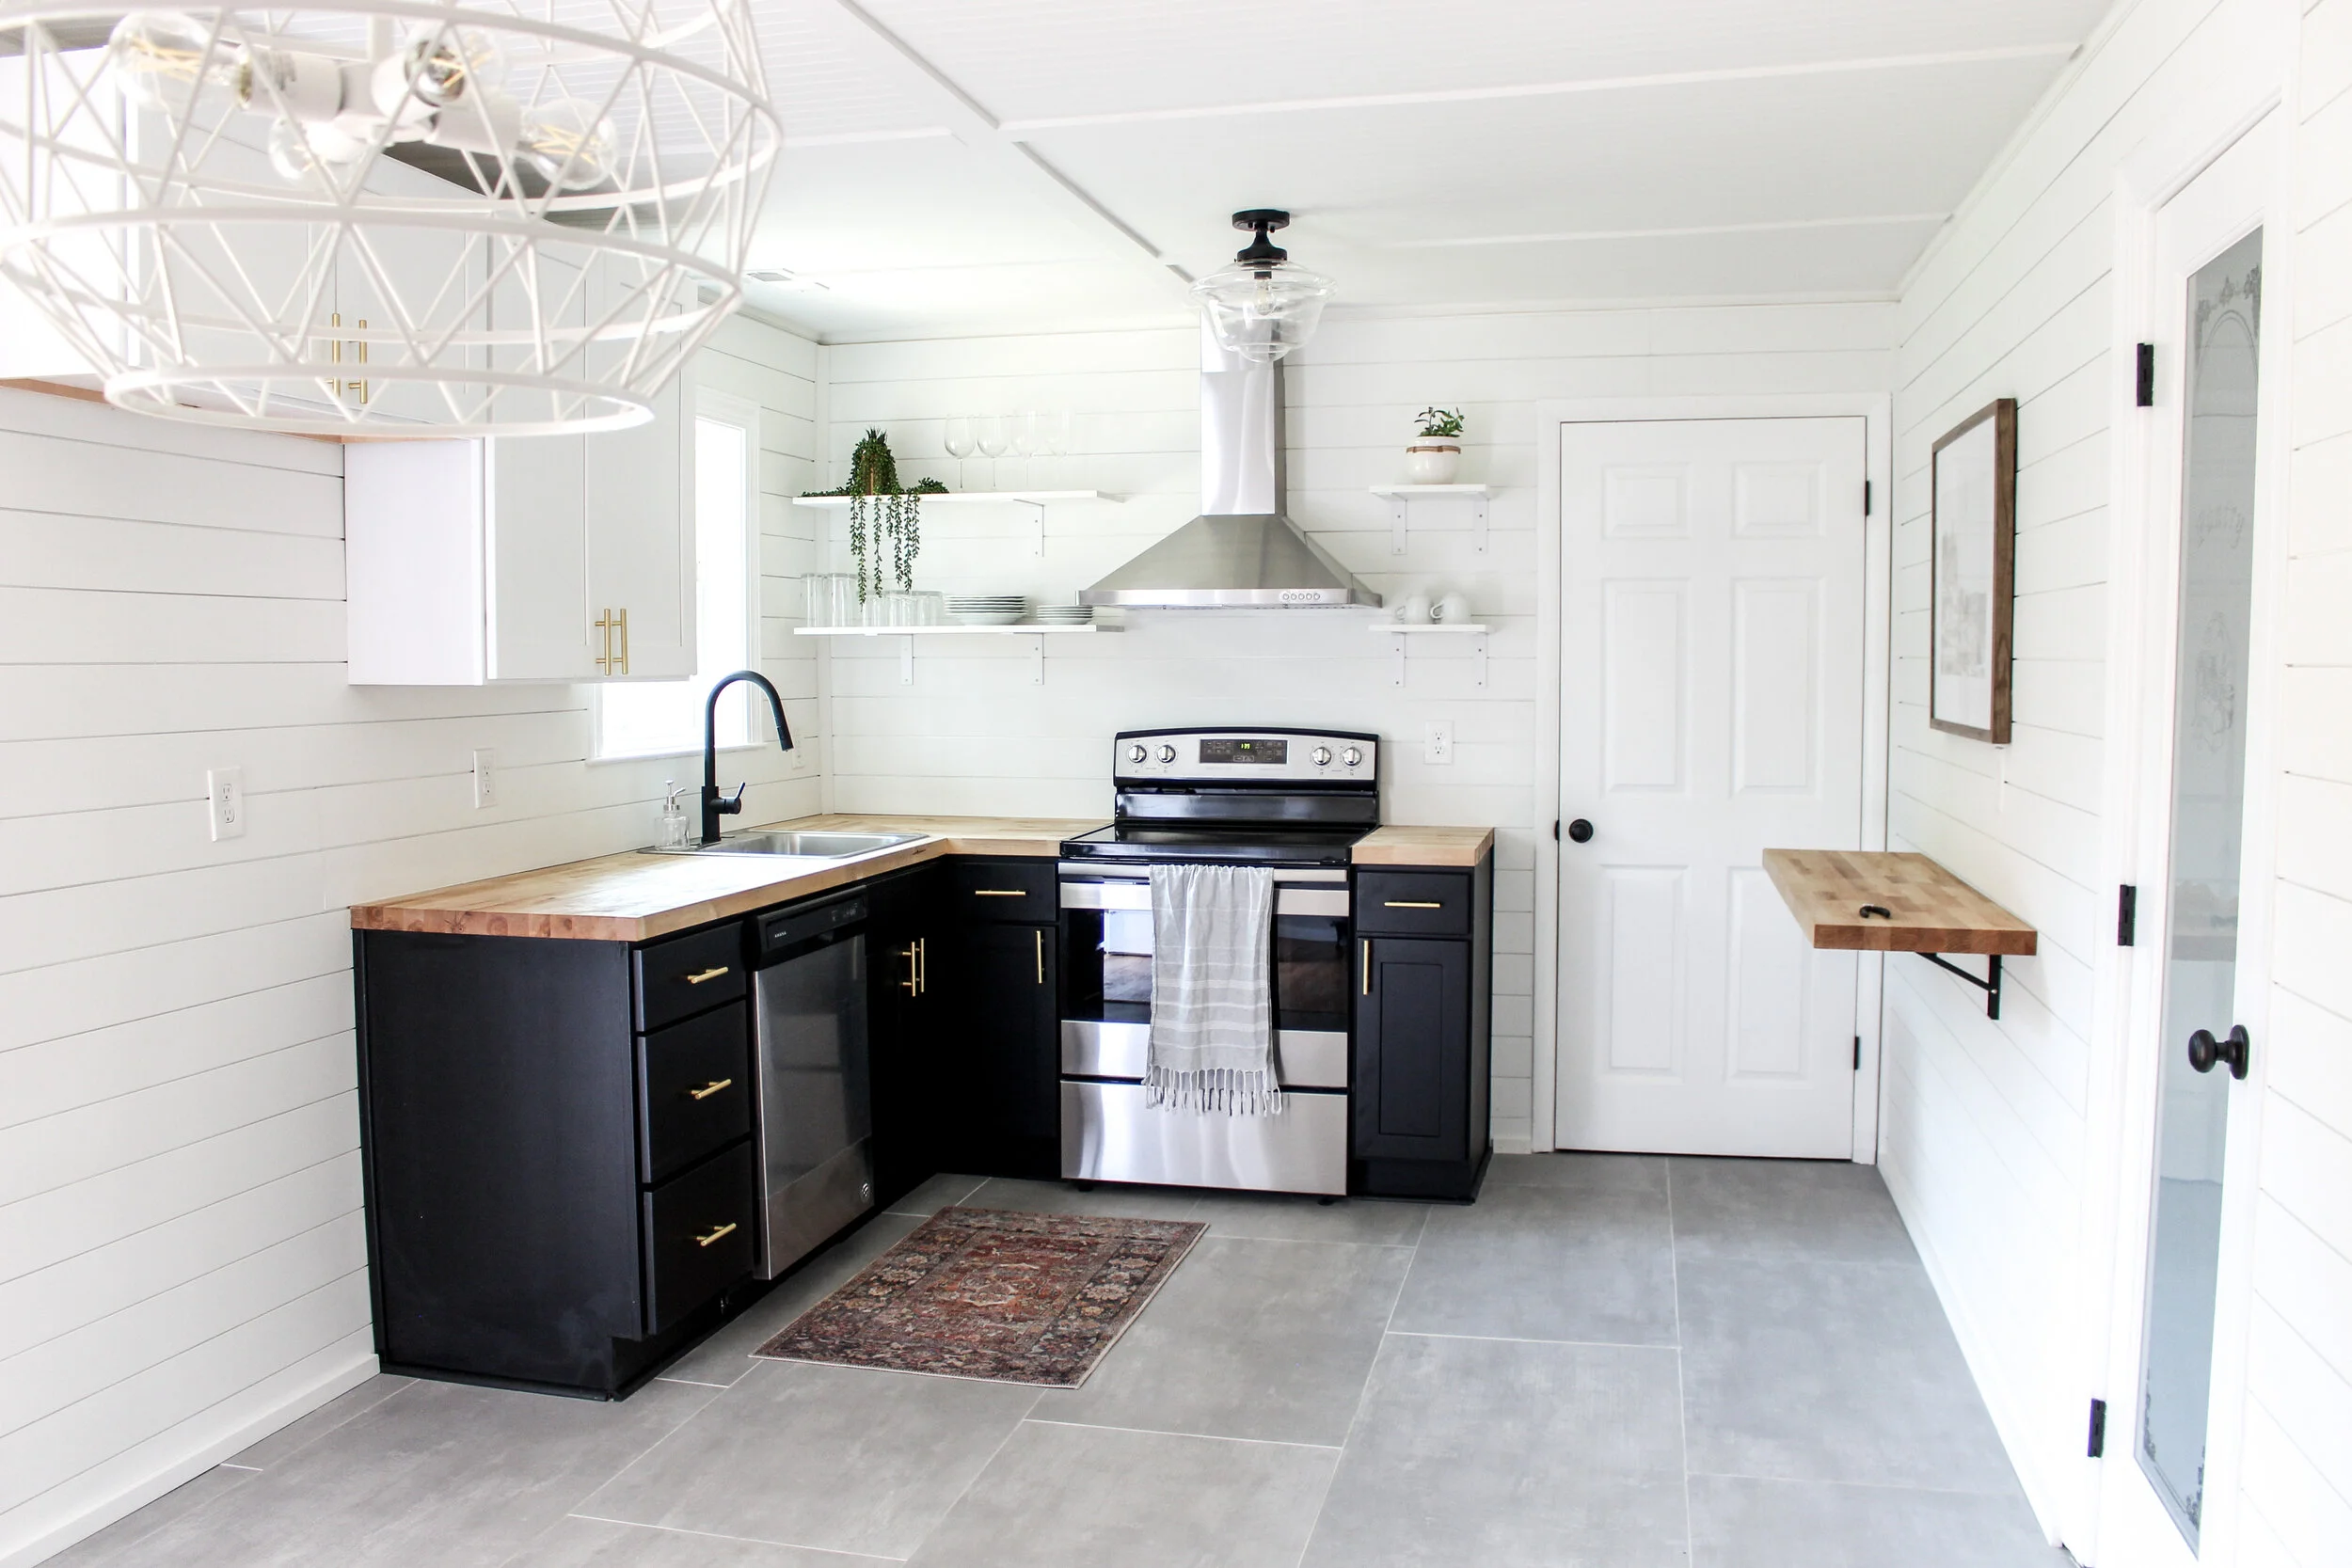
5. Oversized Floor Tiles
At $2.29 a square foot and also 24 x 48 inch dimension, these tiles from Floor and Decor were a no brainer! I wanted a concrete look in the kitchen to add even more natural material to the space (can you tell I’m on a natural kick) and these tiles looked so much like concrete even though they are porcelain. Also the small amount of grout and extra large slabs gave the space a nice marriage of drama and simplicity.

There are so many other features to the kitchen that I just adored as well. The gold pulls can’t go unrecognized! I have been loving gold and black together and I was so excited to see them together for this project.

The sleek kitchen faucet was also a fan favorite for Team Wayne and has been featured in other houses as well such as The Fisherman Project.
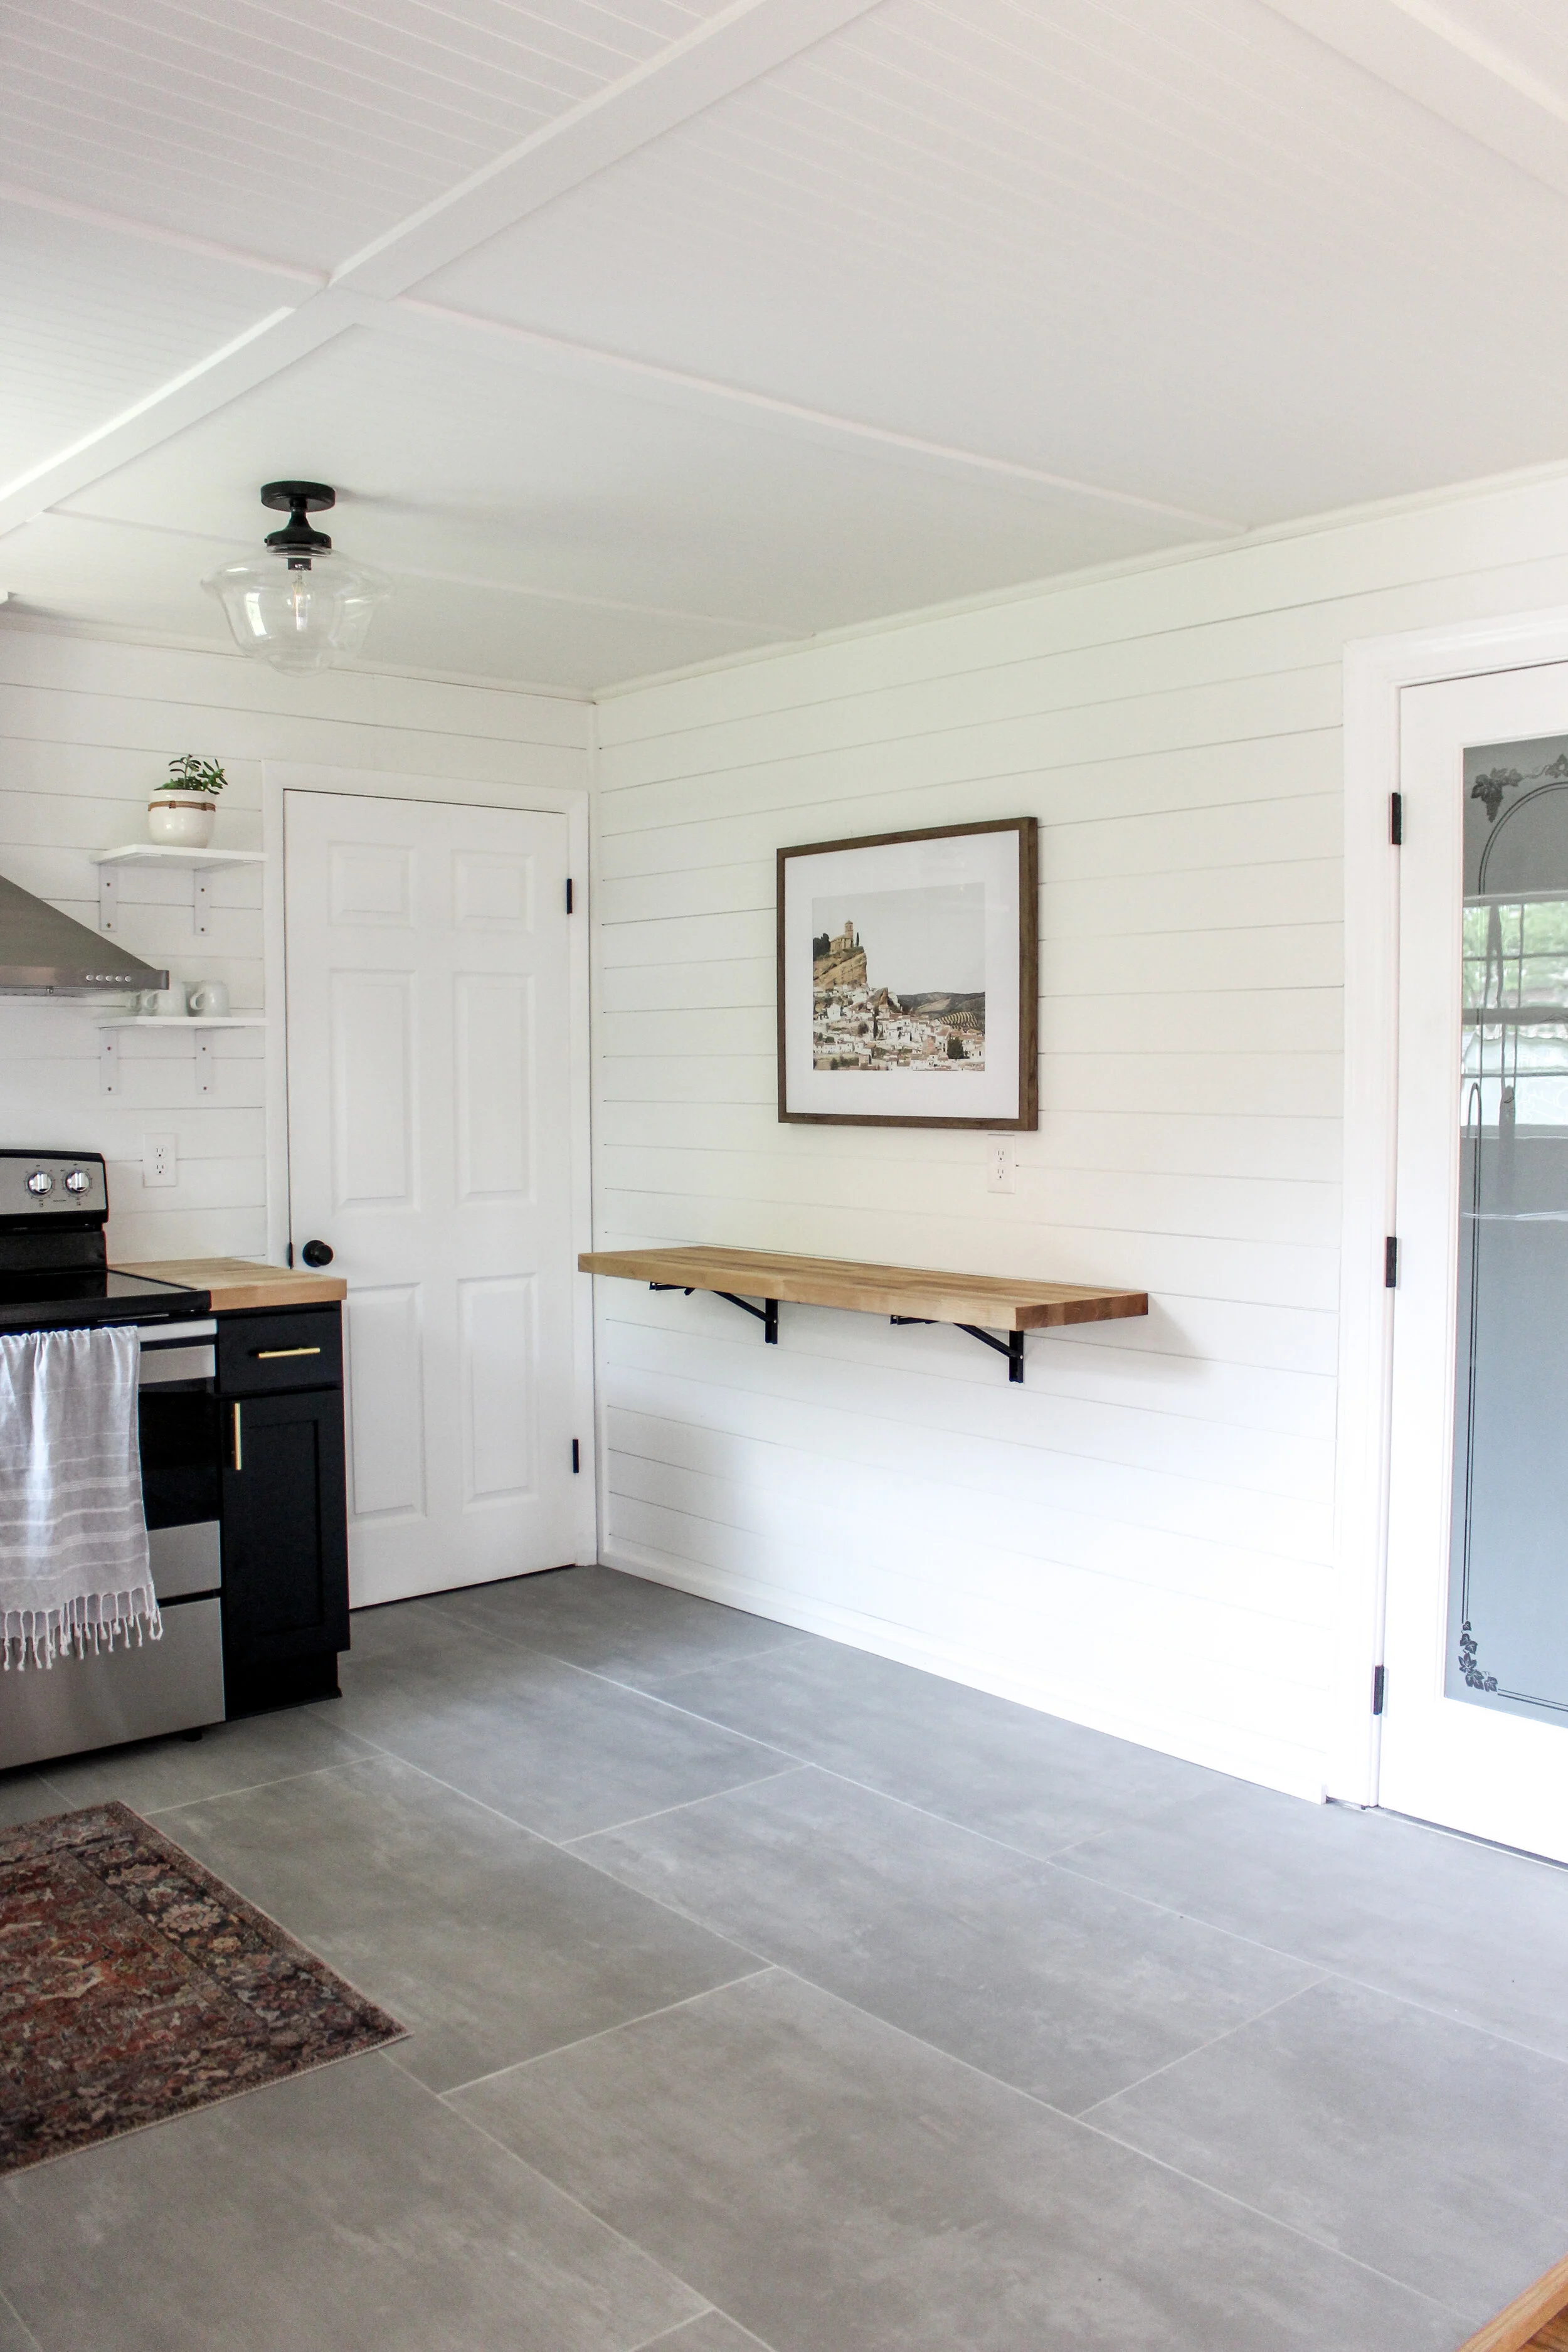
If you are interested in quality folding hinges to make a foldable bar of your own here is the link for those!

This foldable bar was so fun to create and in the words of our realtor, “ It made this house one of her favorites so far!” It’s unique features like these that make a flip house stand out and catch attention. Home buyers aren’t looking for plain and unoriginal. They want pizzazz a lot of the time. We want to make sure they get it while staying within the boundaries of designing a house for someone without even knowing who they are!
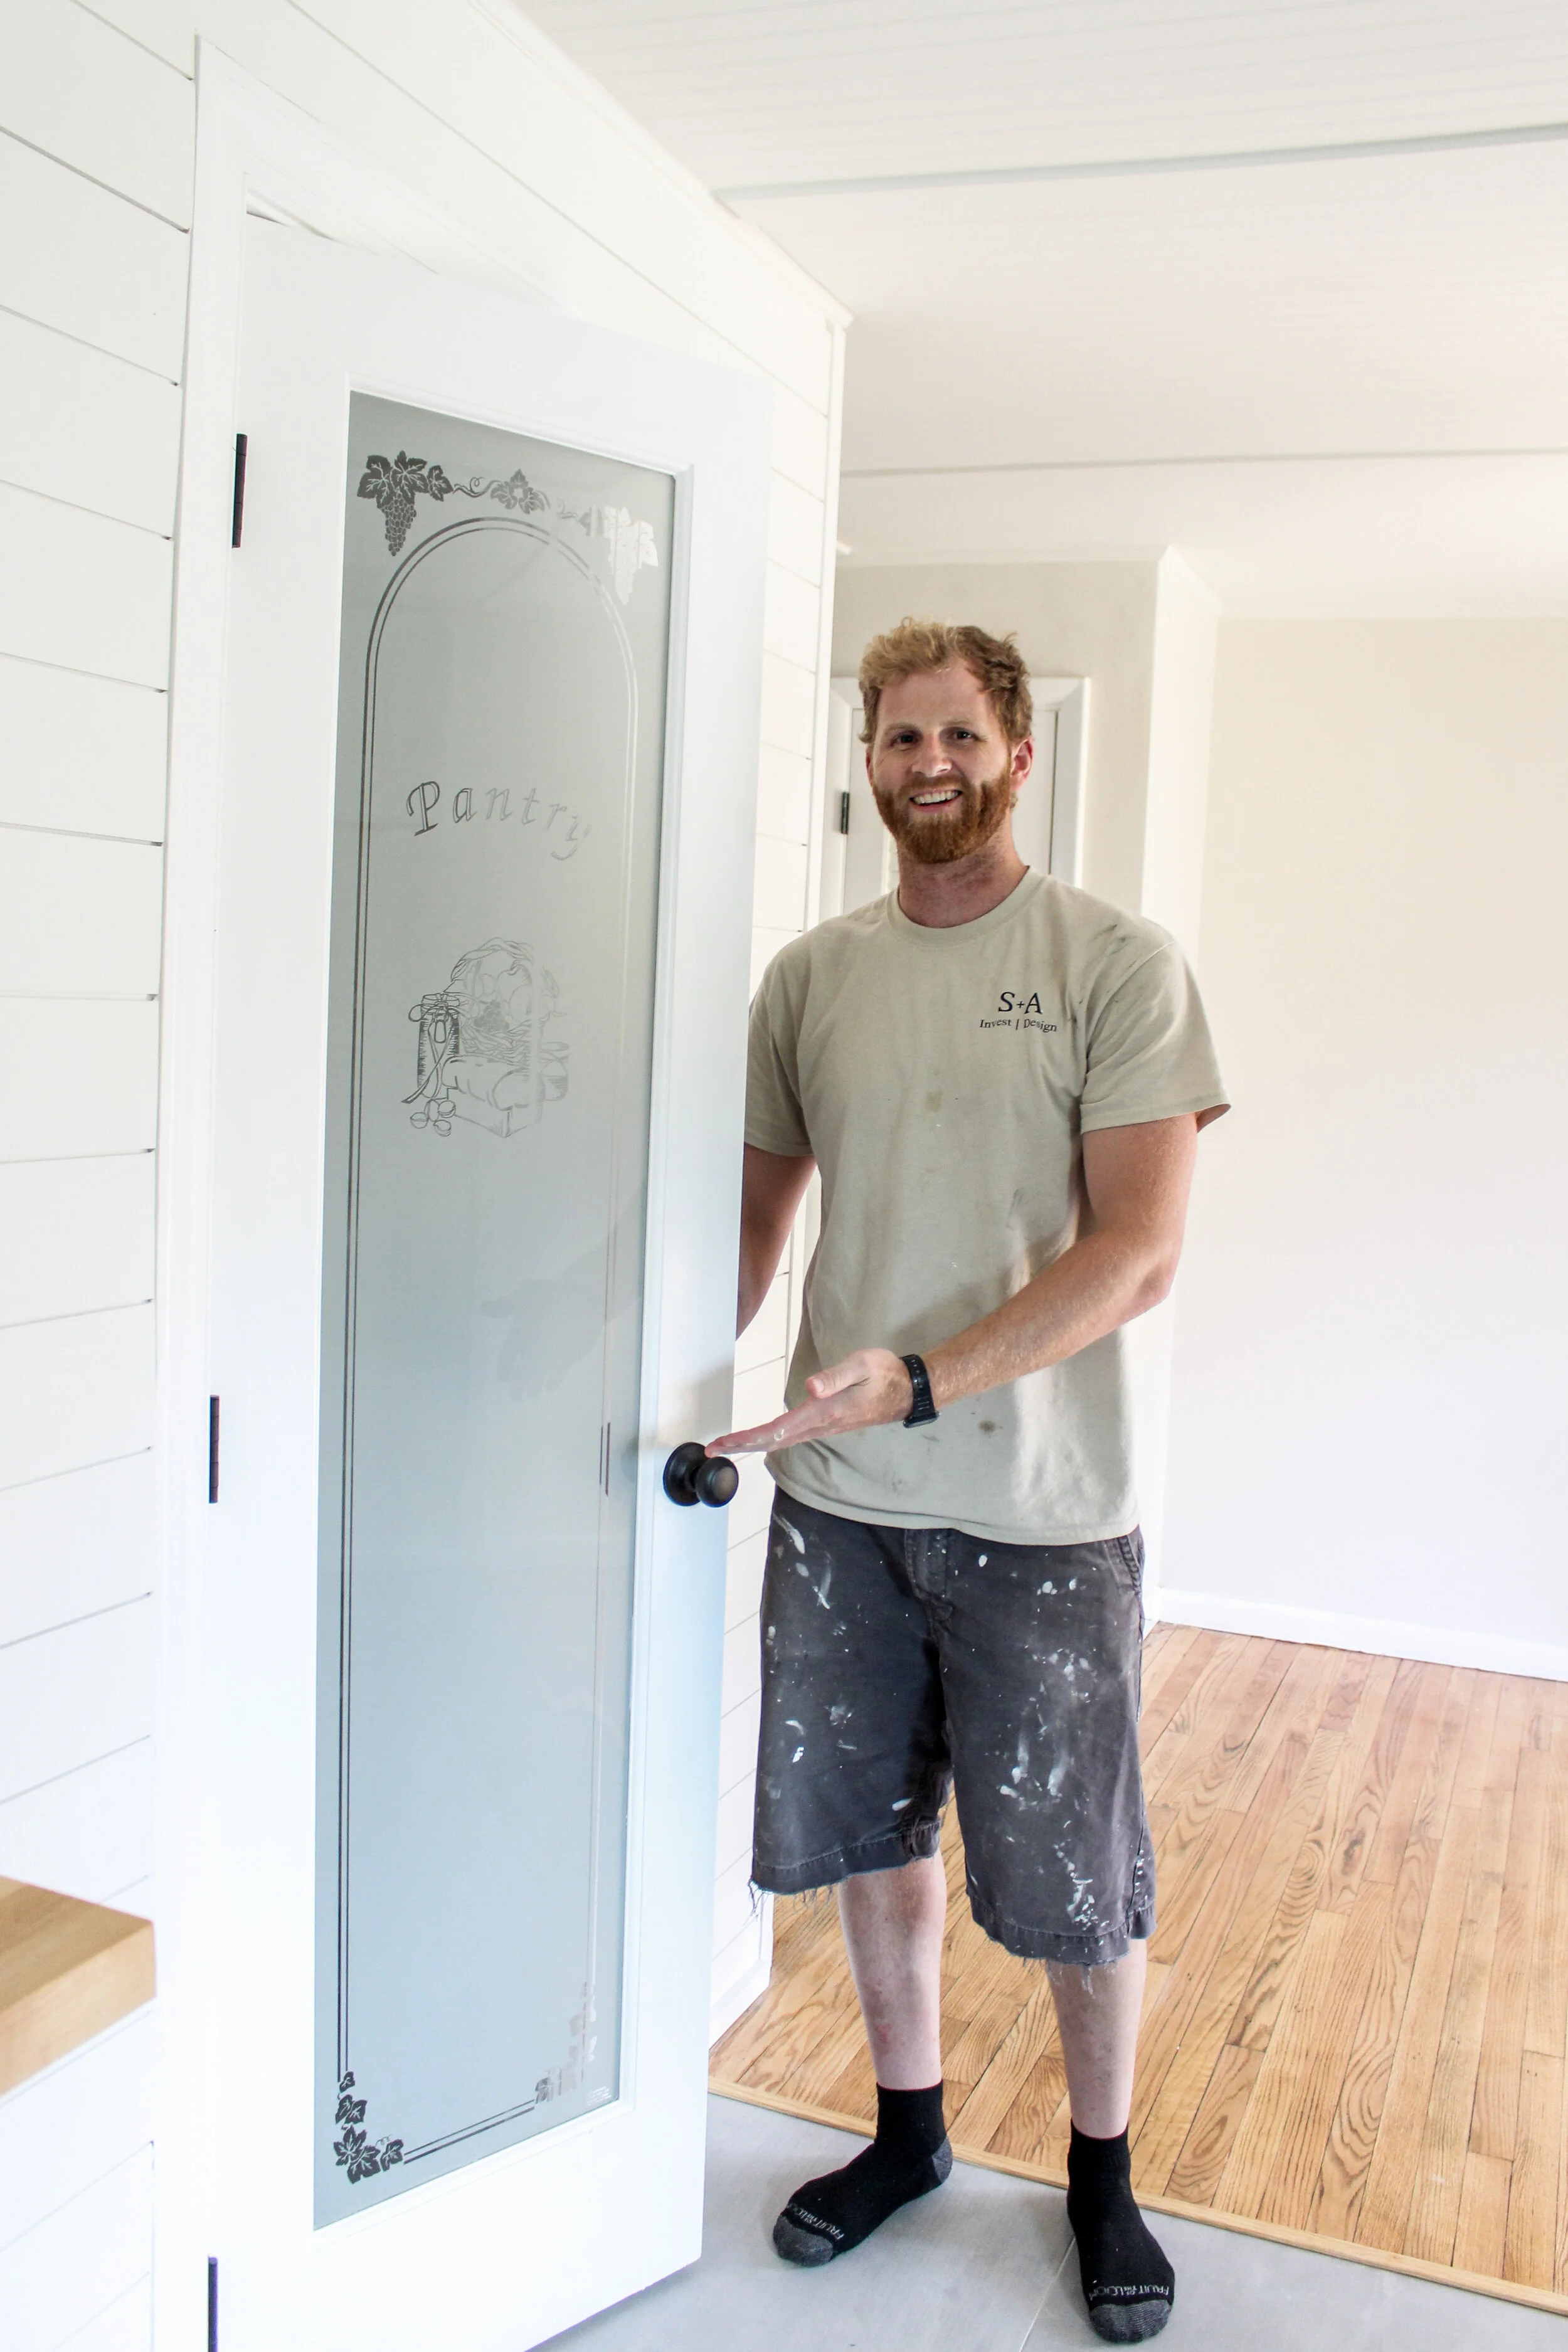
I can NOT forget to talk about this pantry door! It goes without saying that this adorable feature was worth the tricky instillation. Back in our second full time flip here in Virginia Beach, The Librarian’s Condo, Sean found this door in the original pantry that we demoed in that project. He was determined to save it and install it in another flip house. Well, five houses later, he finally installed his salvaged door! We are so happy with the look if you can’t tell by the grin on this man’s face.
After several showings and a few offers later, we accepted a wonderful offer 3 days later and went under contract. As Sean can tell you, under contract is great and all but things can always fall through. We celebrate accepted offers with the knowledge that anything can happen and we’ve seen it before. So here’s to a speedy and simple closing!
Stay tuned for part 2 where I will talk about the transformation of the rest of the Rogers Project where were flipped two bathrooms and renovated an entire garage adding a master bedroom and en suit bath!

Hope you enjoyed the kitchen and enjoyed reading about how we saved in this space! Stayed tuned for part 2 coming soon. Until then, get out an enjoy the sun and if you are blessed like us, get out to the beach… beach season doesn't last forever!
Ann | DESIGN